
EXPERIMENTAL QUEUE CREATES ROOK OPPORTUNITIES
Dire Marsh's experimental crew reduction from the 4/22 dev update fundamentally changes encounter pacing, and RookFlex Shell emerges as a primary beneficiary. With fewer crews creating "less crowded" conditions, Rook's methodical playstyle gains breathing room to leverage its Adaptive Frame passive and Overclock active effectively. This build capitalizes on the new map dynamics with precision weapons and tactical positioning.

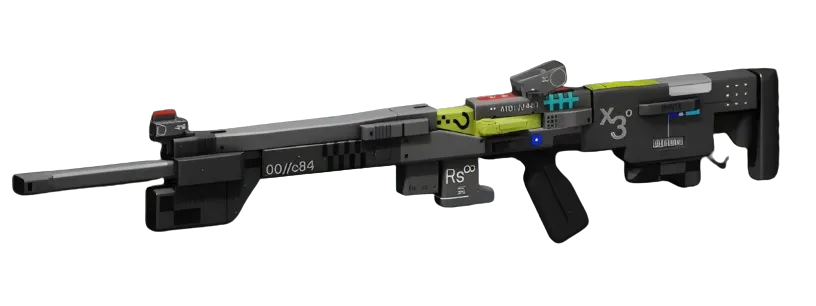
CORE WEAPON SELECTION: HARDLINE PR DOMINANCE
The Hardline PRPrecision Rifle forms this build's backbone — 23 damage per shot at 275 RPM with 14-round magazines creates sustained pressure without the reload vulnerability of higher-damage precision rifles. Equip the Oracle LensOptic MODSuperior (Superior) for greatly increased ADS speed and accuracy while moving, essential for Rook's medium mobility. The Pinpoint BarrelBarrel MODSuperior (Superior) provides greatly increased stability and range, but requires Arachne Rank 12 — 1500 credits + 5 Biomata Resin. For players lacking Arachne access, substitute the Weighted BarrelBarrel MODEnhanced (Superior) for greatly increased aim assist and accuracy while moving.
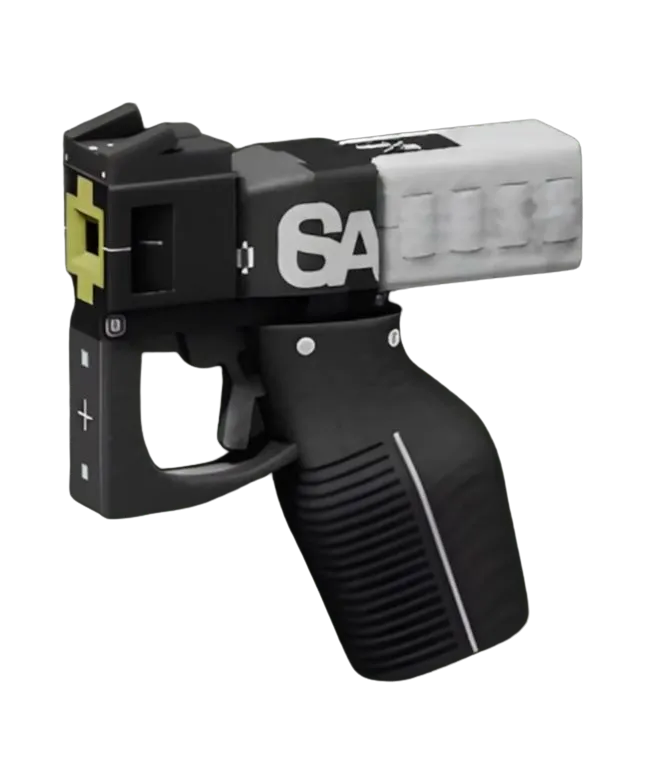
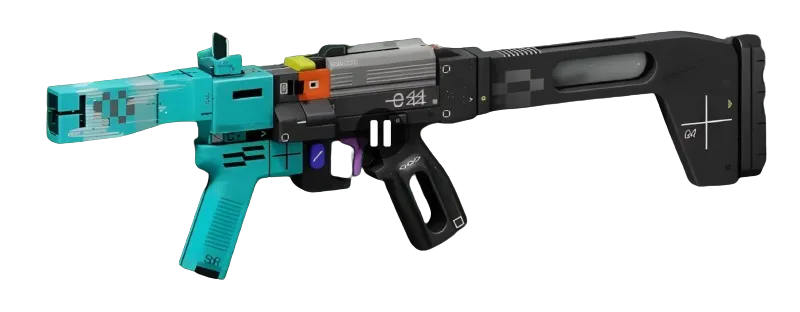
Secondary weapon selection depends on encounter range expectations. The CE Tactical SidearmPistol offers reliable 20-damage backup with 18-round magazines, while the BRRT SMGSMG (1000 RPM, 35 rounds) provides close-quarters insurance when Adaptive Frame's weapon swap speed becomes crucial.
ADAPTIVE FRAME EXPLOITATION: MOD SYNERGY
Rook's Adaptive Frame passive increases weapon swap speed and handling based on recent weapon usage variety. This build maximizes the mechanic through strategic mod selection. The Adaptive MagMagazine MODPrestige (Prestige) on the Hardline PR enables burst-fire mode toggle — body shots increase precision and aim assist for short durations, creating feedback loops with Adaptive Frame's weapon diversity bonus.
The Flash Draw ChipChip MODSuperior (Superior) on the secondary weapon restores health or shields when damaging EMP-affected targets. While situational, Dire Marsh's reduced crew density increases individual encounter duration, making status effect exploitation more viable.
OVERCLOCK TIMING: TACTICAL ABILITY MASTERY
Rook's Overclock active provides temporary damage boost and heat capacity increase. In the experimental queue's spaced encounters, Overclock timing becomes crucial for securing eliminations before repositioning. Activate during medium-range engagements when the Hardline PR's sustained fire can capitalize on the damage boost across multiple shots.
The Energy Harvesting V4HeadSuperior (Superior) head implant provides 40% tactical recovery with Walk it Off passive, reducing Overclock cooldown significantly. This implant requires Cyberacme faction access but lacks specific rank requirements, making it accessible for most players. The tactical recovery bonus synergizes with frequent Overclock usage in extended engagements.
IMPLANT CONFIGURATION: PRECISION SUPPORT
Torso slot: Hurting Hands V4TorsoSuperior (Superior) grants 20 Firewall, 10% Prime Recovery, and 50 Finisher Siphon with Snapshot Rifling passive. The Firewall boost provides EMP resistance crucial for ranked play, while Finisher Siphon restores health through eliminations.
Legs slot: Solid Stance V4LegsSuperior (Superior) offers 50 Hardware and 20 Heat Capacity with Second WindLegsEnhanced passive. Hardware reduces negative status effect duration, while increased heat capacity supports Overclock usage without thermal penalties.
Shield slot: Protector V3ShieldSuperior (Superior) provides Superior Shield durability increases essential for Rook's sustained engagement role.
RANKED VIABILITY ASSESSMENT
This build targets Holotag tier B-A players who understand positioning fundamentals. Rook's B-tier solo ranking reflects its learning curve, but the experimental queue's reduced crew density creates optimal conditions for demonstrating shell mastery. The precision weapon focus demands consistent aim but rewards mechanical skill with elimination potential.
Total faction investment: Arachne Rank 12 for Pinpoint Barrel (1500 credits + 5 Biomata Resin). Players without Arachne access can substitute Enhanced-tier barrel mods for reduced effectiveness but immediate availability.
LOADOUT GRADE: B
This configuration exploits experimental queue conditions effectively but requires map-specific optimization. The precision weapon foundation creates consistent damage output, while Adaptive Frame mechanics reward weapon diversity. Success depends on leveraging Dire Marsh's new pacing to secure advantageous positioning before Overclock engagements.


