WHAT HOLOTAG TIERS ACTUALLY MEASURE
Holotag rank is not a measure of how much you play. It measures how often you convert a kill into a secured extract — which requires you to win the fight, survive the third-party, and reach exfil with the tag in your inventory. That full chain is harder than it sounds. Each tier up the ladder adds a new link that breaks most players.
The honest benchmark question isn't "what shell should I run?" It's "where in that chain am I actually failing?" Locate the break first. Then build for it.
LOWER TIERS — SURVIVAL AND BASIC PvP
At the entry tiers, the primary bottleneck is raw combat: players die to UESC on rotation, panic-swap loadouts every run, and don't understand when to take a fight versus let it go. Shell choice barely matters here — the gap is mechanical.
That said, the builds that climb fastest from this tier are forgiving ones. VandalCombat's Amplify prime reduces the Heat generated by movement abilities and covers bad positioning with raw mobility. ReconIntel's Interrogation trait gives you passive warning when you're being hunted — you can't outplay information you don't have.

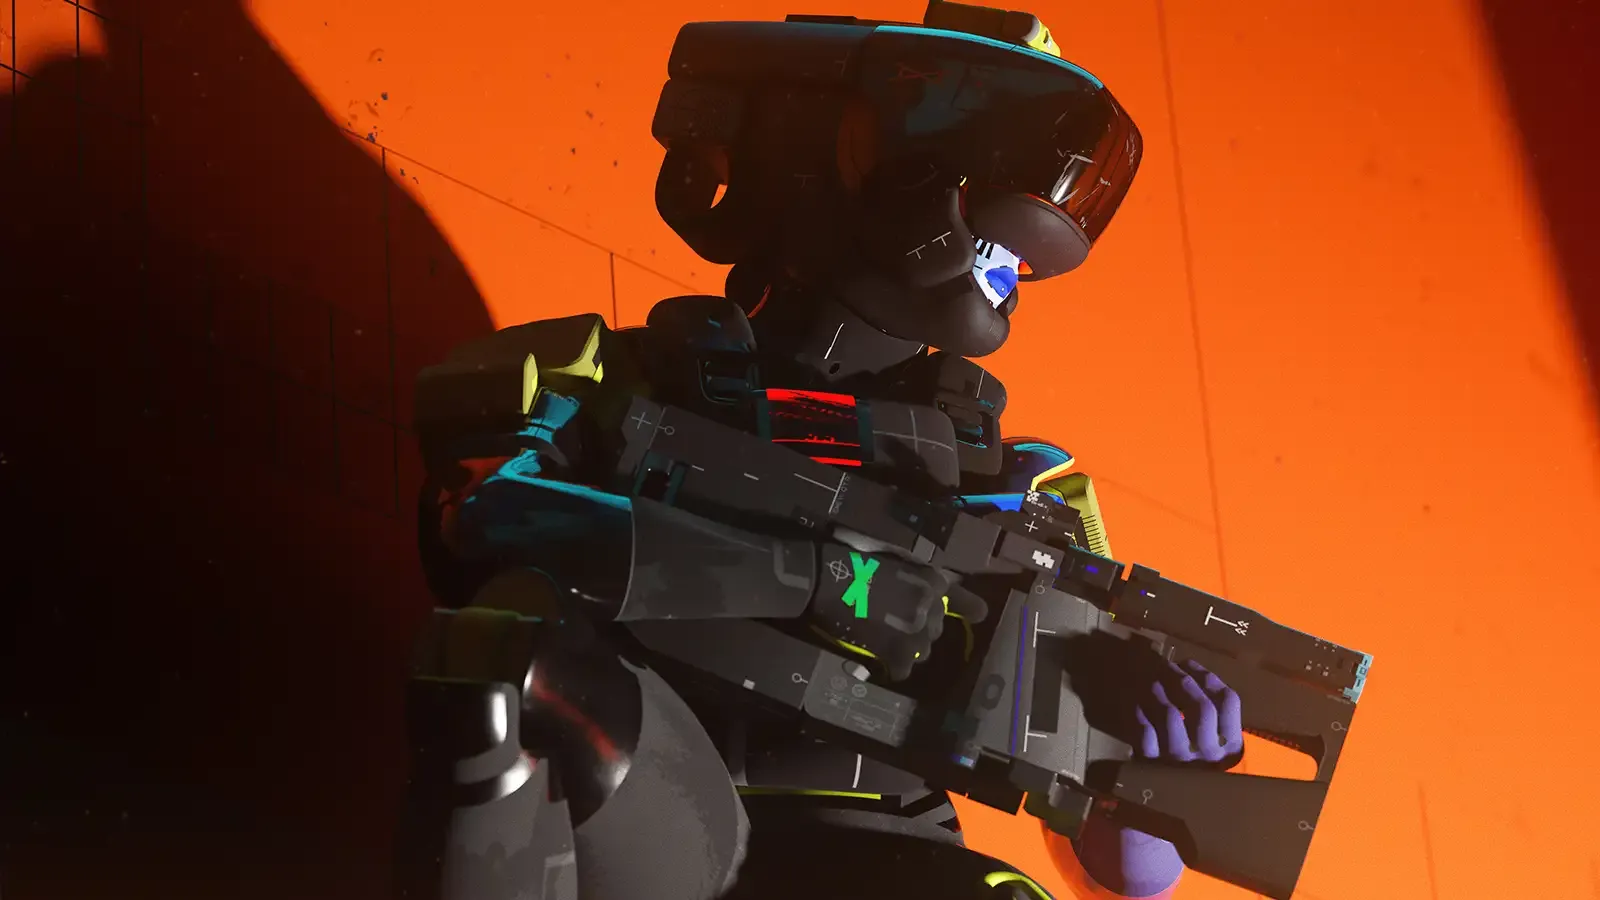
The Cradle investment that pays most here: Endurance track. The Quick Vent and Heat Dissipation perks (both source-listed as unlocking at 3 and 9 Energy respectively) keep you mobile when the lobby is hot. Players who run out of heat management die to positioning they could have escaped.
MID TIERS — HOLOTAG HUNTING AND POSITIONING
This is where the real skill gap lives. Mid-tier players can win individual fights. What separates them from the upper bracket is *decision-making after the fight*: do you push for the tag or do you extract with what you have?
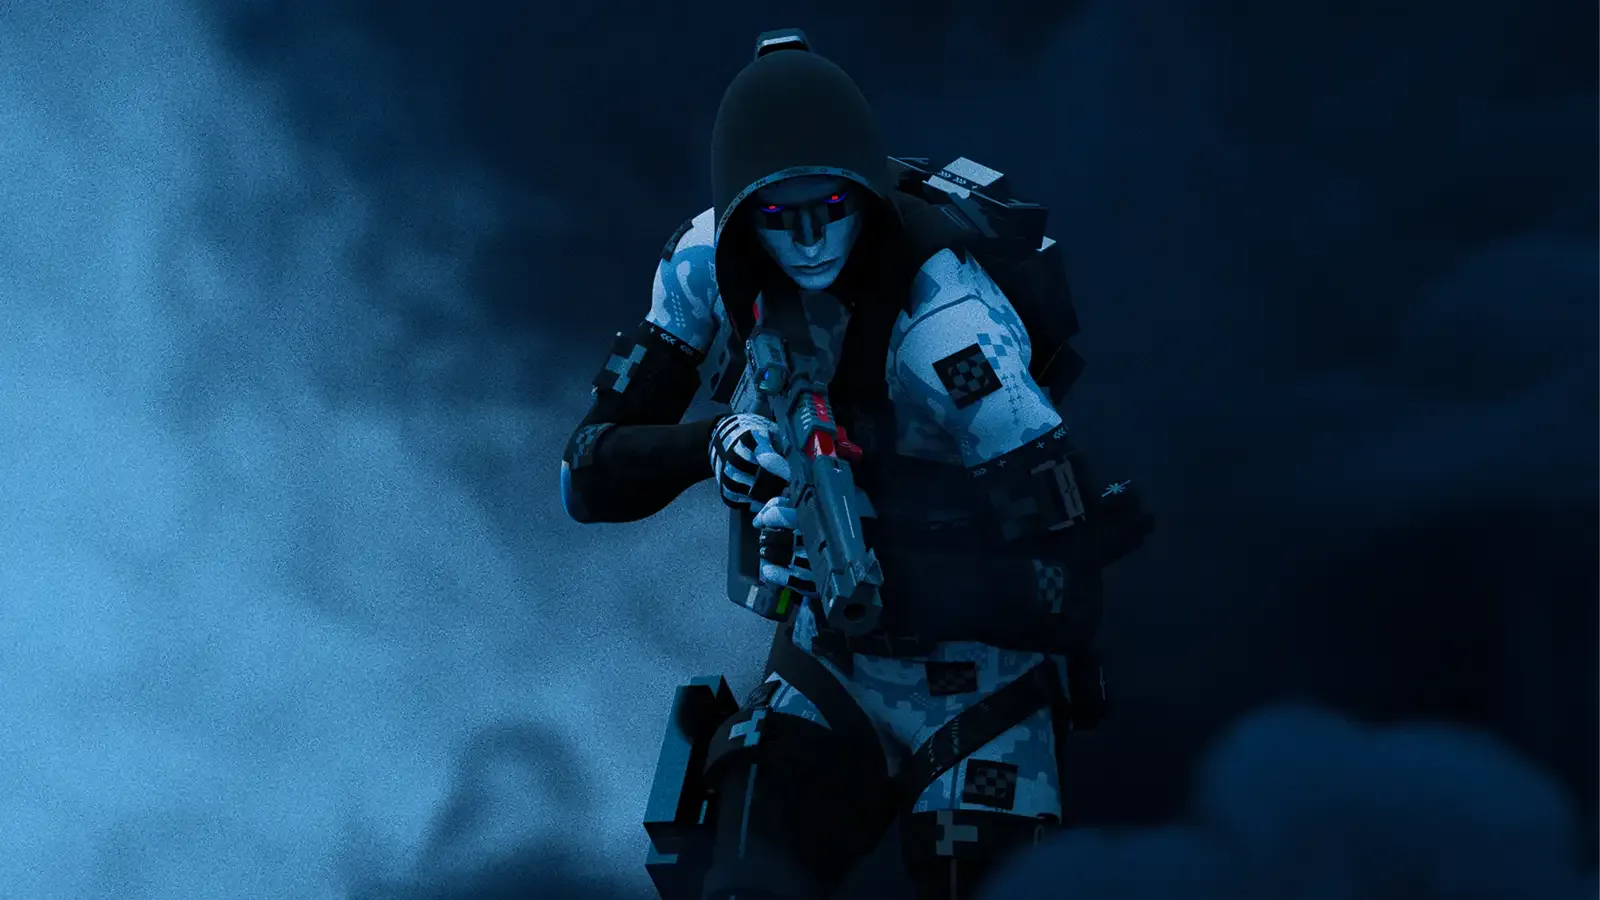
The shells that dominate mid-tier ranked are the ones built around that decision window. ThiefStealth's Grapple Device and X-Ray Visor kit is the S-rated solo shell for a reason — it hits a Holotag target fast, grabs what it needs, and exits before the lobby converges. AssassinStealth's Active Camo and Shadow Strike Core (Prestige, S-meta) rewards the patient read: cloak, close range, single decisive engagement. Both demand clean target selection, not spray-and-pray.

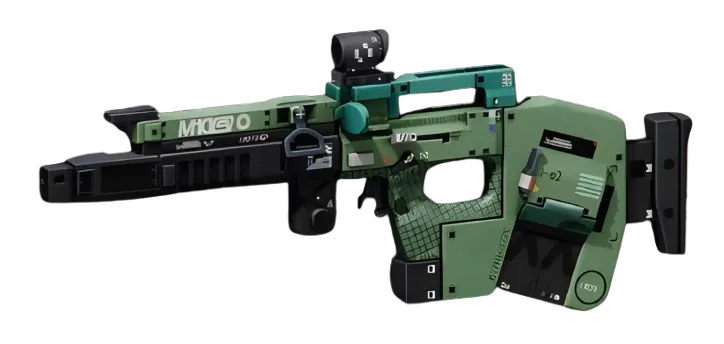
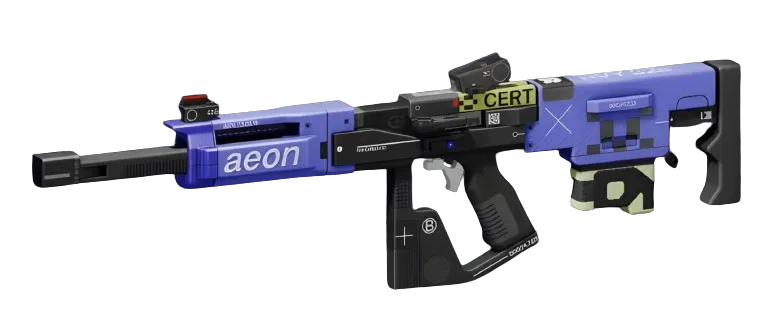
Weapon priority shifts here too. Players still leaning on SMGs for every range bracket leave damage on the table at mid-range. A precision option — the Stryder M1TPrecision Rifle or Twin Tap HBRPrecision Rifle — converts those mid-range trades that CQB builds bleed to. The Recon Cradle track's Lethal AMP perk (source-listed at 14 Energy) charges both tactical and prime off Runner kills, which compounds in a tier where kills are frequent.
UPPER TIERS — TEAM READS AND CONSISTENT EXTRACTION
Upper-tier ranked is solved by squad composition and consistent exfil discipline. Solo climbers are still present, but the lobbies are more structured. Recon's Early Warning System Core (Prestige, S-meta) isn't optional at this level — it's infrastructure. TriageSupport anchors squads that extract consistently; the coverage pattern bears this out, with Triage builds drawing strong rankings across squad formats.
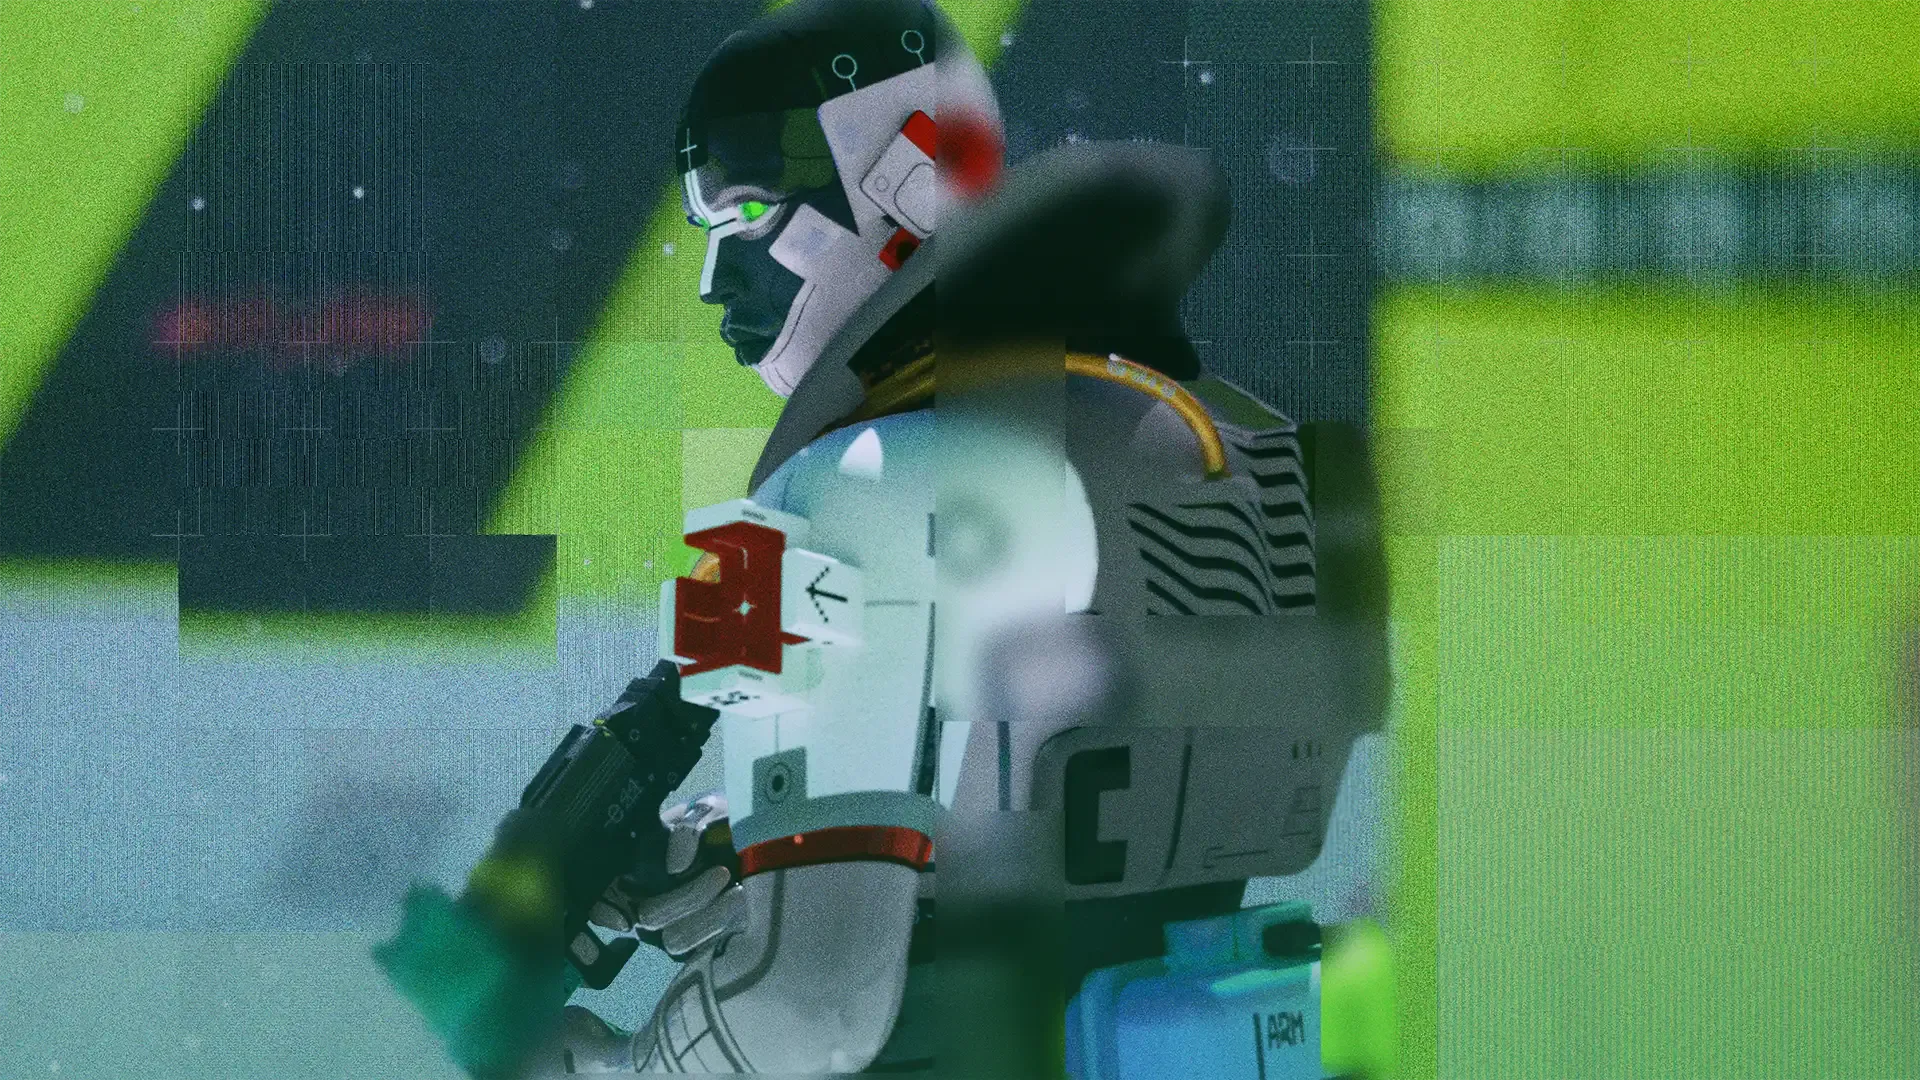
The trait that separates genuine top-tier players: they understand *when not to engage*. Vandal's Disrupt Cannon and Amplify give you the tools to force or escape fights on demand. The players who abuse that optionality — not every fight, only the right ones — are the ones who bank tags.
The benchmark for breaking into the top bracket: you should be averaging more extracts than fights per session. If your kill count is high and your tag count is low, you are farming, not climbing.
THE HONEST SELF-ASSESSMENT
Count your failed extracts over your last ten runs. If most failures happen in-combat, invest in shell and weapon fundamentals — Cradle Endurance and Dexterity tracks first. If most failures happen post-fight during extract, the problem is positioning and routing, not your build. No shell fixes that. Map knowledge and discipline do.