WHAT THE ROOK ACTUALLY IS
Most new players ignore the RookScavenger. They look at the shell selection screen, see "no ranked," and scroll past it. That is the wrong read. The Rook is not a punishment shell — it is the fastest way to build map knowledge, credit reserves, and extraction discipline without betting your gear on every run.
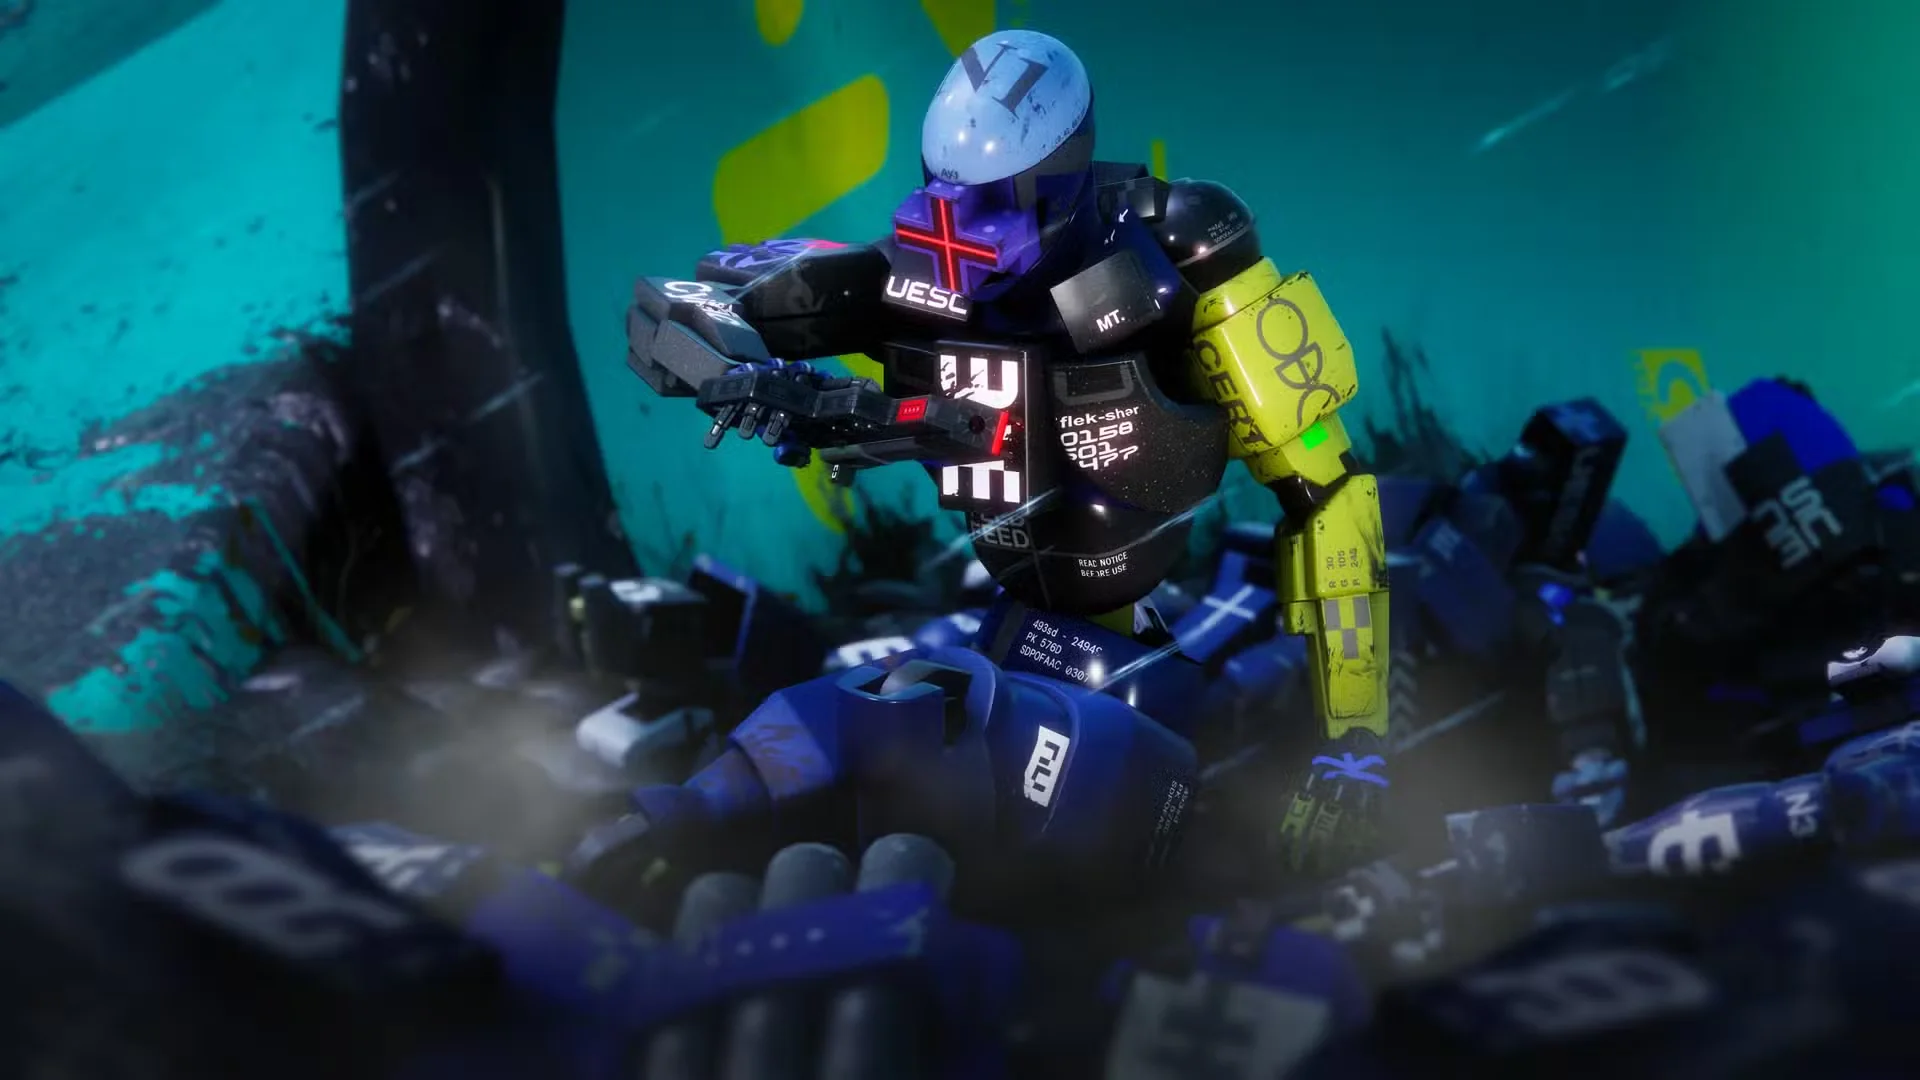
The design is deliberate: you infil with nothing on the line. No personal loadout at risk, no Credits bled if you die, no hard lessons paid with gear you spent hours farming. What you lose on death is time. What you gain on a clean run is everything you looted, plus the map understanding to do it better next time.
Play fifty Rook runs before you commit to a ranked shell. You will know the routes before the fights find you.
THE ROOK'S ACTUAL KIT
The Rook carries the highest loot speed of any shell in the game. That is not a small advantage — loot speed is the difference between grabbing a container and going, versus getting caught mid-animation when a team pushes through a door.
The Rook's Prime ability, Recuperation, activates an emergency repair system that slowly restores your health. It is interrupted when you take damage, which means it rewards the exact behavior the shell teaches: disengage, find cover, wait. The Tactical is Signal Mask — a temporary holodisplay that deceives UESC forces into ignoring you, disrupted if you sprint or take damage. Together, these two abilities form a survival toolkit built around patience and positioning, not aggression.
Neither ability will win you a Runner-vs-Runner fight. That is not what the Rook is for. Use Recuperation to recover between UESC clears. Use Signal Mask to walk past patrols you have no reason to engage. Both abilities are teaching tools as much as combat tools — they train you to think about threat avoidance first.
WHAT TO PRIORITIZE ON A ROOK RUN
Loot routing is the core skill. On Perimeter, learn the difference between North Relay (high traffic, early fights) and South Relay (lower traffic, consistent mid-tier returns). Overflow has some of the best key-room loot on the map but draws the Wraith Warden and other squads hunting it. Get comfortable with the layout of each zone before you start contesting them.
On Dire Marsh, Quarantine is the most fought-over building on the map. As a Rook, you have exactly one right answer when another squad is actively clearing Quarantine: find a different building. Greenhouse and Maintenance offer solid returns with dramatically lower contact rates. Let the combat shells fight over the center while you clean up the edges.
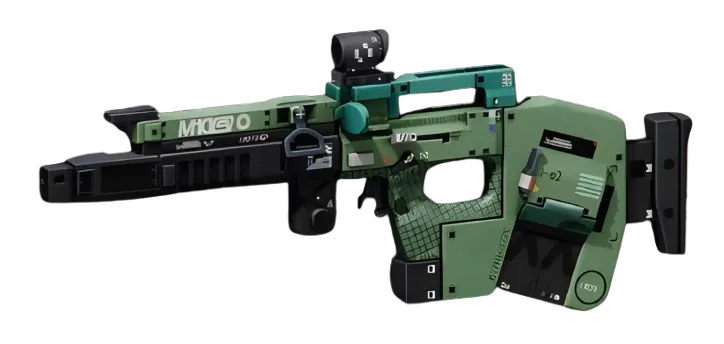
The Rook also has no personal gear at risk, which makes it the correct shell for experimenting with unfamiliar weapons you find on the ground. Pick up a Stryder M1TPrecision Rifle (36 damage, 180 RPM) off a dead UESC soldier and learn how it handles before you spend Credits equipping one in a ranked loadout. The Rook run is a live firing range that pays you for attending.
CRADLE INVESTMENT FOR ROOK PLAY
Your Cradle Energy is shared across all shells, so every point you spend while playing Rook improves your performance on every other shell. Two tracks matter most here.
Dexterity improves Agility and Loot Speed — both directly relevant to fast container grabs and clean repositions. The "Full Throttle" perk at 14 Energy (exact values unconfirmed, as Cradle perks are currently unverified) qualitatively gives you movement benefits at the start of every run, which matters on a shell built around getting in and out cleanly.
Endurance governs Heat Capacity and Fall Resistance. The Rook's kit encourages vertical movement and aggressive repositioning across multi-level zones — fall resistance keeps you from bleeding a chunk of health every time you drop from a rooftop. The "Quick Vent" perk at 3 Energy is one of the cheapest useful breakpoints in the Cradle and worth prioritizing early.
Because respec is completely free and carries no penalty, there is no reason to be conservative. Experiment. The Cradle planner at /cradle lets you map out your Energy path and preview perks before you commit.
TAKEAWAYS
- Play the Rook before you invest in ranked shells. It teaches loot routing, extraction timing, and threat assessment without putting your gear at risk — the most efficient map school in Marathon. - Use Signal Mask to bypass UESC patrols, not to enable aggression. If a fight is avoidable, avoid it. Rook runs succeed through volume and patience, not kills. - Every Cradle point spent on a Rook run carries over to your ranked shells. Prioritize Endurance early for the Quick Vent perk, then build Dexterity for sustained loot speed gains across all your runs.