
THE ONE-SHOT PROBLEM
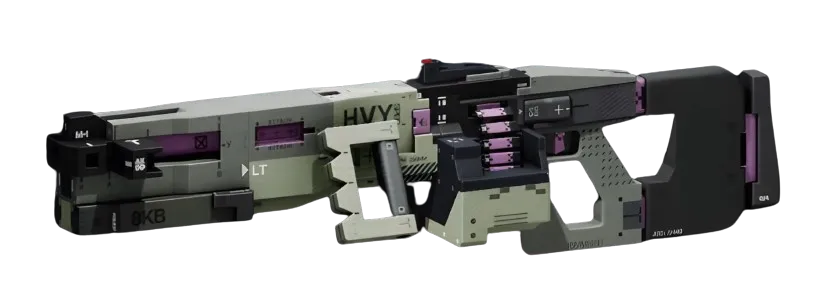
Update 1.0.6.2 specifically targeted Ares RGRailgun one-shots, and the community response has been immediate. The Ares Railgun deals 123 damage per shot with perfect accuracy at long range — enough to delete any shell except max-HP DestroyerCombat builds. Before the patch, positioning against Ares users meant accepting that any sightline longer than 30 meters was death. Post-patch, Bungie's anti-one-shot measures create new counterplay opportunities.

This build exploits those opportunities by stacking maximum survivability with the Destroyer shell while maintaining threat elimination capacity. The win condition: survive the initial Ares shot and close distance before the 60 RPM reload cycle completes.
CORE LOADOUT BREAKDOWN
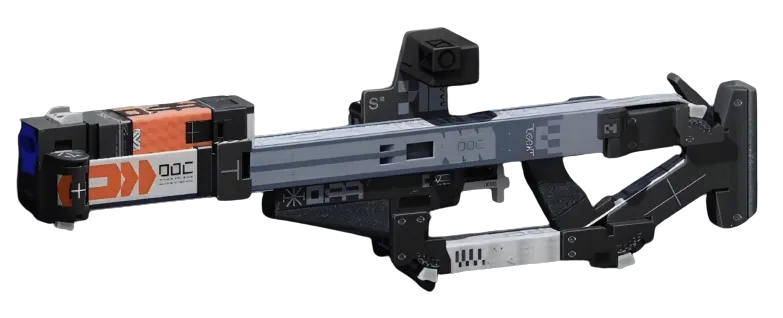
Primary: Demolition HMGLMG with Pinpoint BarrelBarrel MODSuperior and Fortress ShieldShield MODSuperior mods. The Demolition deals 31 damage per shot at 225 RPM with 20-round magazines — enough to two-tap most shells at medium range. Pinpoint Barrel requires Arachne Rank 12 (1500 credits + 5 Biomata Resin) but transforms the weapon's 225 RPM into a precision instrument with greatly increased stability and range.
Shell: Destroyer with Impact Siphons core and Protector V3ShieldSuperior shield implant. Base stats: 175 HP + 50 Shield = 225 total health. Impact Siphons requires Arachne Rank 15 but converts incoming Riot Barricade damage into shield energy — creating a feedback loop where Ares shots actually strengthen your position.
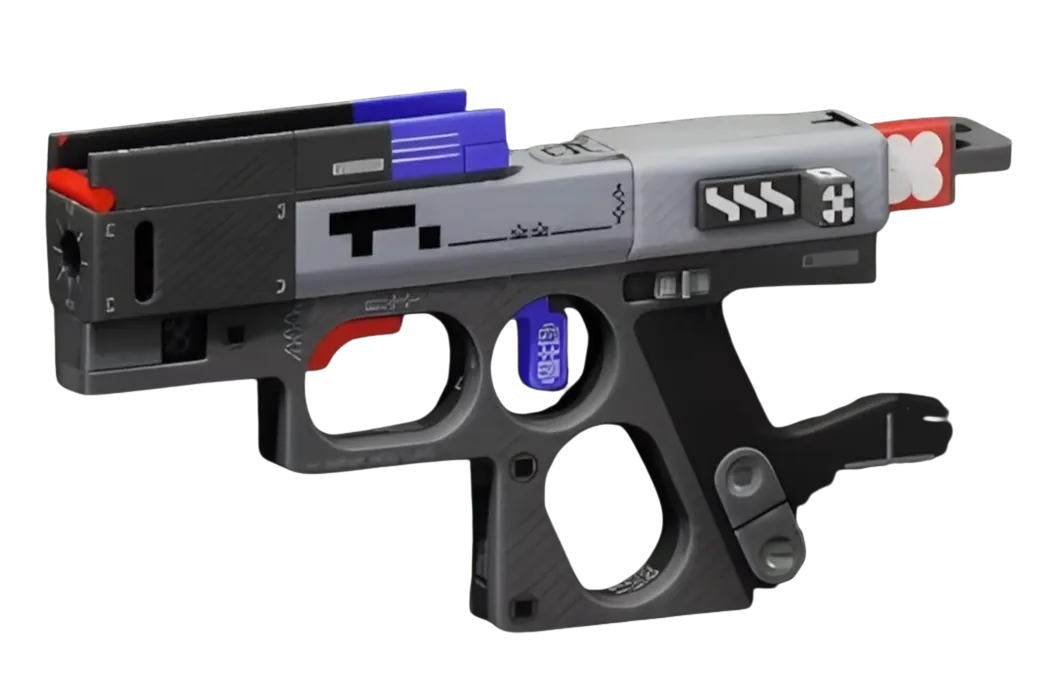
Secondary: Magnum MCPistol with Oracle LensOptic MODSuperior. The 33-damage pistol with Oracle Lens provides greatly increased ADS speed and accuracy while moving, enabling quick follow-up shots after surviving the Ares engagement.
IMPLANT SYNERGIES
Head Slot: Regen V4HeadSuperior with Fast Hands trait. Self-Repair Speed +50% and Revive Speed +20% means faster recovery between engagements. The Fast Hands trait stacks with the Oracle Lens ADS speed bonus.
Torso Slot: Helping Hands V4TorsoSuperior provides Hardware +20, Tactical Recovery +10%, and Revive Speed +50%. The Hardware bonus reduces status effect duration from EMP weapons that often support Ares users.
Legs Slot: Solid Stance V4LegsSuperior with Second WindLegsEnhanced trait. Hardware +50 and Heat Capacity +20 create additional survivability layers. The Second Wind trait provides movement speed bonus when shields break — exactly when you need to close distance on Ares users.
TACTICAL EXECUTION
The Destroyer's Riot Barricade becomes your primary anti-Ares tool. Deploy it at medium range to absorb the initial shot while advancing. Impact Siphons converts that 123 damage into shield energy, potentially bringing you back to full shields. The 175 base HP means you survive even without the conversion.
Demolition HMG with Pinpoint Barrel engages at 40+ meters where most shells can't trade effectively. The 31 damage per shot means you two-tap AssassinStealth (100 HP), ThiefStealth (90 HP), and three-tap most other shells. Against other Destroyer users, the engagement becomes about positioning and core selection rather than raw damage.


Counter-Ares positioning requires patience. Let them take the first shot into your Riot Barricade, absorb the damage as shield energy, then advance with tactical sprint. The 60 RPM fire rate means 1-second windows between shots — enough time to cover significant ground with Destroyer's tactical abilities.


