
The Season 2 Rook Build That's Actually Working
Season 2's weapon balance changes just shifted the entire RookFlex meta, and most players are still running outdated loadouts. While everyone's debating the WSTR nerf and Conquest LMGLMG buffs, the real opportunity is staring ranked solo players in the face: Rook's Adaptive Frame passive now has genuine weapon synergy that converts into extraction rate.

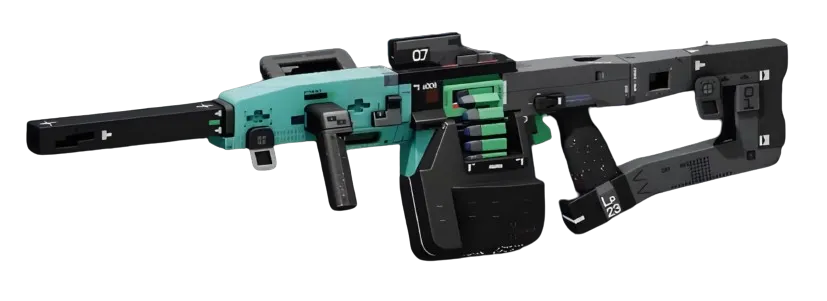
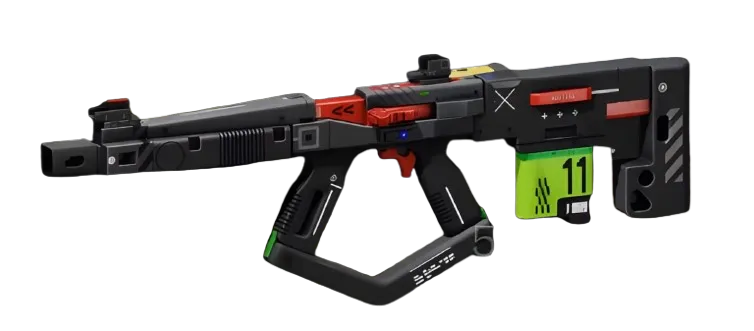
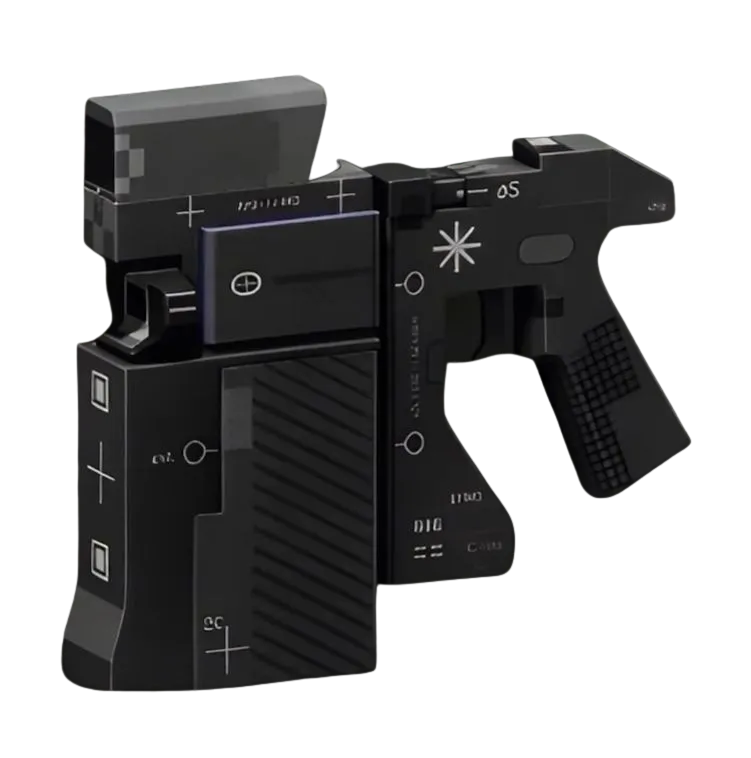
The winning build centers on M77 Assault RifleAR as primary with V11 PunchPistol as secondary. This isn't the flashy Conquest LMG everyone's testing — it's the consistent weapon swap strategy that exploits Rook's core advantage in Season 2's faster-paced ranked matches.
Why M77-V11 Punch Defines the Current Rook Meta
M77 Assault Rifle delivers 16 damage at 450 RPM with 24-round magazines, covering Rook's mid-range engagements where most Holotag fights happen. The V11 Punch hits for 20 damage at 600 RPM with instant reload mechanics via its Volt Battery system. Rook's Adaptive Frame eliminates the weapon swap penalty between Light Rounds and Volt Battery, creating seamless transitions that other shells can't replicate.
The strategy: open engagements with M77 at medium range, swap to V11 Punch for close-quarters cleanup, use Overclock to reset both weapons simultaneously. Season 2's faster match tempo rewards players who can handle multiple engagement ranges without retreating to swap weapons — Rook does this better than any shell in the current meta.
Mod the M77 with Pinpoint BarrelBarrel MODSuperior for stability and range extension, plus Feather MagMagazine MODSuperior for reload speed. The V11 Punch needs Oracle LensOptic MODSuperior for ADS speed and accuracy while moving. This setup covers 15-40 meter engagements with zero dead zones.
Implant Priority and Faction Unlock Strategy
Your implant build determines whether this loadout climbs or stalls in Diamond. Torso slot takes Helping Hands V4TorsoSuperior for the 20 Hardware and 50% revive speed — Season 2's increased aggression means you're finishing fights or getting finished more often. Legs slot runs Distance Runner V4LegsSuperior for heat management during Overclock windows.
Head slot is where most players are building wrong. Skip the obvious Prime Recovery implants — Rook doesn't win on ability cycling. Take Sprint Kit V4HeadSuperior for energy efficiency. Your Overclock windows need to maximize weapon swap advantage, not happen more frequently.
Shield slot locks in Protector V3ShieldSuperior. Rook's 35 base shields need reinforcement to survive the current burst damage meta.
Faction priority goes Cyberacme for SCAVENGER.EXE unlocks, then Sekiguchi for Tactical Recovery bonuses. The Season 2 loot changes make container speed crucial for mid-match positioning.
Season 2 Win Condition and Extraction Strategy
This build wins by controlling engagement range and weapon advantage simultaneously. M77 keeps you competitive at medium range against VandalCombat players running precision rifles. V11 Punch ensures you can pressure ThiefStealth and AssassinStealth players who try to close distance. Overclock lets you reset both weapons mid-fight, creating pressure windows that force opponents into bad positioning.


Your extraction strategy leverages Rook's stability. Play for late-game positioning near extraction zones, use the weapon flexibility to handle whatever opposition shows up, activate Overclock for the final push. Don't chase early Holotag fights — let other shells burn resources while you build positioning advantage.
Season 2's balance changes made weapon diversity mandatory for ranked climbing. Other shells specialize — Rook adapts. This M77-V11 build is the adaptation strategy that actually converts into extraction rate.


