
UNDERSTANDING ROOK'S ROLE
The RookFlex shell is Marathon's training wheels — but that's not an insult. With 140 HP, 35 Shield, and Medium speed, Rook offers the perfect balance for new Runners learning extraction fundamentals. Your Adaptive Frame passive eliminates weapon swap penalties, letting you experiment with different loadouts without punishment. This is where you learn the game's rhythm before committing to specialist shells.

Rook's Solo B, Squad C ranking tells the real story. You're not picking Rook to dominate ranked — you're picking Rook to understand ranked. Every specialist shell demands mastery of one playstyle. Rook demands mastery of Marathon itself.
OVERCLOCK ABILITY BREAKDOWN
Your Overclock active temporarily boosts reload speed and movement speed. The timing separates learning Runners from improving ones. Overclock isn't a panic button — it's a positioning tool and engagement enhancer. Use it before rotating to new zones, not during firefights. The reload speed boost makes weapon swaps seamless, supporting your Adaptive Frame passive.
Smart Overclock timing: Start of rounds for early positioning. Before looting high-value areas. When you need to close distance on isolated targets. Never waste Overclock on routine movements between empty areas.
WEAPON RECOMMENDATIONS
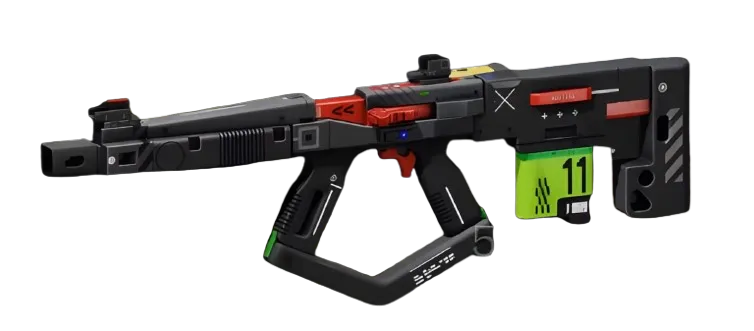
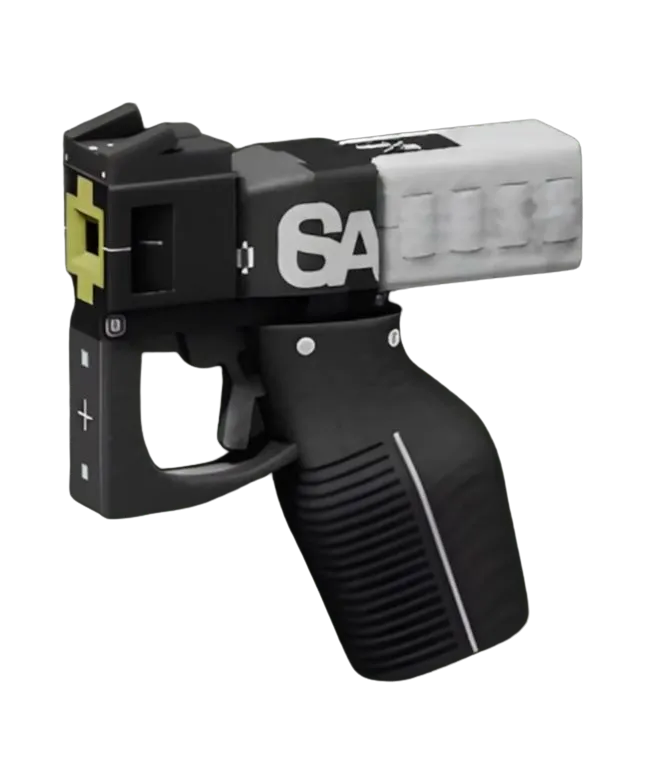
Rook's Adaptive Frame makes you the perfect shell for learning weapon categories. Start with the M77 Assault RifleAR — 16 damage, 450 RPM, flexible range. It forgives positioning mistakes while teaching fundamental aim discipline. Pair it with the CE Tactical SidearmPistol for close-range backup.
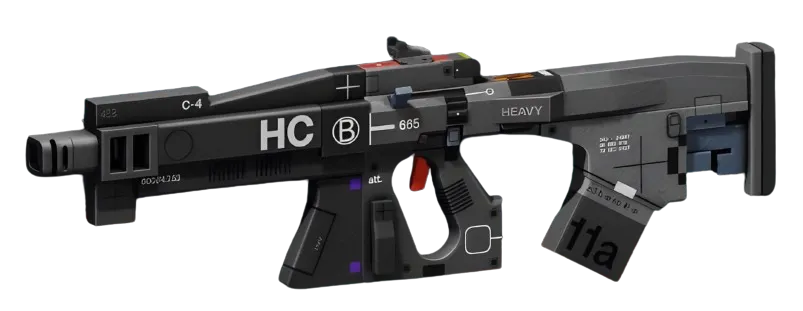
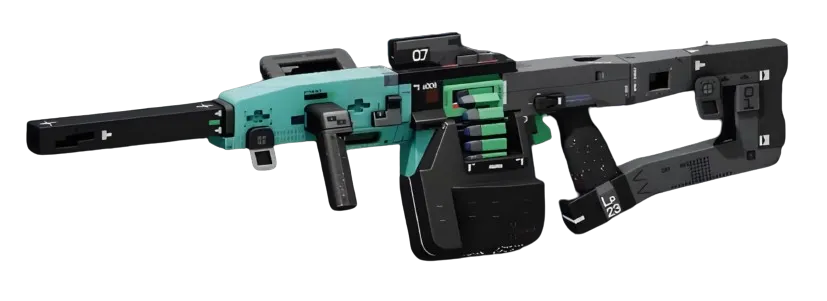
As you improve, transition to the Impact HARAR. Higher damage per shot (24) at slower fire rate (400 RPM) teaches trigger discipline. The Conquest LMGLMG works well for squad support — 16 damage, 540 RPM, and enough magazine capacity to suppress multiple targets.
Your weapon loadout should match your learning goals, not the current meta. Rook gives you permission to experiment without specialist penalties.
RANKED PROGRESSION STRATEGY
Rook earns you the right to play specialist shells. In Bronze through Gold, focus on fundamental skills: map awareness, third-party timing, positioning discipline. Your medium stats keep you alive long enough to learn from mistakes.
Use Rook to understand each shell's weaknesses. Follow Destroyers to learn their slow rotation vulnerabilities. Shadow Thieves to see their combat limitations. Track Triages to understand their positioning dependency. This intelligence becomes crucial when you graduate to specialist play.
Don't chase eliminations with Rook. Chase extractions. Your goal isn't topping leaderboards — it's building the foundation every other shell demands.
CORE AND IMPLANT PRIORITIES
Standard cores work fine for Rook since you're learning fundamentals. Glass Cannon gives ability regeneration when your shield breaks — perfect for learning fight recovery. The Big Score increases Loot Speed after opening locked containers, supporting extraction-focused gameplay.
For implants, prioritize survivability over specialization. Head slot implants offering shield or health bonuses extend your learning opportunities. Don't invest heavily in Prestige-tier upgrades — save those resources for your specialist shell choice.
TAKEAWAYS
1. Rook is your Marathon education — Learn extraction timing, map rotations, and engagement fundamentals here before moving to specialist shells that punish mistakes harder.
2. Abuse Adaptive Frame for weapon mastery — Experiment with different weapon categories without swap penalties. This knowledge transfers to every specialist shell.
3. Use Overclock for positioning, not panic — Smart timing on ability usage teaches resource management that specialist shells demand at higher skill levels.

