
The DestroyerCombat shell transforms every engagement into a close-range duel you will win. With 175 HP and 50 Shield, you have the highest survivability in Marathon. Your Thruster active forces Holotag drops and staggers enemies. Your Iron Frame passive reduces knockback and flinch. You are the squad's frontline enforcer.

Runners who master Destroyer control the pace of every fight. You decide when engagements happen and where they happen. The shell rewards aggressive positioning but punishes poor timing. Learn to read enemy rotations. Master the Thruster timing. Become the threat that forces rotations.
Understanding Destroyer's Role
Destroyer excels at forcing disadvantaged fights. Your Thruster shockwave staggers nearby enemies and forces Holotag drops. This is not a damage ability — it is a control tool. Use Thruster to interrupt enemy revives, force Holotag drops during third-parties, and create space for your squad to reposition.
Iron Frame reduces knockback and flinch from incoming fire. You maintain accuracy under pressure. You can hold angles that would be impossible for other shells. Your durability lets you tank damage that would down AssassinStealth or ThiefStealth in seconds.


The combination makes you the squad's anchor. You create opportunities through aggression. You enable your TriageSupport to heal safely. You give your ReconIntel time to gather intel. You are slow but unstoppable when played correctly.


Optimal Weapon Loadouts
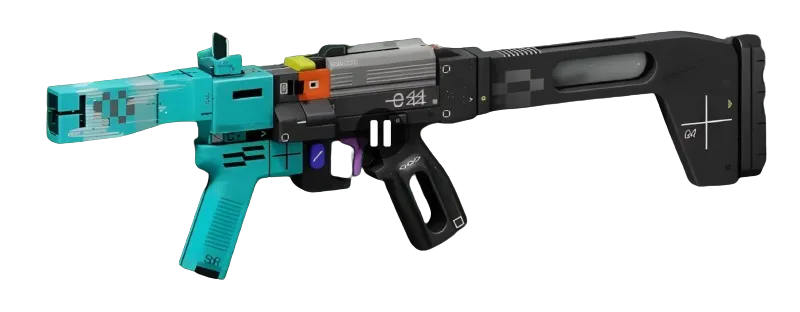
Destroyer needs weapons that capitalize on close-range superiority. The BRRT SMGSMG deals 11 damage at 1000 RPM with a 35-round magazine. The high fire rate maximizes your damage window when enemies are staggered by Thruster. Pair it with the Flechette Split ActionBarrel MODPrestige barrel mod for increased hip-fire accuracy and stability.
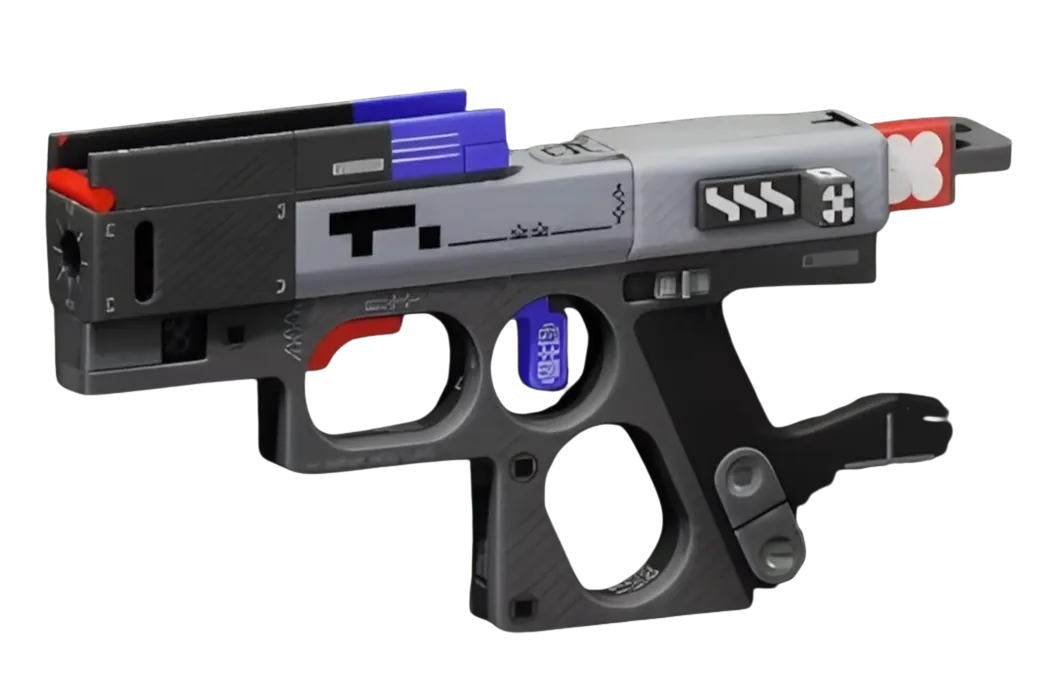
The Magnum MCPistol provides reliable mid-range damage at 33 damage per shot. The 138 RPM rewards accurate shooting. Use it to pressure enemies before closing distance. The Weighted BarrelBarrel MODEnhanced mod greatly increases aim assist and moving accuracy — essential for mobile combat.
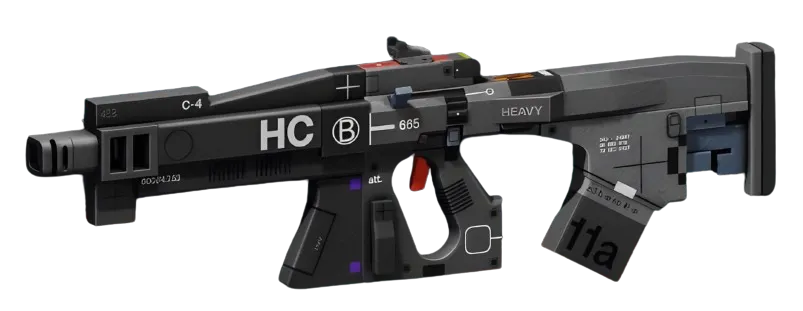
For squads with strong positioning support, the Impact HARAR delivers 24 damage at 400 RPM. The slower fire rate demands better aim but provides superior range flexibility. The Pinpoint BarrelBarrel MODSuperior mod greatly increases stability and range, letting you engage at distances that complement your squad's setup.
Core Upgrades and Faction Progression
The Impact Siphons core transforms your defensive playstyle. When your Riot Barricade takes damage, you recover shield energy. This Prestige core requires significant faction investment but changes how aggressively you can play. Tank damage to recover shields. Force enemies to choose between engaging you or rotating.
Counter Attack releases retaliatory missiles when your Riot Barricade takes damage. This Prestige core adds offensive pressure to your defensive positioning. Enemies cannot safely poke your barricade. They must commit to the engagement or disengage entirely.
For Runners building toward these upgrades, the Bullrush core provides immediate value. Your Riot Barricade does not passively drain energy during Tactical Sprint. This Superior core lets you maintain barricade uptime while repositioning aggressively.
Squad Synergy and Positioning
Destroyer's S-tier squad rating comes from enablement, not individual performance. You create space for Triage to operate safely. Your durability lets support shells position aggressively. Your Thruster forces Holotag drops that your squad can capitalize on.
Position yourself between threats and your support shells. Use natural cover to force enemies into your optimal range. When you Thruster, call the target for your squad. Staggered enemies cannot return accurate fire. Your squad should focus fire immediately after your Thruster activation.
Communicate your engagement intentions clearly. Tell your squad when you plan to push. Tell them when you need healing. Tell them when you are disengaging. Your job is to control space, but your squad must follow up on the opportunities you create.
Advanced Combat Techniques
Thruster timing determines fight outcomes. Activate Thruster when enemies are committed to the engagement. Too early, and they disengage. Too late, and you take unnecessary damage. Watch for enemy reloads, ability usage, and positioning mistakes.
Use your durability to bait enemy abilities. Tank a VandalCombat's Disrupt Cannon. Absorb a Recon's Tracker Drone focus fire. Force enemies to waste cooldowns on you instead of your more vulnerable squadmates. Your high HP pool makes these trades favorable.

Learn to recognize when fights are unwinnable. Your slow movement speed makes disengaging difficult. Plan your retreat routes before engaging. Know where your squad is positioned. Destroyer's greatest weakness is overcommitting to fights that your squad cannot support.
Key Takeaways
Master Thruster timing — activate when enemies are committed to engagements, not when they can easily disengage. Your shockwave forces Holotag drops and creates opportunities for squad focus fire.
Position aggressively but communicate clearly — your durability enables risky plays, but your squad must understand your intentions to capitalize on the space you create.
Invest in faction progression for Impact Siphons or Counter Attack cores — these Prestige upgrades transform defensive positioning into offensive pressure, making you nearly impossible to dislodge from advantageous positions.


