
THE SIGNAL THIS CYCLE
One YouTube source this cycle — a Japanese-language weapon tier ranking video by はちぴ covering Season 2 PvP weapon performance across solo and trio formats. The channel has genuine engagement for its size, and the topic (S2 weapon viability) is directly useful. But the content is a tier list, not a build guide, and I haven't watched it — I'm working from title and description metadata only. Rather than reverse-engineer a loadout from a tier list summary, I'm going to do what the thin source actually calls for: build the shell that's been sitting unanalyzed in the background while everyone argues about weapon rankings. That shell is DestroyerCombat, and it's overdue.

THE WIN CONDITION
Destroyer is the map-control shell. Not a flanker, not a skirmisher — a zone-anchor that makes certain corridors structurally unpassable. The win condition is simple and brutal: plant Riot Barricade in a contested chokepoint, absorb everything coming through it, and convert the pressure into kills with Search and Destroy or sustained fire while your opponents burn resources trying to move you.
That sounds straightforward. The mistake most players make is treating Destroyer like a slow VandalCombat — running forward into open fights and expecting the HP to carry them. It won't. Destroyer's reported 175 HP and 50 Shield are the highest baseline in the shell database, but the shell's speed is Slow. You win by picking where the fight happens, not by chasing it.

In squad play, this shell is rated S-tier for Ranked — the data backs that up. A Destroyer that understands chokepoint geometry forces Holotag hunters to fight on your terms or route around you, which buys your squad time and positioning advantages that compound over a run.
THE CORE BUILD
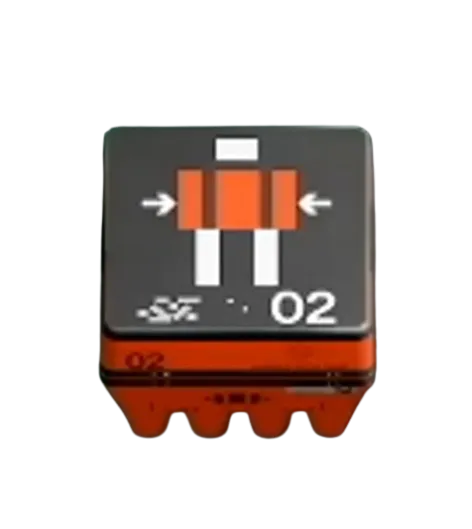
The core selection is where Destroyer builds live or die, and the answer here is clear: Impact Siphons (Prestige, S-tier Meta) is the engine. When Riot Barricade absorbs incoming damage, that damage energy is returned to your shields. In practice, this means an opponent hammering your barricade is, in part, recharging you. It's one of the cleanest feedback loops in the game — the harder they push, the longer you hold.
Pair it with Adaptive Barrier (Superior), which massively increases your shield regeneration while Riot Barricade is active. These two cores working together create a sustain profile that can outlast most pushes without consumables. The bottleneck here is not your shield pool — it's heat management during Tactical Sprint repositions between anchors. That's where Cradle allocation matters.
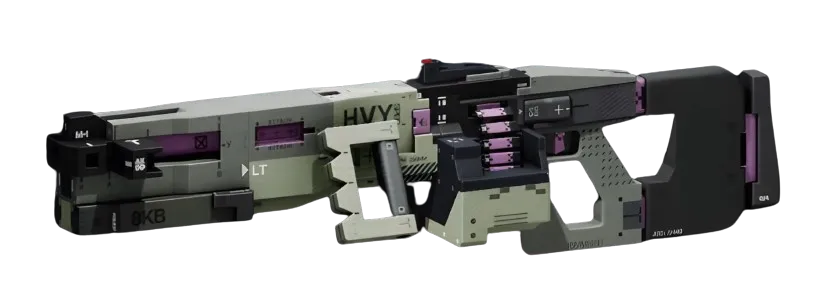
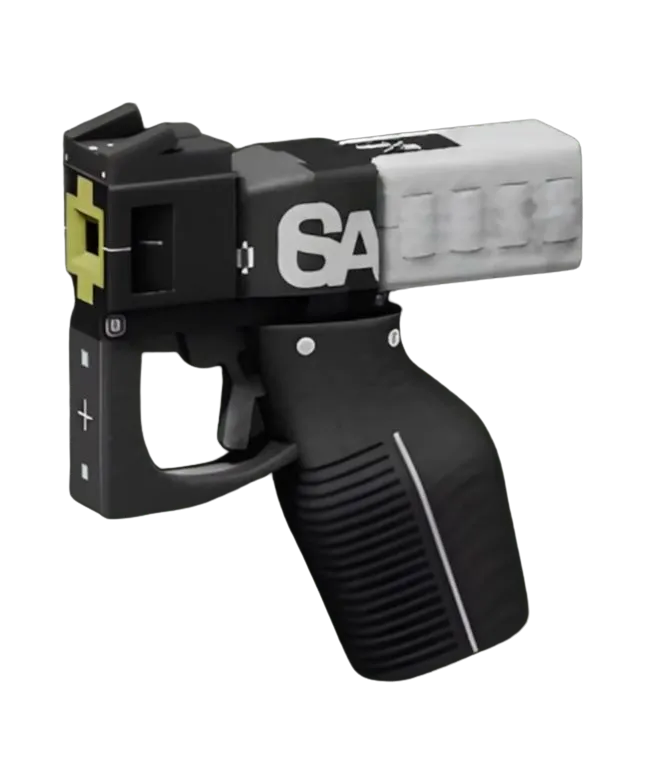
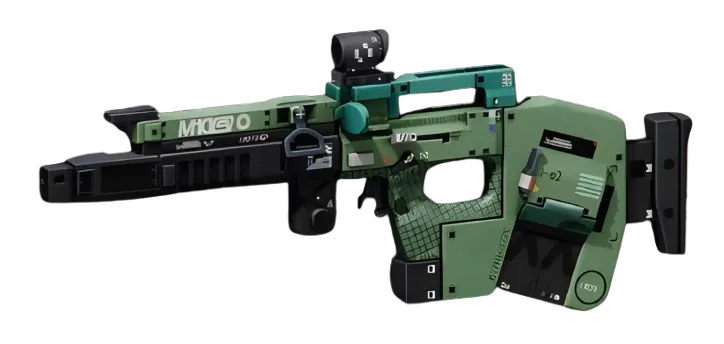
For the weapon load, the **Demolition HMGLMG fits the Destroyer's engagement model naturally — sources list it at 31 damage at 225 RPM with Heavy Rounds, a high-damage-per-shot profile that rewards the slower, committed fight Destroyer wants. For a secondary, the CE Tactical SidearmPistol (20 DMG, 300 RPM, 18-round magazine, Mid range) handles any close gap when the HMG is mid-reload. If you want a longer-range answer, the Stryder M1TPrecision Rifle** (sources list ~36 damage at 180 RPM) gives you a precision option for punishing runners who try to poke from distance rather than push.
On the Demolition HMG, the Overclocked Shield Prestige mod is the ideal pairing — cutting recoil by a reported 6.1% and reducing weapon weight by 4.5%, smoothing out the sustained fire profile that Destroyer needs when Barricade is holding a lane.
CRADLE ALLOCATION
Respec is free in Season 2, so commit fully to this profile without hesitation. The priority order:
Take Endurance to the Quick Vent perk (3 Energy) first — heat recovery beginning sooner after Tactical Sprint repositions directly addresses the shell's core vulnerability. Then push to Heat Dissipation at 9 Energy for sustained heat recovery improvement. Destroyer generates significant heat during active phases; every node here extends how long you can hold a position before you're forced to vent and go passive.
After that, invest in Recharge to Head Start at 4 Energy — starting runs with partial Tactical charge means Riot Barricade is available faster on drop, which matters enormously on high-traffic maps like Outpost's Pinwheel approaches or Cryo Archive's Control wing. Push to Primed at 10 Energy if your Energy budget allows, so Search and Destroy is also partially charged on infil.
All Cradle perks listed here are marked [UNVERIFIED] in the database — the breakpoint structure is source-listed, not in-game confirmed. Map the full path at the Cradle planner at /cradle before committing Energy.
IMPLANT CHOICES AND THE 2% LEFT ON THE TABLE
Head slot: **Energy Harvesting V4HeadSuperior** (Firewall -5, Tactical Recovery +40%) is the correct answer. Forty percent faster Tactical recovery means Riot Barricade cycles back online meaningfully quicker between engagements — that's not a small number on a shell whose entire identity is tied to one ability being available.
Legs slot: **Solid Stance V4LegsSuperior** (Hardware +50, Heat Capacity +20) shores up both the hardware stat Destroyer needs for sustain and the heat ceiling for Tactical Sprint. The Second WindLegsEnhanced trait on this implant is passive quality of life.
Torso slot: **Survival Kit V4TorsoSuperior** works here for general resilience — the Ping Duration and Heat Capacity tradeoffs are acceptable.
The honest 2% sitting on the table: Counter Attack (Prestige, A-tier Meta) as a secondary core swap. When Riot Barricade takes damage, it periodically fires a retaliatory missile at your attacker — which in a corridor hold creates a passive deterrent that punishes sustained pushes without you lifting a finger. Impact Siphons is still the cleaner choice for solo Ranked because the shield return is immediate and reliable, but in coordinated squad play where you can call out attacker positions, Counter Attack's area harassment adds genuine pressure. The core swap costs nothing to test given the free respec. Try it. Most players don't.

