
The Problem: Assassin's Stealth Advantage
AssassinStealth is crushing ranked solo queues because most players fight it wrong. Phase Shift makes direct engagement a coin flip, and Shadow Step means you're dead before you hear them coming. The shell's 100 HP might look fragile, but that Fast speed plus stealth abilities create positioning advantages that most ranked players can't handle.

The mistake? Trying to outplay Assassin in close quarters. You're fighting their strongest advantage — stealth repositioning at CQB range where their low health doesn't matter. The counter isn't better reactions or game sense. It's forcing fights at ranges where Assassin's kit becomes a liability.
Range Control: Force Mid-Range Engagements
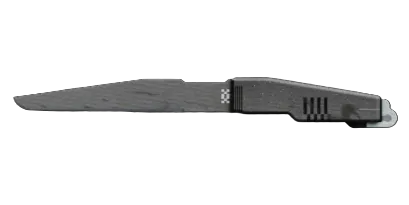
Assassin dominates at KnifeMelee range and struggles past 25 meters. Phase Shift repositions them 10-15 meters max — not enough to close gaps from mid-range. Shadow Step only matters if they can get close without being seen first.
Conquest LMGLMG with Pinpoint BarrelBarrel MODSuperior is the hard counter weapon most ranked players are sleeping on. The combination hits for 16 damage at 540 RPM with 36-round magazines and greatly increased stability and range from Pinpoint Barrel. That's enough burst damage to drop Assassin's 125 total health pool before Phase Shift repositioning saves them.
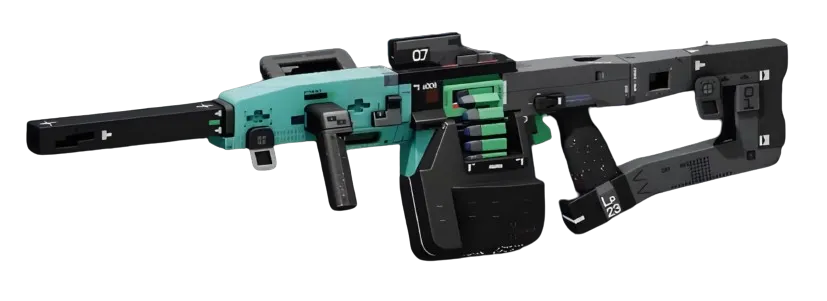
The key timing: engage Assassin at 30+ meters. Phase Shift won't close enough distance to threaten you, and Conquest's sustained damage advantage forces them into bad positioning or death. If they try to disengage, the Extended MagazineMagazine MODDeluxe keeps pressure while they're exposed.
Shell Selection: Destroyer's Area Denial
DestroyerCombat is the shell counter to Assassin that changes the entire engagement dynamic. Your 175 HP and 50 shields create a 225 total health pool — nearly double Assassin's effective HP. More importantly, Destroyer's Riot Barricade forces Assassin to fight in the open or abandon engagement entirely.

The Destroyer + Conquest LMG combination creates a 40-meter control zone Assassin cannot challenge. Deploy Riot Barricade when you spot them at range. They have two bad options: try to flank around your shield (exposing them to Conquest burst damage) or retreat entirely. Phase Shift can't reposition through Riot Barricade — the barrier blocks their most reliable escape route.
Impact Siphons core amplifies this strategy further. Incoming damage to your Riot Barricade returns as shield energy, turning Assassin's poke damage into your sustain advantage. They can't whittle you down from range, and they can't close distance without eating Conquest damage.
Positioning: Control the Engagement Space
Assassin wins by choosing when and where fights happen. Counter this by controlling map geometry and forcing predictable movement. Position near extraction zones, high-value loot, or chokepoints where Assassin must expose themselves to advance their game plan.
The 30+ meter engagement rule applies to positioning too. Stay in open areas where Phase Shift repositioning leaves them exposed, not tight corridors where they can vanish around corners. Conquest's 36-round magazine gives you 4+ seconds of sustained fire — enough to track Assassin through Phase Shift and finish them on the other side.
When Assassin commits to an engagement, they're vulnerable for a 2-3 second window after Phase Shift ends. That's when Conquest LMG's burst damage and Destroyer's health advantage matter most. They can't trade favorably in a straight damage race.


