
WHAT HOLOTAG TIERS ACTUALLY MEASURE
Holotags are not a kill counter. They are a pressure-and-extraction score — you earn them by downing Runners and leaving with proof. That distinction matters for every tier benchmark below. Players who optimize for eliminations and die holding tags are not climbing. Players who take clean trades, survive, and exfil are.
No hard numeric tier cutoffs are publicly verified in current NEXUS data. What follows is a structural analysis of the behavioral gaps that separate tiers — built from shell data, top-graded builds, and observed ranked patterns. Use it to self-locate honestly.
ENTRY TIERS — SURVIVAL IS THE CEILING
At the bottom of the Holotag ladder, the constraint is not build quality — it is extraction discipline. Most players here are on RookFlex or VandalCombat. Rook's Signal Mask keeps them alive through UESC pressure and buys time to learn map flow. Vandal's Amplify movement engine is the most forgiving combat shell in ranked: the heat-reset on activation and the Microjets jump create escape options that more specialized shells do not have.


The skill that unlocks the next tier is simple to name and hard to do: stop dying with tags in your inventory. Entry-tier players frequently win the fight and lose the run. The build does not need to change. The decision to push a third party instead of routing to exfil does.
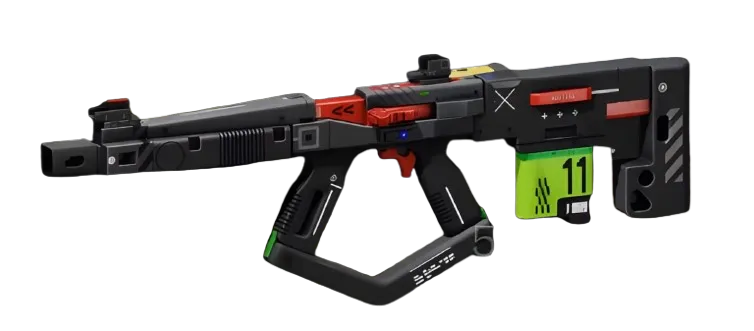
Weapon choice here should prioritize consistency over ceiling. The M77 Assault RifleAR — sources list it at 16 damage at 450 RPM in a Flex range bracket — keeps you competitive in both mid-range trades and unexpected CQB without demanding precision. It is not the highest-ceiling option. It covers mistakes, which matters more at this stage.
MID TIERS — INTEL AND POSITIONING SEPARATE THE PACK
The mid-tier jump is about information. Players who break through here have learned to generate it proactively rather than react to it. This is where ReconIntel becomes a genuine ranked asset. Echo Pulse's through-wall detection distinguishes Runner positions from UESC before you commit, and Interrogation's ping-on-finisher means every confirmed kill feeds your crew's awareness. The Recon Intel Engine build has held an 8.2 CE Score in recent coverage — that rating reflects how much free value its passive information loop provides against players who are still operating blind.

ThiefStealth earns its S-tier solo ranking here too. The Grapple Device buys positioning that other shells cannot buy — it converts map geometry into an advantage, and X-Ray Visor's Hack-on-aim gives you target-state information before a fight starts. Players stuck in mid tiers on other shells should honestly ask whether the shell they enjoy is the shell that fits the role they are being asked to play.

Cradle investment becomes a real differentiator at this stage. The Recharge track's perks around ability recovery mean your Echo Pulse and Tracker Drone are up more often in the engagements that decide runs. Exact Energy breakpoints in the Recharge track are source-listed but unconfirmed in-game — invest there directionally and respec freely to find your floor.
HIGH TIERS — THE EXTRACTION READS GET HARDER
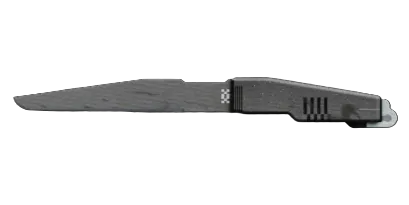
At the top of the bracket, shells are less variable. AssassinStealth with Shadow Strike is the dominant solo Holotag-theft mechanism: the Prestige core's damage bonus from invisibility turns the Utility KnifeMelee into a confirmed down on isolated targets, and Active Camo's 15-second duration with Shroud's smoke-trigger extension gives you enough clock to set up and abort. The risk is real — Assassin has no fallback like Vandal's Amplify reset or Recon's passive intel. High-tier Assassin players are not more aggressive; they are more patient.

Squad coordination is the remaining gap. TriageSupport at S-tier squad ranking is not a coincidence — squads running a Triage anchor extract more consistently because Reboot+ and Med-Drone remove the binary win/lose of a down in a contested exfil. The Battery Overcharge trait's EMP-on-shield-break with volt weapons adds enough disruption in final fights to swing tags.

The benchmark at this tier: your decisions in the last 90 seconds of a run should be better than your opponents'. That is the whole game.


