
THE CASE FOR SENTINEL RIGHT NOW
One video this cycle — and it's not a build video. LUCKYY 10P's "Is Bungie Sabotaging Marathon?" is commentary content, not loadout theory. That gives me a clean editorial call: the most underserved, underanalyzed shell in the game right now needs the floor. SentinelCombat has seven articles to its name on this site against ThiefStealth's 151. That is not a coverage gap, that is a blackout. The shell has a real build path and it is being completely ignored, so here is the full system breakdown.

THE WIN CONDITION
Sentinel is a close-range pressure platform built around the Castle Doctrine trait. The trait reads straightforwardly: you ready and reload SMGs, Pistols, and Shotguns more quickly based on the number of nearby hostiles, and when you take splash damage your Hardware, Firewall, and Self-Repair Speed increase for a short time. That second clause is easy to miss — it turns Sentinel into a shell that gets *stronger* when fights get chaotic. The win condition is: push into tight spaces with a fast-cycling CQB weapon, keep multiple enemies in your proximity zone to maximize Castle Doctrine's handling bonuses, and use Snare Mine to funnel and immobilize targets so you are always dictating the engagement geometry. Your Defender System covers your flank from grenades and hands your entire squad increased stability and reload speed while you hold a room. You are not a tank that soaks damage — you are a room anchor that shapes where fights happen and wins them through mechanical advantages your opponents do not have.
THE CORE LOADOUT
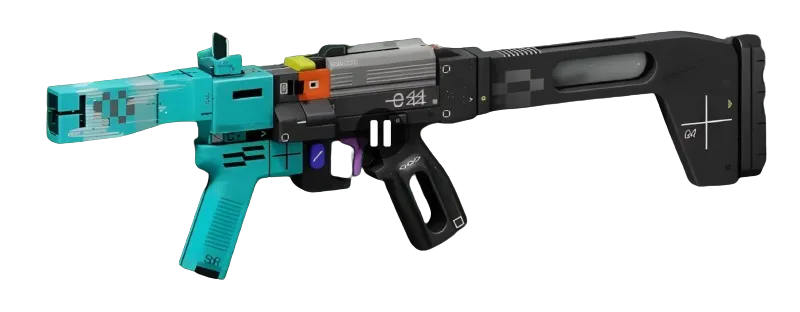
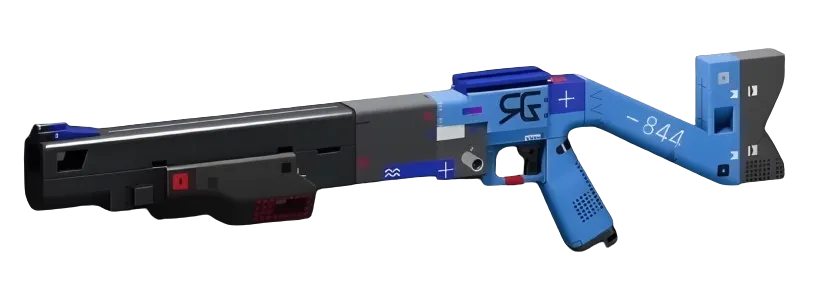
Primary weapon: the **BRRT SMGSMG. At 1000 RPM with Light Rounds and a 45-round magazine, it is the highest fire rate ballistic in the database and it sits inside exactly the weapon category Castle Doctrine supercharges. Pair it with the Rodeo Mag (Prestige) — sources list it at +60 fire rate, -13.2% recoil, and +49 magazine size — and you have an SMG that cycles through targets without pause. That is the Bully's Prestige mag on the wrong weapon, you say? Correct, the Rodeo Mag is Bully-specific. For the BRRT, the Hi-Cap MagMagazine MODDeluxe (Superior) at +9 magazine size is the verified slot filler until you source a better option. The MIPS Slug ConverterBarrel MODPrestige** belongs on a secondary Misriah 2442Shotgun if you want a Shotgun that also benefits from Castle Doctrine's handling boost — sources list it at +57 fire rate and +0.5 aim assist for the WSTR Combat ShotgunShotgun specifically, but it is weapon-specific and does not slot the Misriah; use the **Ironhold BarrelBarrel MODEnhanced (Superior) on the Misriah instead for the crouching stability bonus, which pairs cleanly with a Sentinel holding a corner. Chip slot: Blue Blood (Superior)** — downing a Runner restores health, which matters when your job is to stay inside the fight longer than everyone else.

CORES AND IMPLANTS
The S-tier core pick is the Wellness Beacon (Deluxe) — while standing near your Defender System, you and allies use medical items more quickly. In squad play this is quietly one of the best utility cores in the game: your anchor position becomes a consumable efficiency zone. Pair it with Reversal (Enhanced) — defeating an Immobilized target heals you over time. Snare Mine immobilizes. You shoot an Immobilized target. You heal. The loop closes itself.
Implant setup: **Regen V4HeadSuperior (Superior) in the Head slot for Self-Repair Speed 50% and Revive Speed 20% — Sentinel wants to stay in the fight and this is the fastest self-repair available in the verified database. Solid Stance V4LegsSuperior (Superior) in the Legs slot for Hardware 50 and Heat Capacity 20 — more capacity means more Castle Doctrine uptime before you have to back off. Knife Fight V4TorsoSuperior (Superior)** in the Torso slot brings Melee Damage 50, which pairs with close-range pressure if anything survives the BRRT.
CRADLE ALLOCATION
Because respec is free, you can commit fully to this profile and adjust without penalty. All Cradle breakpoint values are listed as [UNVERIFIED] in the database — exact Energy costs are unconfirmed — but the track priorities are clear: invest Endurance first for Heat Capacity growth and the Heat Dissipation perk, which keeps your Castle Doctrine window open longer. Resistance second for Hardware and Firewall gains, amplifying the Castle Doctrine splash-damage bonus when it procs. Strength third if you want the Close & Personal perk for reduced melee heat cost — this is a 2% gain for most players and I would not prioritize it over the first two tracks unless you are in the habit of finishing downed targets with the KnifeMelee. Map your exact path at /cradle before your next run; seeing the breakpoints light up makes the investment obvious.
MAPS, RANKED VIABILITY, AND THE ONE THING TO FIX
Outpost is Sentinel's best map. The Pinwheel's multi-level tight corridors and the Dormitories cluster play directly into Castle Doctrine's proximity mechanic. Night Marsh's Upper Complex is a secondary target — dense rooms, predictable enemy funnels, Snare Mine almost writes itself there. For ranked, Sentinel targets the B-to-A Holotag tier in squad play — you are not the one stealing Holotags, but your squad extracts more consistently when a room anchor is holding the exit. The bottleneck is not your firepower; it is Prey Tracker. Use the front-facing motion radar aggressively. Most Sentinel players forget it exists. That is the last 5% sitting untouched on the table.

