
The Solo Recon Problem
ReconIntel sits at B-tier in solo ranked for good reason — intel shells traditionally need coordinated teammates to capitalize on information. But with proper positioning, target selection, and the mid-season Tracker Drone buffs, solo Recon players can climb to Platinum and beyond.

Essential Loadout for Solo Success
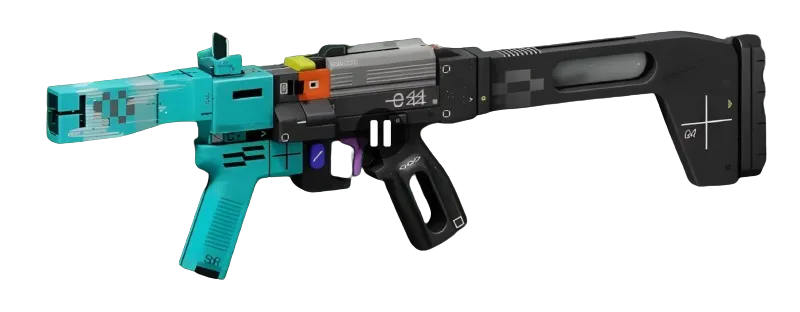
Your weapon choice determines everything in solo Recon. The BR33 Volley RiflePrecision Rifle excels here — 14 damage at 900 RPM with long range lets you engage from Tracker Drone sightlines. Pair it with the Pinpoint BarrelBarrel MODSuperior mod (requires TraxusFaction Rank 15, 2,000 CR, 7 Anomalous Wire, 21 Plastic Filament) for maximum stability and range.

For close-range backup, the BRRT SMGSMG handles aggressive pushers. The Flechette Split ActionBarrel MODPrestige barrel mod increases hip-fire accuracy — crucial when enemies rush your drone positions.
Core Slot Priority
Echo Chamber (Superior) transforms your prime ability into a multi-pulse information tool. Each additional ping helps track enemy movement patterns, and eliminating recently-pinged hostiles returns prime energy. This creates a feedback loop: better intel leads to better positioning leads to more eliminations leads to more intel.
Early Warning System (Prestige) provides passive awareness when hostile Runners enter your area. This prevents flanks that typically punish solo intel players.
Positioning Strategy
Solo Recon succeeds through what I call "anchor positioning" — claim high-ground positions near extraction zones and use Tracker Drone to monitor approach routes. On Outpost, the central tower overlooks three major lanes. On Perimeter, the communications array provides sightlines to both extraction sites.
Deploy Tracker Drone aggressively after the mid-season buffs. Improved tracking strength means it won't lose targets around corners, and the reduced travel speed prevents overshooting in tight spaces. If your original target becomes unreachable, the drone automatically seeks new hostiles.
Target Selection Priorities
Solo Recon players must choose engagements carefully. Priority targets:
1. Isolated Holotag carriers — Your drone spots them, you eliminate them, you claim the tag 2. Wounded enemies rotating — Threat Scan highlights damaged hostiles for easy cleanup 3. Squad stragglers — Pick off teammates who fall behind during rotations
Avoid: Full squads in open areas, DestroyerCombat players with Riot Barricade active, anyone with active Signal Jammer (though post-patch, jammed players still ping as UESC targets).

Faction Investment Path
Traxus provides essential Recon upgrades. Reach Rank 4 for TAD_BOOST.EXE (750 CR, 19 Unstable Gunmetal) — extends ping range by 20 meters. At Rank 15, TRACKER.EXE increases ping duration by 30 seconds (2,000 CR, 7 Anomalous Wire, 21 Plastic Filament).
SekiguchiFaction offers ability cooldown reductions. TAC_AMP.EXE at Rank 2 (750 CR, 16 Unstable Diode) reduces tactical cooldowns by 30%. Your Tracker Drone becomes available more frequently.
Heat Management
Solo players can't rely on teammates to cover rotations during overheating. Run Distance Runner V4LegsSuperior leg implants (requires Stealth Servos trait) for improved heat capacity. The Energy Harvesting V4HeadSuperior head implant provides 40% tactical recovery but reduces prime recovery — acceptable since Echo Chamber generates prime energy through eliminations.
Extraction Timing
Recon's biggest solo advantage: you know when extraction sites are contested. Use Tracker Drone to scout exfil zones before committing. If hostile signatures appear, rotate to alternate sites or wait for them to engage other players.
The key insight: solo Recon isn't about carrying through combat excellence — it's about information asymmetry. You see threats coming while enemies operate blind.
Key Takeaways
• Position aggressively with Tracker Drone, engage conservatively with weapons • Invest in Traxus faction for extended drone range and ping duration • Target isolated Holotag carriers and wounded rotators over full squads