
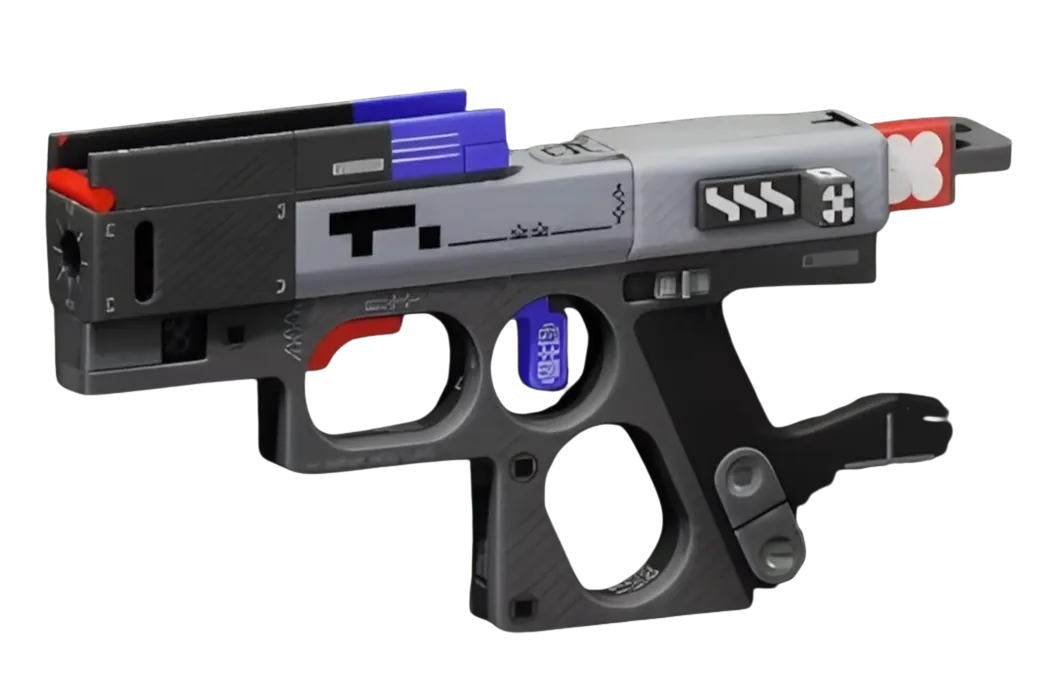
THE NEW DEFENSIVE SPECIALIST
SentinelCombat dropped in Season 2 as Marathon's pure area control shell, built around the Castle Doctrine passive that rewards defensive positioning. While Knope's showcase highlighted the shell's fashion and mobility options, the real story is how Castle Doctrine creates a completely new strategic layer - one where holding ground becomes more valuable than taking it. This isn't about camping; it's about creating zones where your squad dictates the engagement terms.
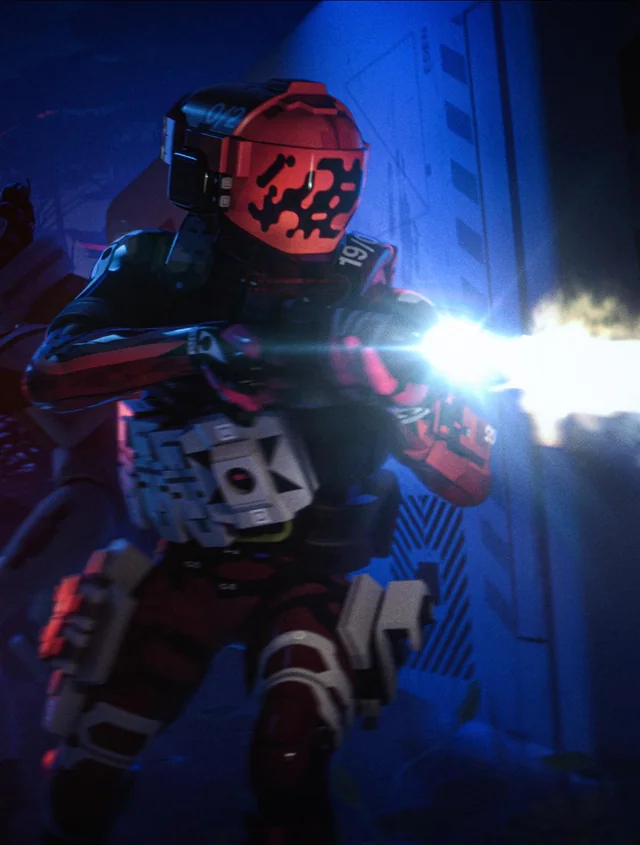
Castle Doctrine triggers defensive bonuses when you maintain position, making Sentinel the anchor point for squad compositions that want to control chokepoints, defend extraction zones, or lock down Holotag camping spots. The passive scales with your ability to read the map and choose positions that force enemies to fight on your terms rather than theirs.
CRADLE ALLOCATION FOR AREA CONTROL
The optimal Sentinel Cradle path prioritizes Endurance and Resistance tracks to maximize your ability to hold position under pressure. Take Endurance to the "Heat Purge" breakpoint at 14 Energy - eliminating hostiles reduces your heat buildup, letting you maintain suppressive fire longer when defending your zone. The "Heat Dissipation" perk at 9 Energy ensures you recover faster between waves of attackers.
Resistance track investment becomes crucial for staying power. The "TCIV Resist" perk at 8 Energy reduces damage from environmental hazards, critical when holding positions near Heat Cascade zones or electrical traps. Push to "Field Medic" at 14 Energy to use medical consumables faster during combat, turning your defensive position into a mini-bunker where you can heal while under fire.
Secondary investment in the Strength track's "Finisher Protection" at 6 Energy reduces damage while performing finishers, letting you safely execute downed attackers who push your position. Castle Doctrine works best when you can punish overextension decisively.
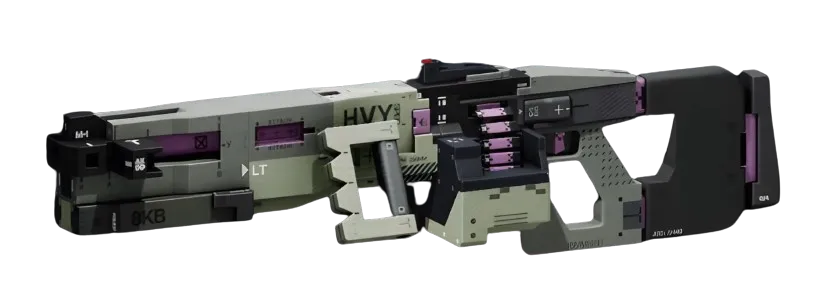
WEAPON SELECTION FOR ZONE CONTROL
The Demolition HMGLMG becomes Sentinel's signature weapon - 31 damage per shot at 225 RPM with heavy rounds that punch through multiple targets. The high damage output and penetration make it perfect for suppressing chokepoints and denying area access. Pair it with the Drum MagazineMagazine MODSuperior mod for sustained fire capability, accepting the longer reload time since Castle Doctrine rewards staying put rather than repositioning frequently.
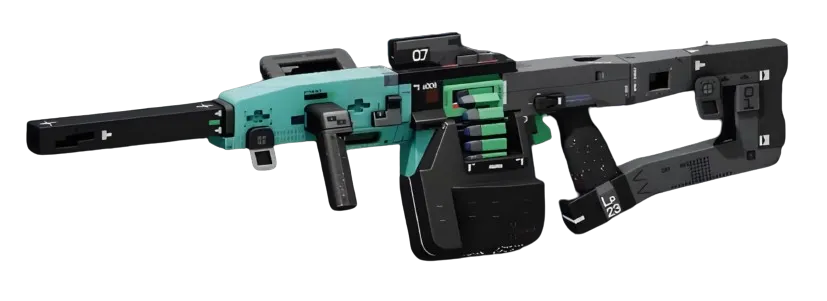
Secondary weapon choice depends on your defensive scenario. The Conquest LMGLMG offers better sustained fire at 540 RPM for longer engagements, while the Impact HARAR provides 24 damage per shot with better mobility if you need to adjust your position within your defensive zone. Avoid SMGs and shotguns - Castle Doctrine wants you holding medium-to-long sightlines, not brawling in close quarters.
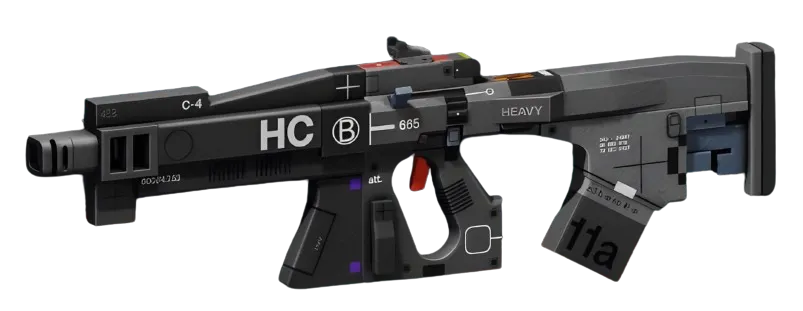
For sidearm backup, the Magnum MCPistol delivers 41 damage per shot for finishing wounded attackers who breach your position. The heavy rounds ensure that anything that gets past your primary suppression stays down.
IMPLANT AND CORE SYNERGY
Solid Stance V4LegsSuperior becomes the cornerstone implant - the Second WindLegsEnhanced trigger and +50 Hardware boost both support Castle Doctrine's defensive philosophy. The additional Heat Capacity lets you maintain longer firing positions, while the Hardware boost improves your durability when anchoring for the squad.
Helping Hands V4TorsoSuperior provides +50% Revive Speed, crucial for Sentinel's role as squad anchor. When teammates go down near your position, Castle Doctrine's defensive bonuses let you hold the revive under fire. The +20% Tactical Recovery also synergizes with any tactical abilities from other shell cores you might equip.
Without Sentinel-specific cores revealed yet, universal options like Static Casket provide value - the Signal Jammer effect when downed can disrupt enemy callouts if they breach your position, buying your squad time to retake the area or extract.
WIN CONDITION AND RANKED VIABILITY
Sentinel's win condition revolves around area denial rather than elimination hunting. In ranked, this shell excels at Holotag defense scenarios - when your team secures a high-value Holotag, Sentinel creates the defensive position that lets you hold it against counter-attacks. The build targets Bronze through Gold Holotag tiers where positioning discipline beats raw mechanical skill.
Castle Doctrine turns extraction zones into fortresses. While other shells race to the exfil, Sentinel sets up suppression lanes that protect the approach routes. Squad compositions with Sentinel can extract consistently even when other teams contest the zone, because the area control advantage forces unfavorable engagements on attackers.
The shell struggles in pure elimination scenarios where mobility and aggression determine outcomes, but dominates control-focused matches where holding territory creates tactical advantage. As Season 2's meta develops around the new Dire Marsh (Night) map, Sentinel's ability to lock down key positions will likely prove invaluable for squads serious about consistent extraction rates.


