WHAT THE OVERRUN AR ACTUALLY IS
The Overrun ARAR has a profile that looks alarming at first glance: 10 damage per shot is the lowest in the AR class. Before you dismiss it, look at the fire rate — 720 RPM, full-auto, Light Rounds. That puts it in the same cadence bracket as the Copperhead RFSMG, except the Overrun reaches out to mid-range (40m) where the Copperhead falls off. What you have is an AR built around volume: it wins by landing more rounds, more consistently, at a range most other high-rate weapons can't touch.
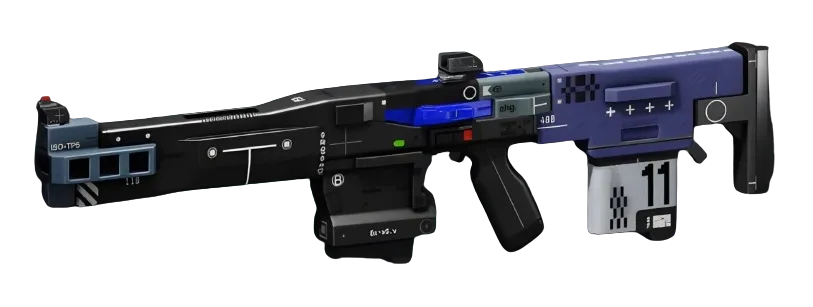
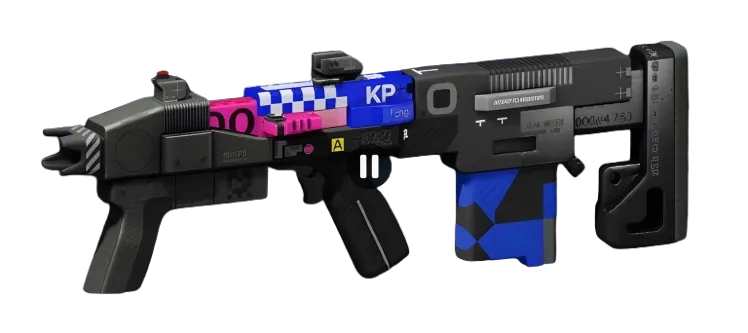
The precision multiplier sits at 1.4x. That number matters more here than on a slow, high-damage weapon. On a 720 RPM platform, precision hits compound quickly. A clean burst to the head does noticeably more work than body shots — which means trigger discipline still applies, even on a full-auto weapon. Spray into center-mass against a bot wave; aim for the head when it counts against a real opponent.
The Season 2 patch (1.1.0) reduced the base recoil significantly — horizontal recoil dropped by roughly half, vertical by around 12%. This was the change that made the Overrun worth talking about. Before that patch, the high fire rate meant the gun climbed fast and punished you for it. Now the recoil profile is genuinely manageable at Standard rarity, which is where you'll be running it most often as a newer player.
THE REAL COST: MAGAZINE DISCIPLINE
Twenty rounds. That is your magazine. At 720 RPM, a two-second full-auto spray empties the gun. This is the weapon's honest weakness, and it will kill you more often than enemy fire if you don't account for it.
You must learn to fire in controlled bursts. Think of it less like an AR and more like a fast-cycling precision tool — short pulls, reassess, short pulls again. Against UESC enemies this is forgiving; against another Runner it becomes the difference between winning the duel and getting finished mid-reload.
The Background ProcessChip MODEnhanced chip is worth slotting early: when the weapon is stowed, it reloads automatically after a significant period of time. This matters in a run where you're switching between primary and secondary frequently — your Overrun comes back ready. For your magazine mod slot, anything that adds capacity or cuts reload time compounds the gun's usability. A Hi-Cap MagMagazine MODDeluxe addresses the size problem directly. A Feather MagMagazine MODSuperior or Hi-Speed Mag trades some capacity for a faster return to readiness. Choose based on whether you're getting caught empty more often than you're getting caught slow.
For the barrel, Steady BarrelBarrel MODSuperior is your stability anchor — it boosts stability, ready speed, and accuracy while moving, which suits the Overrun's role in active, mobile engagements. If you're running a more static or anchored playstyle, Ironhold BarrelBarrel MODEnhanced rewards crouched accuracy specifically.
SHELL PAIRINGS AND WHEN TO USE IT
The Overrun is genuinely ranked-viable, and that's not a consolation prize. It's a Standard rarity weapon, meaning you're not gambling high-value gear on every run. That makes it ideal for learning ranked without fear of losing a loadout you spent sessions building.
The VandalCombat's Amplify ability and movement kit pair well with this weapon's fire rate. Amplify refreshes your heat bar and boosts handling speeds — on a 720 RPM weapon, anything that tightens your handling loop pays dividends. The Vandal's Power Slide and Microjets also let you create the angles the Overrun wants: get in at mid-range, engage on your terms, exit before the situation goes sideways.

The AssassinStealth is a less obvious pairing, but Shroud — which triggers camouflage when you enter any smoke source — creates brief windows where you can open an engagement from concealment and use the Overrun's fire rate to close it before the disruption window expires. The weapon does enough damage-per-second to make that window count.

If you're on DestroyerCombat, the Overrun fills the mid-range gap that the Riot Barricade kit doesn't naturally occupy. Let the barricade force a position, then place rounds at range while they're committed.
CRADLE: WHERE TO INVEST
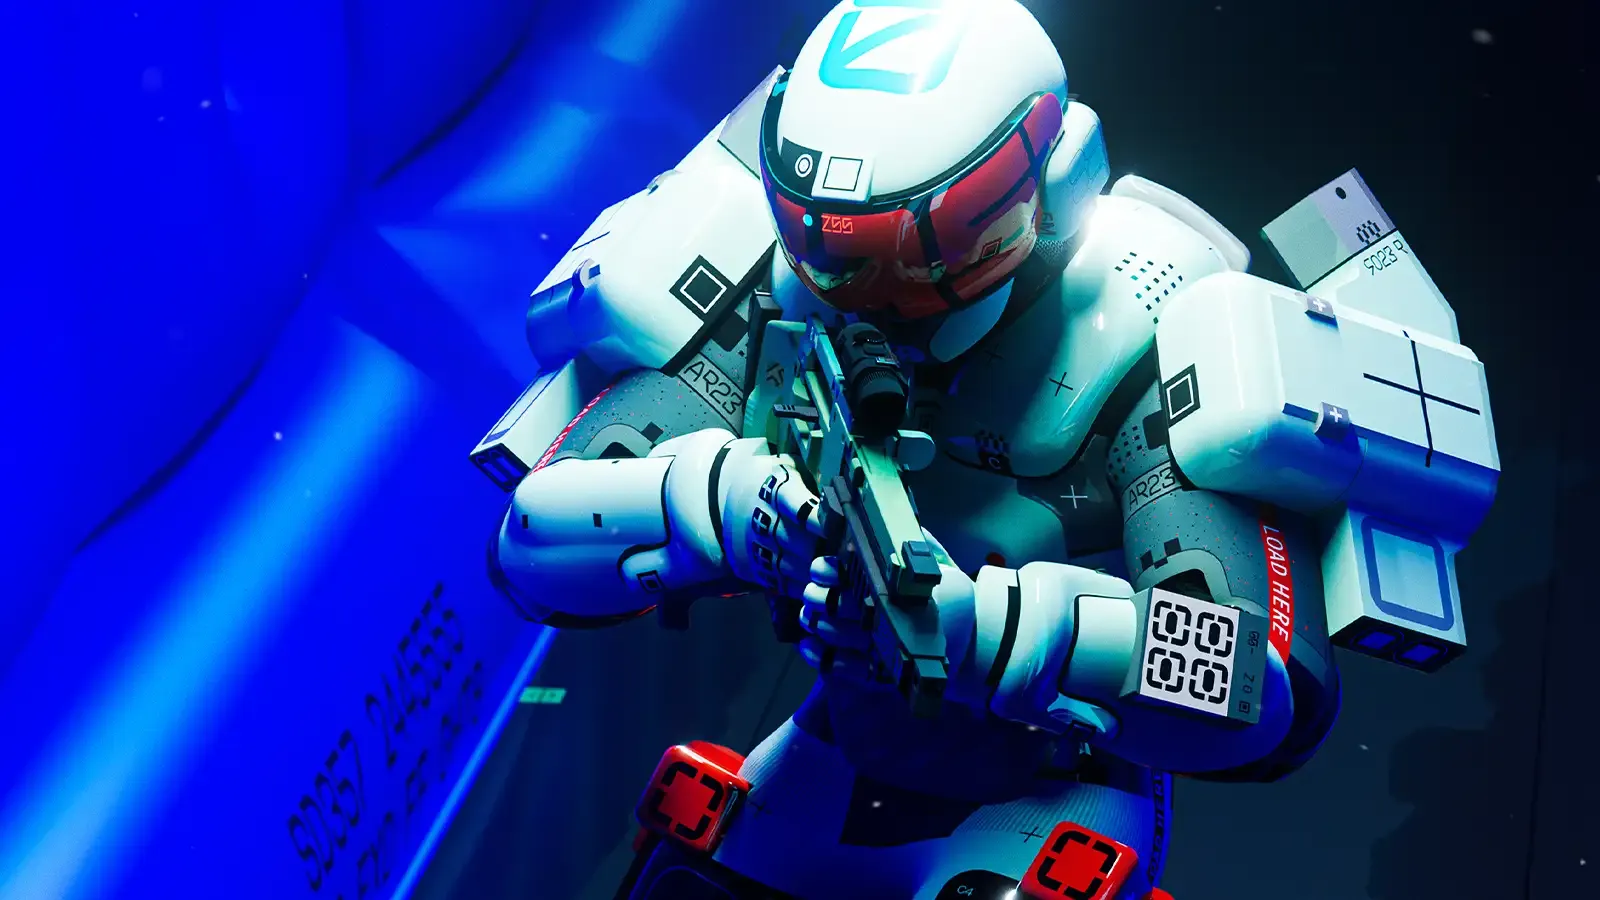
Because the Overrun rewards accuracy at fire rate and punishes heat from sustained play, the Endurance track is worth early investment. The Quick Vent perk (exact Energy cost unconfirmed) accelerates how quickly heat recovery begins after heat-generating actions — that matters when you're pushing aggressively and your shell's movement abilities are competing for the same heat budget. Heat Dissipation, further down the same track, accelerates recovery speed directly.
The Dexterity track's Full Throttle perk (breakpoint unconfirmed) grants Cardio Kick effects at the start of every run — that early Agility bonus improves your movement into position at the start of a match, which is when you most want the Overrun's mid-range engagement profile online fast.
Respec is free and resets each season. Experiment without penalty. If you find the Overrun isn't suiting your playstyle after a few sessions, your Cradle investment isn't stranded — redistribute and move on. The /cradle planner lets you map these Energy paths before you commit.
TAKEAWAYS
- The Overrun AR's 720 RPM fire rate is its defining trait — fire in controlled bursts, not sustained sprays, or the 20-round magazine will betray you mid-fight. - Slot a magazine mod (Hi-Cap or Feather Mag) and Background Process chip as your first two priorities; they directly compensate for the weapon's two most punishing weaknesses. - This is a strong ranked learning tool at Standard rarity — bring it when you want to climb without risking a valuable loadout, and pair it with Vandal for the movement options that make mid-range engagements play to the weapon's strengths.