WHAT THE SENTINEL IS ACTUALLY FOR
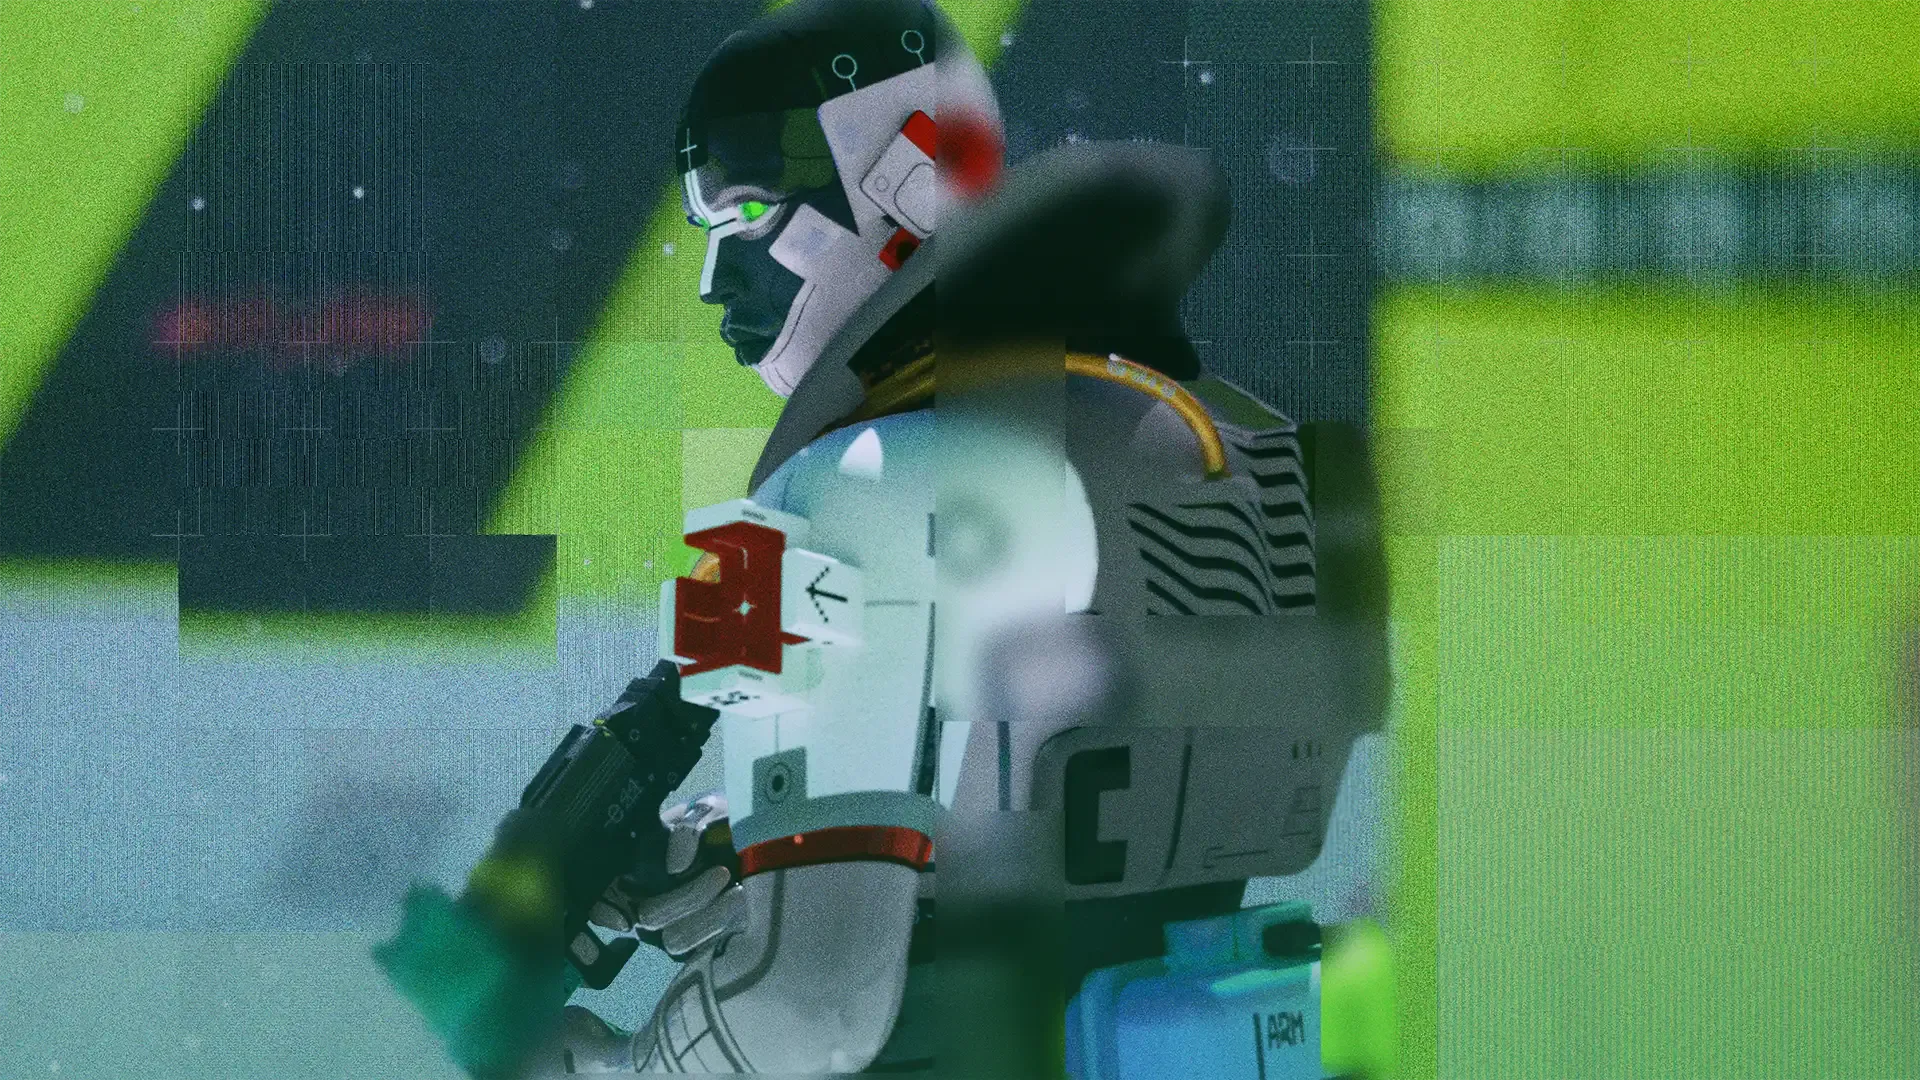
Most players who pick up the SentinelCombat for the first time treat it like a slower DestroyerCombat — push in, deploy the Defender System, win. That misreads the shell completely. Sentinel is not a brawler. It is a space-maker. You are here to dictate where fights happen, not to initiate them. When you do that job well, your squad extracts with full inventories. When you don't, you're an overpriced roadblock.
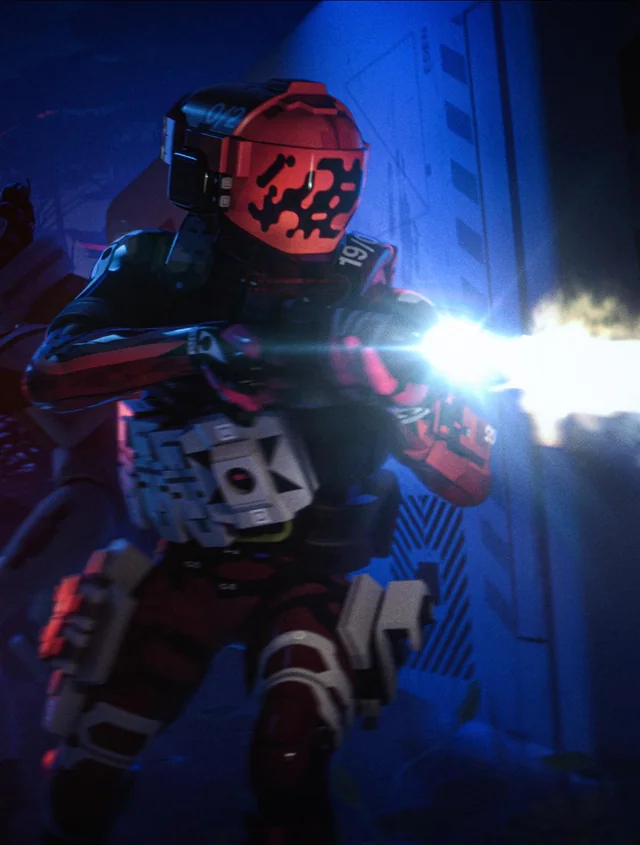
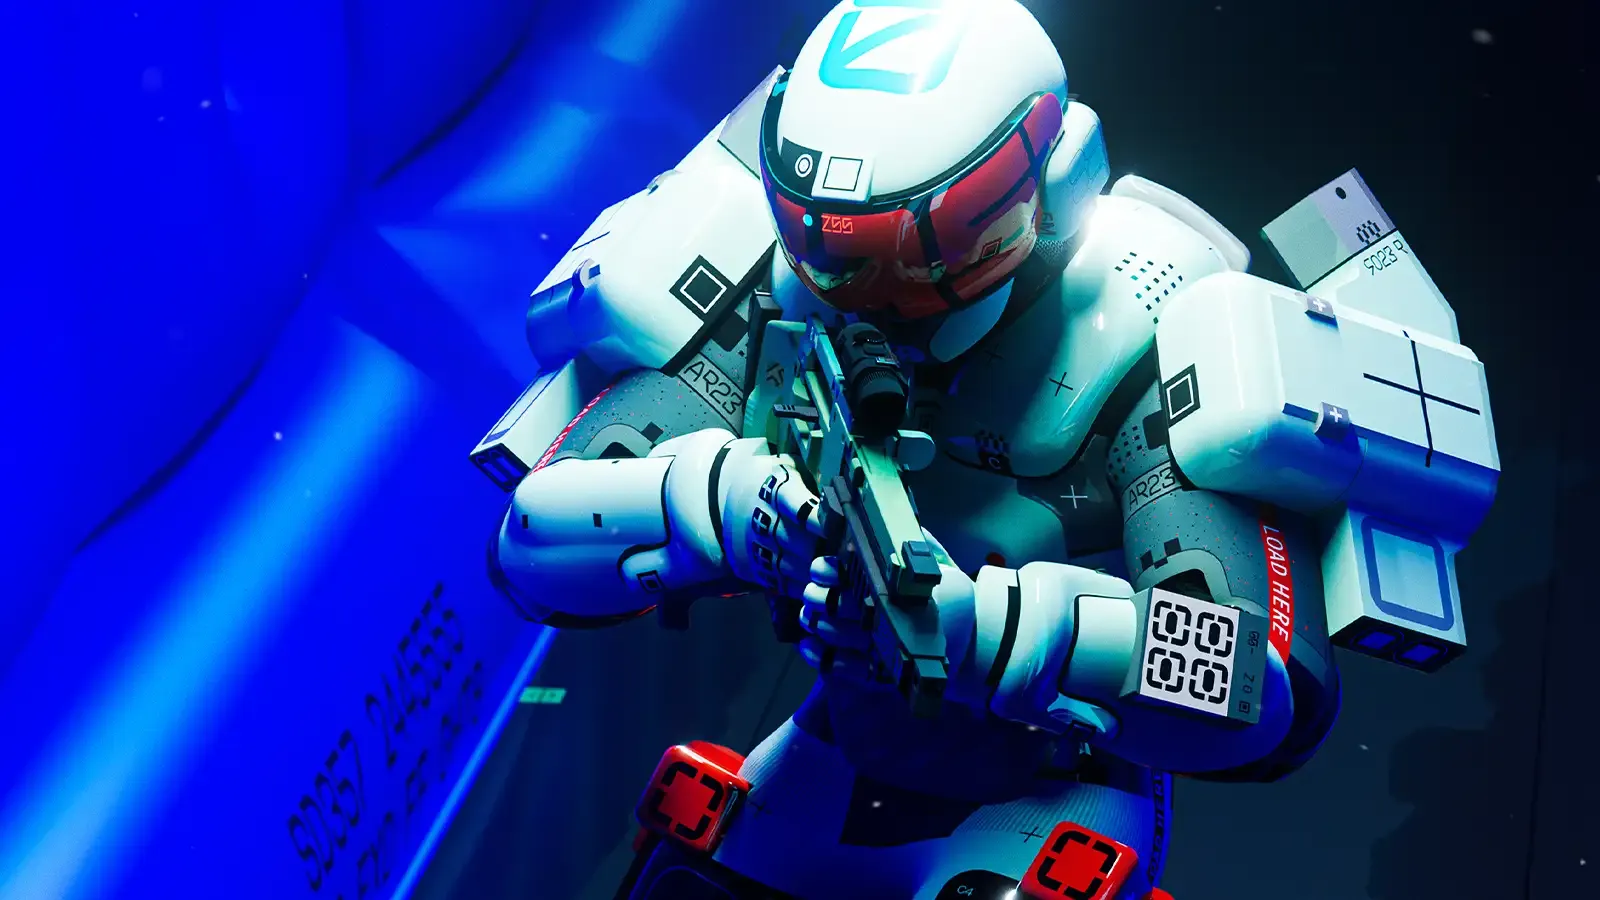
The core of the Sentinel kit is the Defender System — a deployable platform that harmlessly neutralizes incoming explosives and grants you and nearby allies increased weapon stability and reload speed while you stand close to it. That reload bonus is your invisible carry stat in any prolonged engagement. The platform has a limited number of projectiles it can intercept, so placement discipline matters. Drop it at a doorway you're defending, not in an open field where nothing will funnel through it.
The Snare Mine rounds out the control picture: a proximity-triggered mine that detonates into immobilizing submunitions. Lay it behind you during an exfil hold and the squad chasing you suddenly can't push. Lay it inside a Vault room before a fight and you own the floor. These two abilities together mean you are always playing with more information and more options than your opponents — but only if you position before the fight, not during it.
TRAITS: PREY TRACKER AND CASTLE DOCTRINE
Prey Tracker is a passive motion tracker built into your HUD that reveals moving enemies within a conical zone in front of you. This is not a full-map radar — you need to be facing the threat. Think of it as free intel that rewards a disciplined, forward-facing defensive stance. Rotate to face likely approach vectors, not away from them.
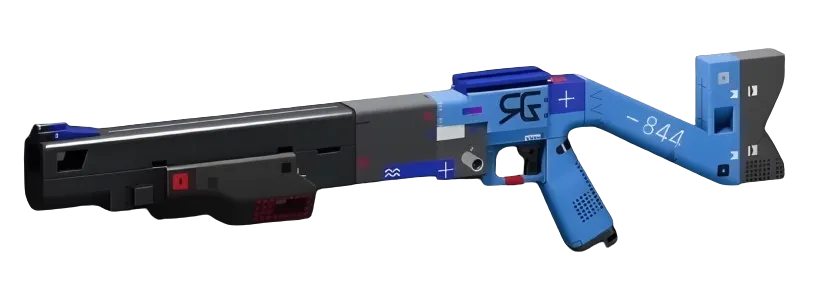
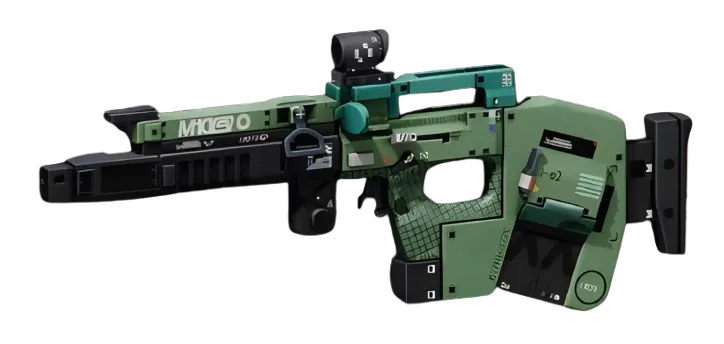
Castle Doctrine is the Sentinel's scaling combat trait. It speeds up how quickly you ready and reload SMGs, Pistols, and Shotguns based on the number of nearby hostiles — and when you take splash damage, it temporarily boosts your Hardware, Firewall, and Self-Repair Speed. The pattern this creates is deliberate: the closer the enemy, the faster you shoot. This is why the Sentinel punishes aggressive pushers so hard in tight corridors. Pair it with a CQB weapon — the V85 Circuit BreakerShotgun at 20 damage per shot and 127 RPM, or the Bully SMGSMG at 15 damage and 540 RPM, both reward exactly the up-close, high-hostile-density scenarios Castle Doctrine scales for. The Misriah 2442Shotgun at 11 damage per shot looks modest, but the MIPS Slug Converter mod dramatically increases its rate of fire and stability, turning it into a close-range tool that Castle Doctrine loves.
WEAPONS AND MOD PAIRINGS
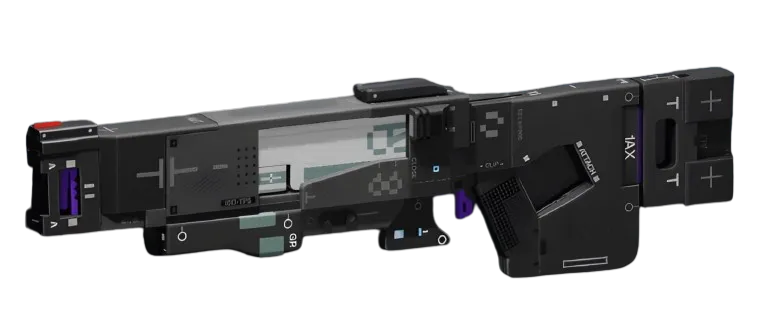
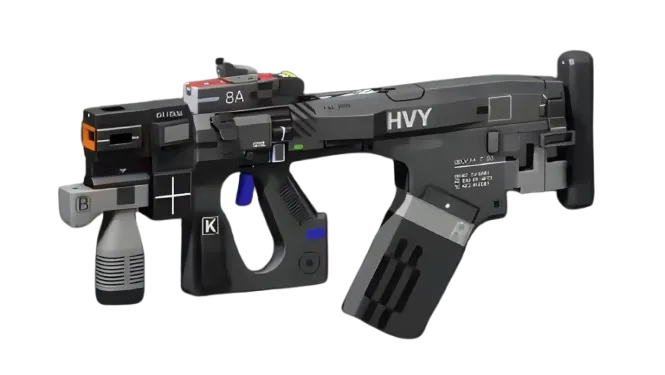
Two weapons earn consistent placement on Sentinel: the V85 Circuit Breaker and the Misriah 2442. The Circuit Breaker's volt cell economy is forgiving in sustained fights, and 20 damage at 127 RPM inside a defender-anchored choke is difficult to contest. The Misriah 2442 with the MIPS Slug Converter becomes a significantly faster, more accurate platform than its base stats suggest.
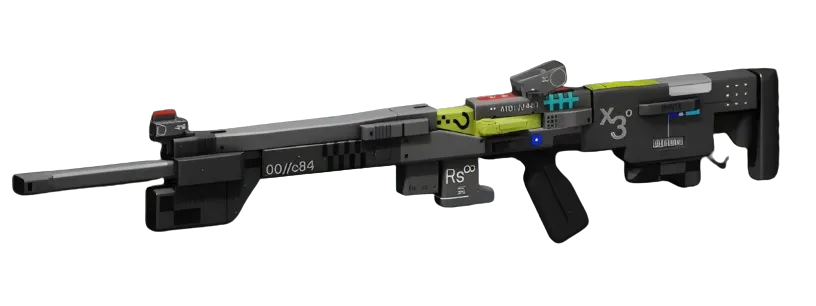
For a secondary, the Stryder M1TPrecision Rifle at 36 damage and 180 RPM gives you mid-range reach when Prey Tracker spots someone outside your CQB comfort zone. The Hardline PRPrecision Rifle at 23 damage and 275 RPM is a quieter choice that rewards deliberate trigger pulls.
On the mod side, Flash Draw ChipChip MODSuperior is underrated here — Sentinel often swaps weapons when the situation shifts from doorway hold to mid-range response, and fast swaps turn a reactive shell into a proactive one. Ironhold BarrelBarrel MODEnhanced suits the crouched, static defender role the shell gravitates toward. Fortress ShieldShield MODSuperior pairs well with Castle Doctrine's splash-damage recovery trigger.
RANKED CONTEXT AND SQUAD ROLE
Sentinel's solo ranked rating is not strong — the shell's value is multiplicative with teammates, and in solo queue that multiplier rarely fires. In a full squad, however, Sentinel is a genuine S-tier force multiplier for extraction. The pattern I've seen repeatedly: Destroyer forces the kill, TriageSupport keeps everyone alive, and Sentinel holds the exfil door so both of them get out. The Sentinel who panics and abandons the hold is the reason squads die at the door.
That said, the Countered-by list for Sentinel is real — VandalCombat's mobility, ThiefStealth's grapple lines, and AssassinStealth's cloaking all stress a reactive shell. Signal Jammers counter your Prey Tracker passive. Know these pressure points and position to deny them rather than waiting to respond.



If you're investing in the Cradle to support Sentinel's role, Endurance is the first track worth building. Fights happen at close range and fights generate heat — Quick Vent (3 Energy) accelerates heat recovery after defensive actions, exact values unconfirmed but the pattern is consistent with what you need. Heat Dissipation at 9 Energy extends that further. Use the planner at /cradle to map this before you commit.
TAKEAWAYS
1. Place your Defender System at choke points before the fight starts, not after — the platform's limited intercept charges are wasted in the open.
2. Castle Doctrine scales with nearby hostiles, so Sentinel wins by letting enemies close the gap on your terms. CQB weapons like the V85 Circuit Breaker and Misriah 2442 with MIPS Slug Converter are the correct payoff for that positioning.
3. In squad ranked, Sentinel's job is to hold the exfil, not to win the fight. If your Destroyer and Triage are down and you're the last one standing at the door, anchoring is the extraction — stay in position.