
WHY CRYO ARCHIVE IS A DIFFERENT GAME
Every map in Marathon teaches you something. Perimeter teaches you the basics. Dire Marsh teaches you fog discipline and sound awareness. Cryo Archive teaches you that none of that is enough on its own.
This is the endgame map. It sits aboard the derelict UESC Marathon colony ship in orbit above Tau Ceti IV — a sealed, corridor-heavy environment where sightlines are shorter, lobby sizes are smaller, and the consequence of a bad rotation is a locked door between you and your exfil. Players who drop in treating it like a bigger Perimeter die fast and often. The ones who treat it like a coordinated vault heist start extracting with Prestige-tier gear.
Channel Gjally Plays has a guide titled "The guide that made you ACTUALLY PLAY Cryo Archive!" — a signal that the barrier to entry here is perceived difficulty, not actual complexity. The map rewards preparation. This guide is that preparation.
THE MAP STRUCTURE: WINGS, VAULTS, AND CLEARANCE
Cryo Archive is built around a central hub — Control and the Panopticon — with four wings radiating outward: Preservation, Biostock, Revival, and Steerage, plus the high-density Index sector and the frozen Cargo wing.
The layout has bilateral symmetry. Revival mirrors Steerage; Preservation mirrors Biostock. This matters for navigation — once you know one side, the other side reads the same. The center (Control/Panopticon) is the convergence point for every squad on the map. Do not rotate through it carelessly early in a run.
Vaults are gated by key items and security clearance, and this is where the map's reward tier lives. Vault 1 is near Index. Vault 2 sits adjacent to Biostock. Vault 3 (Pump Station) is on the Preservation side. Vault 7 is the endgame chamber, guarded by The Compiler. That boss uses laser attacks, green orbs, and terminal symbol mechanics — it is a proper raid encounter, not a patrol clear. Bring a coordinated squad, bring EMP options, and do not rush the activation sequence.
Cryo Coolant is a resource you will need — fill stations exist in Preservation and Cargo. Plan your path to include them before you push deeper vaults.
SHELL AND LOADOUT PRIORITIES
Cryo Archive punishes solo improvisation more than any other map. The recommended squad structure holds here more than anywhere else: a TriageSupport anchor, a DestroyerCombat or VandalCombat on point, and a ReconIntel or ThiefStealth rounding out coverage.
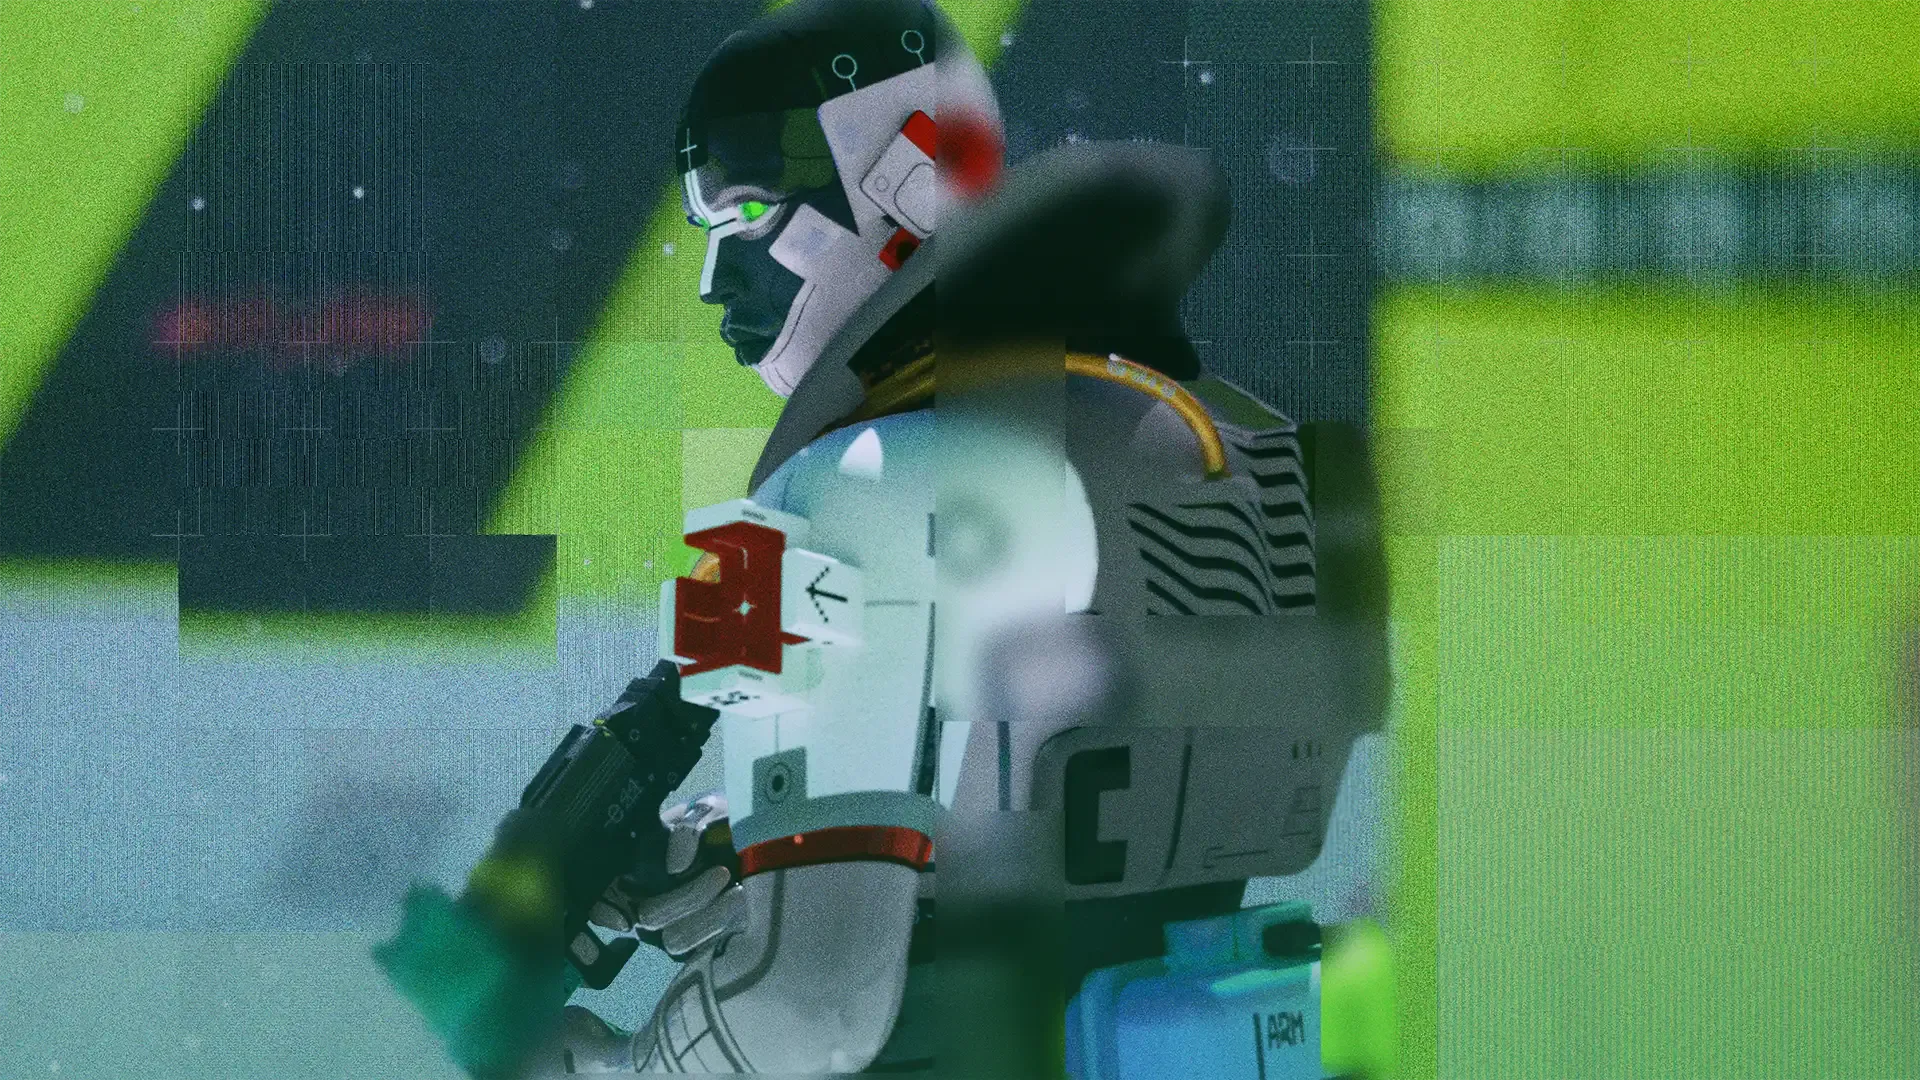


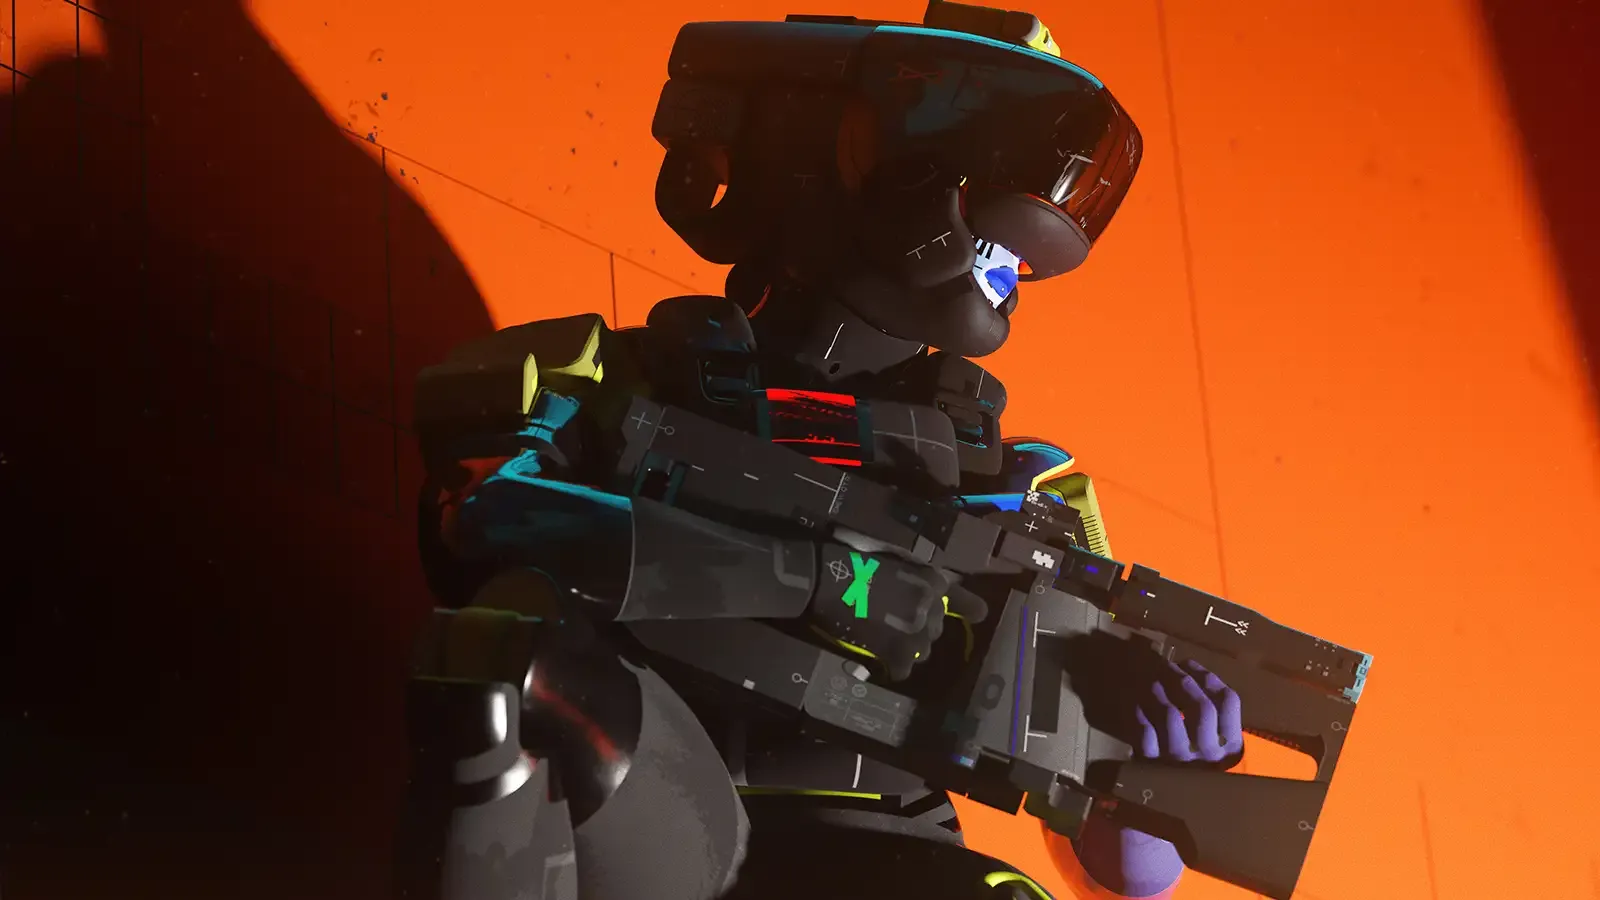

Triage is not optional in this environment. The Med-Drone's ability to prevent bleed-out while attached, combined with Shareware.Exe sharing 25% of consumable benefit to crewmates, means a single Patch Kit purchase goes further than anywhere else. NucaloricConsumer Goods's Armory sells Patch Kits at 165 Credits with a free daily claim — stock up before you infil.
Recon's Echo Pulse, which pings hostiles through physical objects every 2.5 seconds for up to 7 pulses, is genuinely transformative in Cryo Archive's corridor structure. You will hear footsteps before you see a squad. Echo Pulse tells you whether those footsteps are three Runners or a UESC patrol, and that decision point — push or wait — is often the entire difference between extracting and dying in Index.
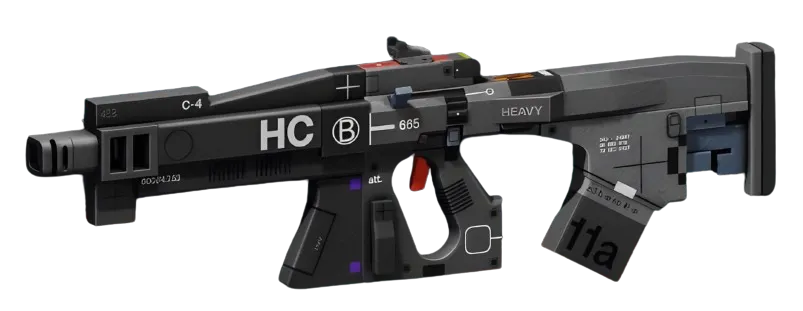
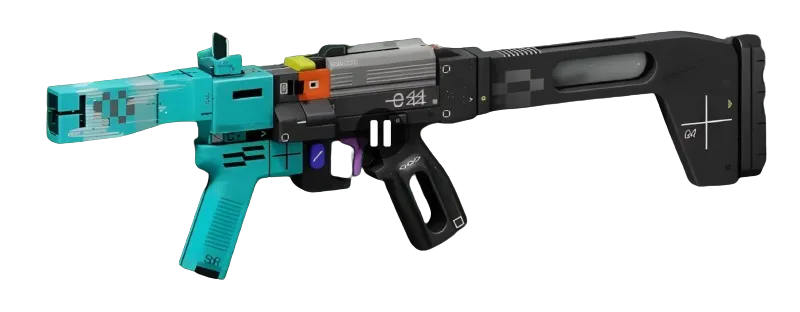
For weapons, you want a reliable mid-range primary and a CQB option in reserve. The Impact HARAR at 24 damage and 400 RPM is a dependable anchor for mid-corridor fights. Pair it with the BRRT SMGSMG (11 damage, 1000 RPM) for vault interiors and the tight corridors around Steerage and Biostock.
CLEARING THE COMPILER: WHAT TO KNOW BEFORE YOU PUSH VAULT 7
The Compiler is the Vault 7 boss. It is not a standard elite. This encounter involves laser attacks, green orbs, and terminal-based symbol mechanics — meaning at least one player needs to be reading and calling out terminals while others handle combat pressure.
Do not push Vault 7 with a fractured squad or low consumables. The loot behind that encounter — unique and contraband-tier weapons — is the reason experienced players farm this map, and it reflects the difficulty. Treat it as a final check on your squad's communication, not just their damage output.
Before entering: fill Cryo Coolant, distribute consumables via Triage, confirm everyone has vault key coverage. The Compiler rewards squads that respected the preparation. It punishes ones that rushed it.
TAKEAWAYS
- Learn the wing symmetry first: Revival mirrors Steerage, Preservation mirrors Biostock. The map reads cleanly once you internalize one side. - Never rotate through Control/Panopticon carelessly — it is the convergence point for every squad, and it will punish sloppy pathing. - Bring Triage. NuCaloric's Armory offers a free daily Patch Kit, and Shareware.Exe makes every consumable go further in a map where attrition decides who reaches Vault 7.
The panel weighs in
2 TAKES ⬢ DexterBuilds1d agoThe corridor-heavy layout is the real constraint here—it forces you to shed the sightline and positioning habits that work elsewhere, not just layer more discipline on top of them. If the guide stops at "sound awareness + caution," it's missing the loadout angle: you're likely trading mid-range flexibility for either close-quarters certainty or long sightline denial, depending on what the architecture actually demands—worth knowing which before you load in.
 ◇ GhostCommunity1d agoThe framing here—that Cryo Archive strips away what earlier maps taught you—is the kind of claim that only lands if the map actually punishes conventional play. The corridor-heavy design and sealed environment sound like they force a different decision tree, but the article cuts off before showing what that actually looks like in a raid. Worth watching how players report back on whether the difficulty spike is mechanical or just unforgiving positioning.