
WHAT DESTROYER ACTUALLY IS IN SOLO RANKED
DestroyerCombat is S-tier overall and S-tier in squad — but the honest read for solo ranked is B-tier, and that gap matters before you commit to a loadout. The shell is built around Riot Barricade and Search & Destroy: tools that dominate when teammates are pressing angles and forcing trades around you. Solo, you lose that pressure multiplier. The Holotag kill condition — forcing a down and securing the tag — still works, but you earn it through sustained aggression and zone control, not coordination.

That framing shapes every choice below. This build does not pretend Destroyer is ThiefStealth. It does not play for stealth or evasion. It plays for forward pressure, forcing engagements in tight corridors where Riot Barricade becomes a one-man chokepoint.

THE LOADOUT
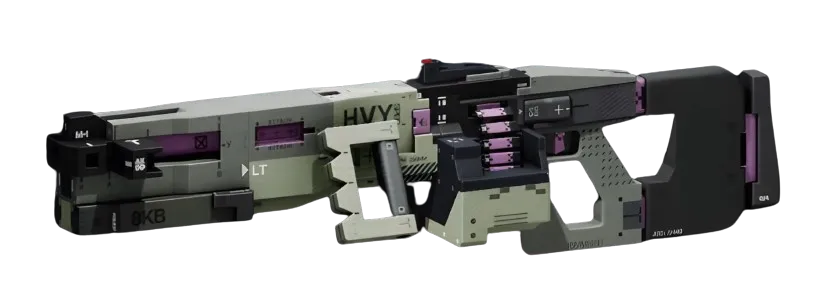
Primary: **Demolition HMGLMG with the Overclocked Shield (Prestige barrel mod — reduces recoil and weight) paired with a HeatsinkChip MODEnhanced chip mod to manage sustained-fire heat generation. Sources list the Demolition HMG at 31 damage per round at 225 RPM on Heavy Rounds — exact values are source-derived, not confirmed in-game — but the profile is correct for the win condition: deliberate, hard-hitting fire that punishes anyone trying to push through or around your Barricade. The Hi-Cap MagMagazine MODDeluxe** Superior magazine mod adds nine rounds to the magazine, keeping you fed through extended engagements without breaking cover to reload.
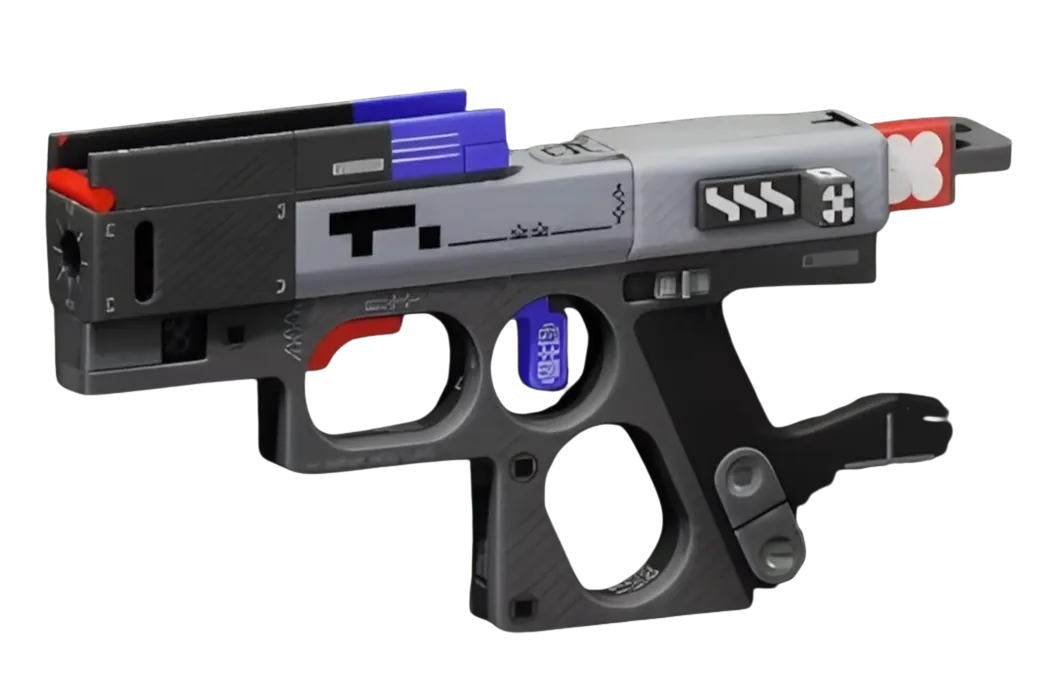
Secondary: **Magnum MCPistol**. Confirmed 41 damage at 138 RPM on Heavy Rounds, 12-round magazine. If the HMG fight goes sideways at close range or you burn through your primary mid-chase, the Magnum MC closes duels without requiring a full reload window. Heavy Rounds shared between both weapons simplifies your ammo budget — a real consideration in solo ranked where you have no squadmate to pull from.
Core slot: Impact Siphons (Prestige, S-tier). When Riot Barricade absorbs incoming damage, it returns that damage to you as shield energy. In solo, where you cannot rotate damage across three health bars, this is the single most important Destroyer core in the database. It directly converts opponent aggression into your sustain. Pair it with Adaptive Barrier (Superior) if you want a secondary option — it spikes shield regen while the Barricade is active — but Impact Siphons is the priority.
Implants: **Solid Stance V4LegsSuperior (Superior Legs, Hardware 50, Heat Capacity 20) for the heat budget Tactical Sprint and Search & Destroy demand. Regen V4HeadSuperior** (Superior Head, Self-Repair Speed 50%, Revive Speed 20%) — the revive speed is irrelevant solo, but the self-repair speed is not. In extended fights where you briefly disengage, faster self-repair is the difference between resetting and dying.
Cradle: Prioritize the Endurance track. Sources indicate the Quick Vent perk at 3 Energy (heat recovery begins sooner after heat-generating actions) and Heat Dissipation at 9 Energy (heat recovers faster overall) — exact values are unconfirmed, but Endurance investment directy addresses Destroyer's core solo problem: Tactical Sprint and Thruster eat heat fast, and in solo there is no downtime gifted to you by a teammate's distraction.
THE WIN CONDITION
Force a corridor fight with Riot Barricade anchoring your front. The Demolition HMG wins sustained exchanges; Impact Siphons keeps your shields alive as long as the Barricade is taking hits. When a Runner goes down, you have the Magnum MC and enough shield energy to close distance and secure the Holotag before their squad rotates.
Destroyer solo is a B-tier rated grind — not dominant, but winnable with the right frame. You are not outrunning Thief or out-flanking AssassinStealth. You are making the fight happen on your terms and surviving longer than your target expects.


