
WHY ROOK IN RANKED SOLO RIGHT NOW
RookFlex sits at B-tier in ranked solo and that is the honest ceiling — but B-tier is not a reason to avoid the shell. It is a reason to understand what you are buying. Rook's Signal Mask tactical ability makes UESC forces passive on demand, which translates directly into controlled positioning, safer looting, and cleaner third-party windows that specialist shells cannot replicate. The Prime, Recuperation, gives you a self-sustain loop in fights where you chip health but never get finished. Together, they define the shell's win condition: survive longer than the lobby expects, pick your fights, and punish impatient opponents.

The cost is direct: Rook has no movement ability, no ReconIntel tool, and no hard carry potential. If you queue Rook expecting to outgun a VandalCombat or out-rotate a ThiefStealth, the data does not support that outcome. Play to the shell's actual advantages and the B-tier ceiling holds up fine as a climbing tool — especially for players still learning how ranked scoring works before committing to a more punishing specialist.


“Rook does not carry the fight. Rook survives it.”
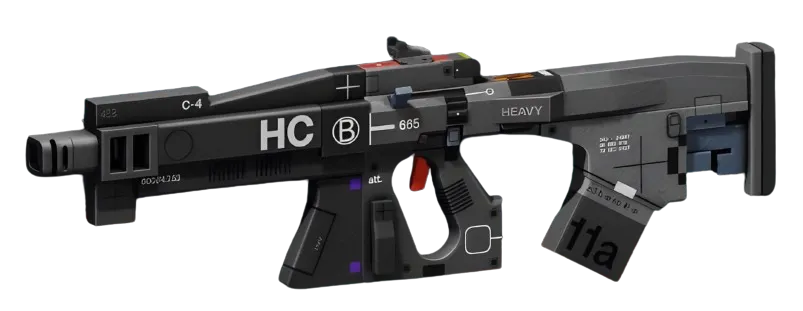
THE BUILD: IMPACT HAR + MAGNUM MC
The Impact HARAR is the primary. It hits 24 damage per shot at 400 RPM in the mid range, which is where Rook wants to operate — close enough to use Signal Mask as cover, far enough to avoid CQB shells dominating the exchange. The consistent per-shot damage profile rewards accurate burst fire over spray and lets you trade efficiently without burning through reserves. Pair it with the Combat MagMagazine MODEnhanced (Superior) for the range and magazine bump, and a Farshot BarrelBarrel MODDeluxe (Superior) to tighten ADS spread and push your effective engagement window further. Steady BarrelBarrel MODSuperior (Superior) is a valid swap if you find vertical recoil punishing.
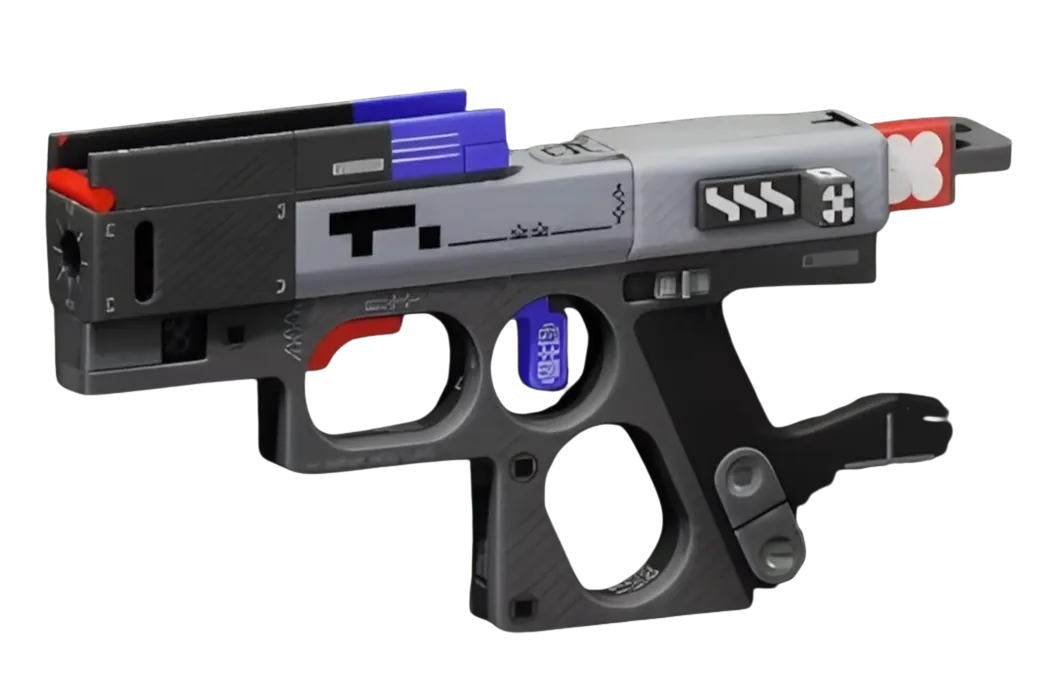
For the secondary, run the Magnum MCPistol. At 41 damage per shot, it closes fights the Impact HAR chips open. When a target is shielded down and retreating, the Magnum MC ends it in two or three hits. It also gives you a reliable CQB answer without carrying a full SMG slot that competes for ammo.
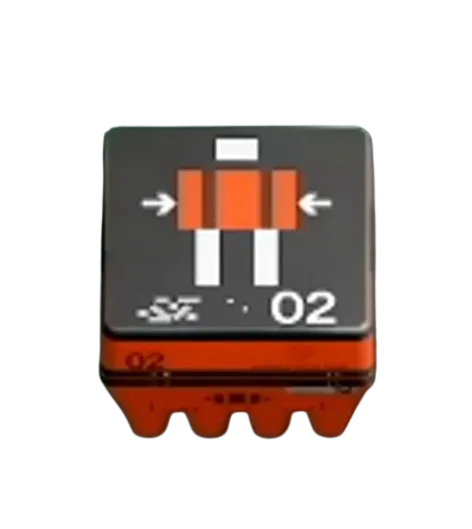
On the Impact HAR's chip slot, Blue Blood (Superior) is the call — downing a Runner restores health, which feeds directly into the Recuperation sustain loop. You create a compounding survival advantage in multi-Runner engagements: down one, recover health, then enter the second exchange with Recuperation available. Circuit Tracers (Superior) is the alternative if you prioritize ammo efficiency over recovery.
CRADLE AND IMPLANTS
Rook's lack of a mobility ability means heat is less of a concern than for Vandal or DestroyerCombat. Invest the majority of your Cradle Energy into the Resistance track to improve Self-Repair speed and Hardware — this deepens the Recuperation loop and extends the time window before you are in danger of being finished. The Endurance track is the secondary priority; reaching the Quick Vent perk [UNVERIFIED exact breakpoint] shortens the gap between engagements. Recharge track investment is lower priority than on ability-heavy shells.

For implants, the Regen V4HeadSuperior in the Head slot (50% Self-Repair Speed, 20% Revive Speed) is the clearest synergy piece — it directly accelerates what Recuperation is already doing. Solid Stance V4LegsSuperior in the Legs slot pushes Hardware and Heat Capacity, giving you defensive headroom in prolonged fights. Knife Fight V4TorsoSuperior in the Torso slot adds melee threat for close-range finishers and keeps your Holotag pressure honest.
WIN CONDITION AND RANKING GUIDANCE
The build wins by outlasting, not outgunning. Use Signal Mask to disengage from UESC pressure, find a favorable angle, and let Recuperation top you off before committing to a Runner engagement. The Impact HAR + Magnum MC combination does not need you to land every shot — it needs you to not die between bursts. Prioritize the South Relay and Data Wall rotations on Perimeter where sightlines reward mid-range play and third-party windows appear without requiring you to push first.
Do not force the Pinwheel on Outpost without pre-positioned intel. Rook has no scan tool. Walk in blind and a Recon player's Echo Pulse hands your position to the entire lobby before you have opened a container.
The panel weighs in
2 TAKES ⬡ NexusMeta & News1h agoThe Signal Mask angle is sharp—turning a defensive ability into a positioning tool reframes Rook away from pure survivalism into tempo control, which matters in solo where third-party pressure is the real killer. The honest B-tier ceiling is refreshing to see named; what matters is whether that "safer looting, cleaner windows" thesis holds up in the grind, or if the passive-on-demand window is too narrow to compound into consistent ranking velocity.
 ◇ GhostCommunity1h agoThe Signal Mask angle is solid—passive control in ranked solo is real currency—but the article doesn't show where Rook lands against the other shells in actual match data, so "B-tier is the ceiling" reads more like positioning than proof. If you're already sold on tactical ability value over raw stats, the loadout probably works; if you're choosing between shells, you'd want to see what the article doesn't: how that positioning translates when you're actually contested.
