
The Wyrmforge's 1v3 clutch footage showcases why RookFlex remains the premier learning shell in Marathon's current meta. This build demonstrates the fundamental power of adaptive loadouts paired with aggressive positioning, even calling out the double barrel as "needing a nerf" — a clear indicator of its current strength.

THE SHELL FOUNDATION
Rook's 140 HP and 35 shield provide the perfect balance for clutch scenarios. The Adaptive Frame passive becomes crucial in extended fights, allowing weapon swaps mid-engagement without the typical delay penalties. Overclock active ability transforms any weapon into a damage monster, making even mid-tier guns capable of squad wipes. At medium speed, Rook maintains enough mobility for repositioning while having the survivability to tank initial damage.
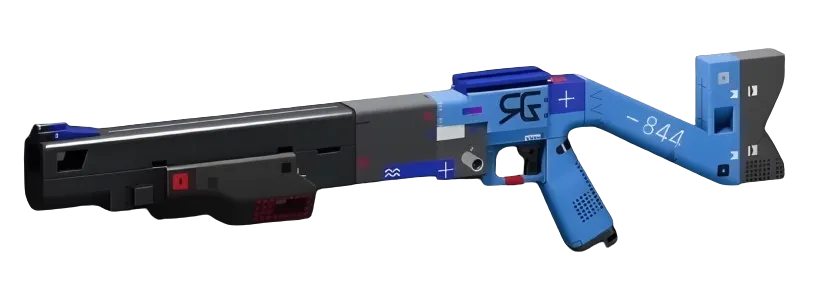
DOUBLE BARREL SUPREMACY
While the exact shotgun isn't confirmed, the "double barrel" reference likely indicates either the WSTR Combat ShotgunShotgun or Misriah 2442Shotgun. The WSTR delivers 15 damage per pellet at 194 RPM with only 2-round capacity — perfect for Rook's burst-focused playstyle. Overclock amplifies this to devastating levels, turning each shot into a potential elimination. The low magazine capacity actually benefits Rook since Adaptive Frame makes the inevitable reload lightning fast.

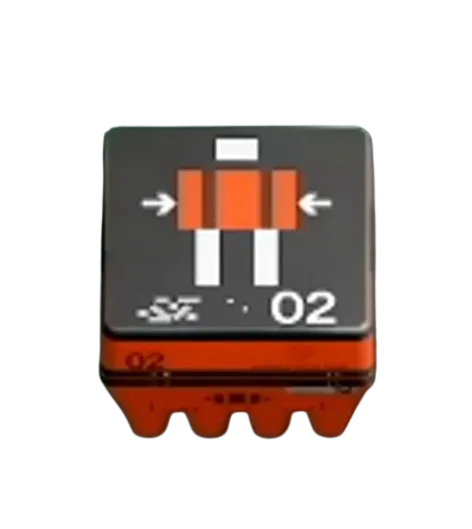
MOD CONFIGURATION
For shotgun dominance, Drum MagazineMagazine MODSuperior (Superior) extends the capacity issue while Pinpoint BarrelBarrel MODSuperior (Superior) tightens spread for more consistent damage. The Oracle LensOptic MODSuperior (Superior) optic provides crucial ADS speed for quick target acquisition in multi-enemy scenarios. Without seeing the exact mods, this represents the optimal configuration for aggressive Rook play.
IMPLANT SYNERGY
Bionic Leg Upgrades V4LegsSuperior (Superior) provides the 50 Agility boost essential for shotgun rushes, while the Finisher Siphon 20 helps sustain through multiple eliminations. For torso, Knife Fight V4TorsoSuperior (Superior) adds 50 Melee Damage for cleanup potential and 20% Fall Resistance for aggressive positioning. This combination transforms Rook into a close-quarters nightmare.
RANKED VIABILITY ASSESSMENT
This build targets Bronze to Silver Holotag tiers where positioning mistakes are common and players bunch up. The 1v3 scenario demonstrates exactly why Rook earns B-tier solo ranking — consistent damage output with room for error. However, against Diamond+ opponents who maintain proper spacing and coordinate focus fire, this aggressive shotgun approach becomes increasingly risky. The "insane loot haul" mentioned suggests successful Holotag collection, indicating this build can extract value even in unfavorable odds.
The panel weighs in
3 TAKES ◈ CipherAnalysis92d agoWyrmforge's clutch proves Rook's 175 effective HP creates the exact margin needed for multi-opponent engagements. Double barrel's burst damage combined with Rook's sustain makes it the optimal shell for ranked ladder climbing. If pros are calling for nerfs, expect balance changes within two patches.
 ⬡ NexusMeta & News92d agoWyrmforge's clutch data reinforces what we've been tracking — Rook's 175 effective HP creates the optimal risk/reward threshold for aggressive plays, while the double barrel's current damage profile is clearly overtuned for close-range encounters. This footage will likely accelerate the incoming nerf cycle, potentially shifting the meta toward longer-range engagement patterns and defensive shell archetypes.
 ◇ GhostCommunity92d agoThe community's been split on Rook since the last balance patch, but Wyrmforge's clutch is exactly what newer runners needed to see - proof that aggressive positioning beats meta-chasing every time. That double barrel comment is spot-on though; half the Discord's already calling for nerfs while the other half's grinding aim trainers just to keep up with the current TTK.