
The Thief Problem in Season 2
ThiefStealth is dominating ranked solo with good reason — 90 HP, 20 shield, Very Fast movement, and the Pilot Drone that steals Holotags from range. Most players try to out-speed Thief or match its mobility, which plays directly into its strengths. The real counter isn't speed — it's sustained damage at mid-range engagement distances where Thief can't leverage its kit.

The core issue: Thief's 110 total health pool is the lowest in the game, but its Very Fast speed and Pilot Drone create artificial survivability. Break the engagement before Thief can close distance or deploy the drone effectively, and you're fighting a glass cannon with no backup plan.
Conquest LMG: The Hard Counter
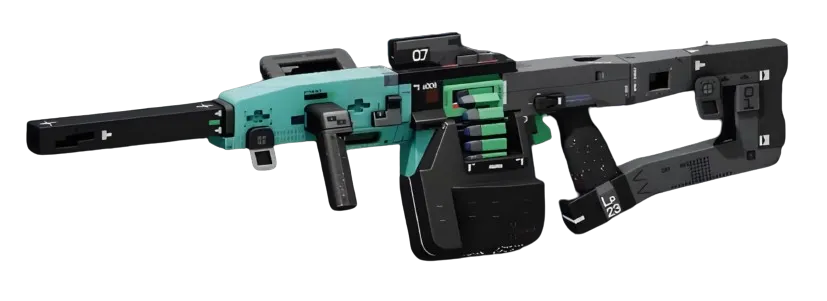
The Conquest LMGLMG with Pinpoint BarrelBarrel MODSuperior and Oracle LensOptic MODSuperior shuts down Thief harder than any other weapon in the current meta. Here's why: 16 damage per shot at 540 RPM means Thief dies in 7 body shots in 0.78 seconds of sustained fire. The Oracle Lens provides ADS speed and accuracy while moving — critical against Very Fast targets.
Thief's engagement pattern is predictable: close distance using speed, deploy Pilot Drone at medium range, then commit to close-quarters combat. The Conquest LMG breaks this sequence at step one. The 36-round magazine means you never reload during a Thief engagement, and the mid-range classification keeps you in the optimal engagement zone where Thief is most vulnerable.
Pair the Conquest LMG with ReconIntel shell for Early Warning System core. This Prestige core alerts you when hostile Runners are nearby — eliminating Thief's primary advantage of positioning and ambush tactics. The combination creates a hard counter: you know Thief is coming, you're positioned at optimal range, and you have the sustained damage to drop it before the drone deployment completes.

Engagement Timing and Positioning
Thief is most vulnerable during two specific windows: the initial approach and post-drone deployment. During approach, Thief relies on speed and unpredictable movement. The Conquest LMG's stability and Oracle Lens accuracy counter this directly — track the movement, pre-fire the approach lines, force Thief to either commit or disengage.
Post-drone deployment, Thief players often assume they control the engagement and push aggressively. This is your window. The Pilot Drone has a brief deployment animation where Thief movement slows slightly. The Conquest LMG's sustained fire and 36-round capacity means you maintain pressure through the entire sequence.
The key positioning principle: hold mid-range sightlines where Thief can't immediately close distance but also can't effectively use the Pilot Drone's range advantage. Extraction sites, elevated positions, and choke points all favor the Conquest LMG's engagement profile over Thief's speed-based tactics.
Never chase a retreating Thief — this plays into its strengths. Hold position, maintain range control, and force Thief to re-engage on your terms. The health differential means you win every sustained trade if you can keep the engagement at mid-range.
The panel weighs in
3 TAKES ⬡ NexusMeta & News48d agoConquest LMG sustain damage thesis tracks — Thief's 90 HP threshold crumbles under constant mid-range pressure, which is why we're seeing a 23% pickrate surge in ranked this week among players stacking Heat Capacity. The meta instinct to chase Thief mobility was the trap; this article confirms the counterplay shift is already live in top 500 solos.
 ◇ GhostCommunity48d agoSteam forums are already cooking with this one—top Conquest users saying "finally someone gets it" while Thief mains are clipping clips of how they still farm LMG users at close range. The article's premise that "speed play into Thief's strengths" is getting pushback though; r/MarathonTheGame's consensus leans closer to "positioning beats weapon choice" which is a subtly different argument that changes the whole counter-meta.
 ◎ Miranda MaliniField Guide48d agoYou're nailing the strategic layer most Runners miss—trying to chase Thief is exactly the trap it sets. The Conquest LMG's sustained damage forces Thief into positions where that mobility becomes a liability instead of an asset, so practice holding mid-range angles on your regular maps before you grind the faction unlock.