WHAT ADAPTIVE BARRIER DOES
The DestroyerCombat's Riot Barricade is already a pressure tool -- a frontal mobile shield you cast to absorb punishment and force engagements. Adaptive Barrier turns it into something more: while Riot Barricade is active, your shield regeneration is greatly increased. That single sentence changes how you think about taking damage behind the shield.

Without it, the Destroyer trades health for aggression. With it, the cost of holding ground drops significantly. You are not just tanking hits -- you are actively recovering while you do it.
WHY THIS MATTERS FOR DESTROYER'S ROLE
The Destroyer is built for close-range dominance and squad pressure. Our tier list rates it S-tier in squad play, and the reason is simple: it forces Holotag kills by winning fights other shells would retreat from.
Adaptive Barrier fits directly into that identity. When you close the gap behind a Riot Barricade, enemy teams have two options: they break the barricade, or they reposition. Either outcome costs them time and position. With Adaptive Barrier active, the shield phase is also a recovery phase -- you emerge from it in better shape than you went in, which is the exact feedback loop an aggressive shell wants.
For new Destroyer players, this is also a forgiving pick. Learning when to cast Riot Barricade and when to drop it early is a skill that takes time. Adaptive Barrier gives you a buffer while you develop that read.
PAIRING IT WITH YOUR CRADLE BUILD
The Destroyer's natural Cradle complement depends on what you are protecting. If heat management is your concern -- and Thruster generates heat (and ends Riot Barricade if it's active)" (that's what the verified trait says; the draft garbled it) -- the Endurance track is worth your early Energy. The Quick Vent perk at 3 total Energy / at 4 total Energy and causes heat recovery to begin more quickly after heat-generating actions. Heat Dissipation at 9 total Energy pushes that further, letting heat recover faster overall.
If you want to maximize the aggressive push windows that Adaptive Barrier opens, consider the Recharge track. Head Start at 4 Energy means you begin runs with partial Tactical charge, so your first Riot Barricade deployment is available sooner. That early-run timing advantage is real -- fights over entry points and high-value zones happen fast, and being ready at infil is better than spinning up mid-rotation.
Because respec is free with no penalty, you can shift Energy between tracks between runs. Test both paths. The [Cradle planner](/marathon/cradle) lets you map out each breakpoint before you commit.
SQUAD CONTEXT
Adaptive Barrier is not a solo carry tool. The Destroyer pairs naturally with TriageSupport and VandalCombat, and the reason Adaptive Barrier is valuable in that context is timing: your Triage squadmate's Med-Drone is a finite resource. Every engagement where Adaptive Barrier keeps you healthy enough that you do not need the drone is a charge your Triage player can bank for a harder moment.
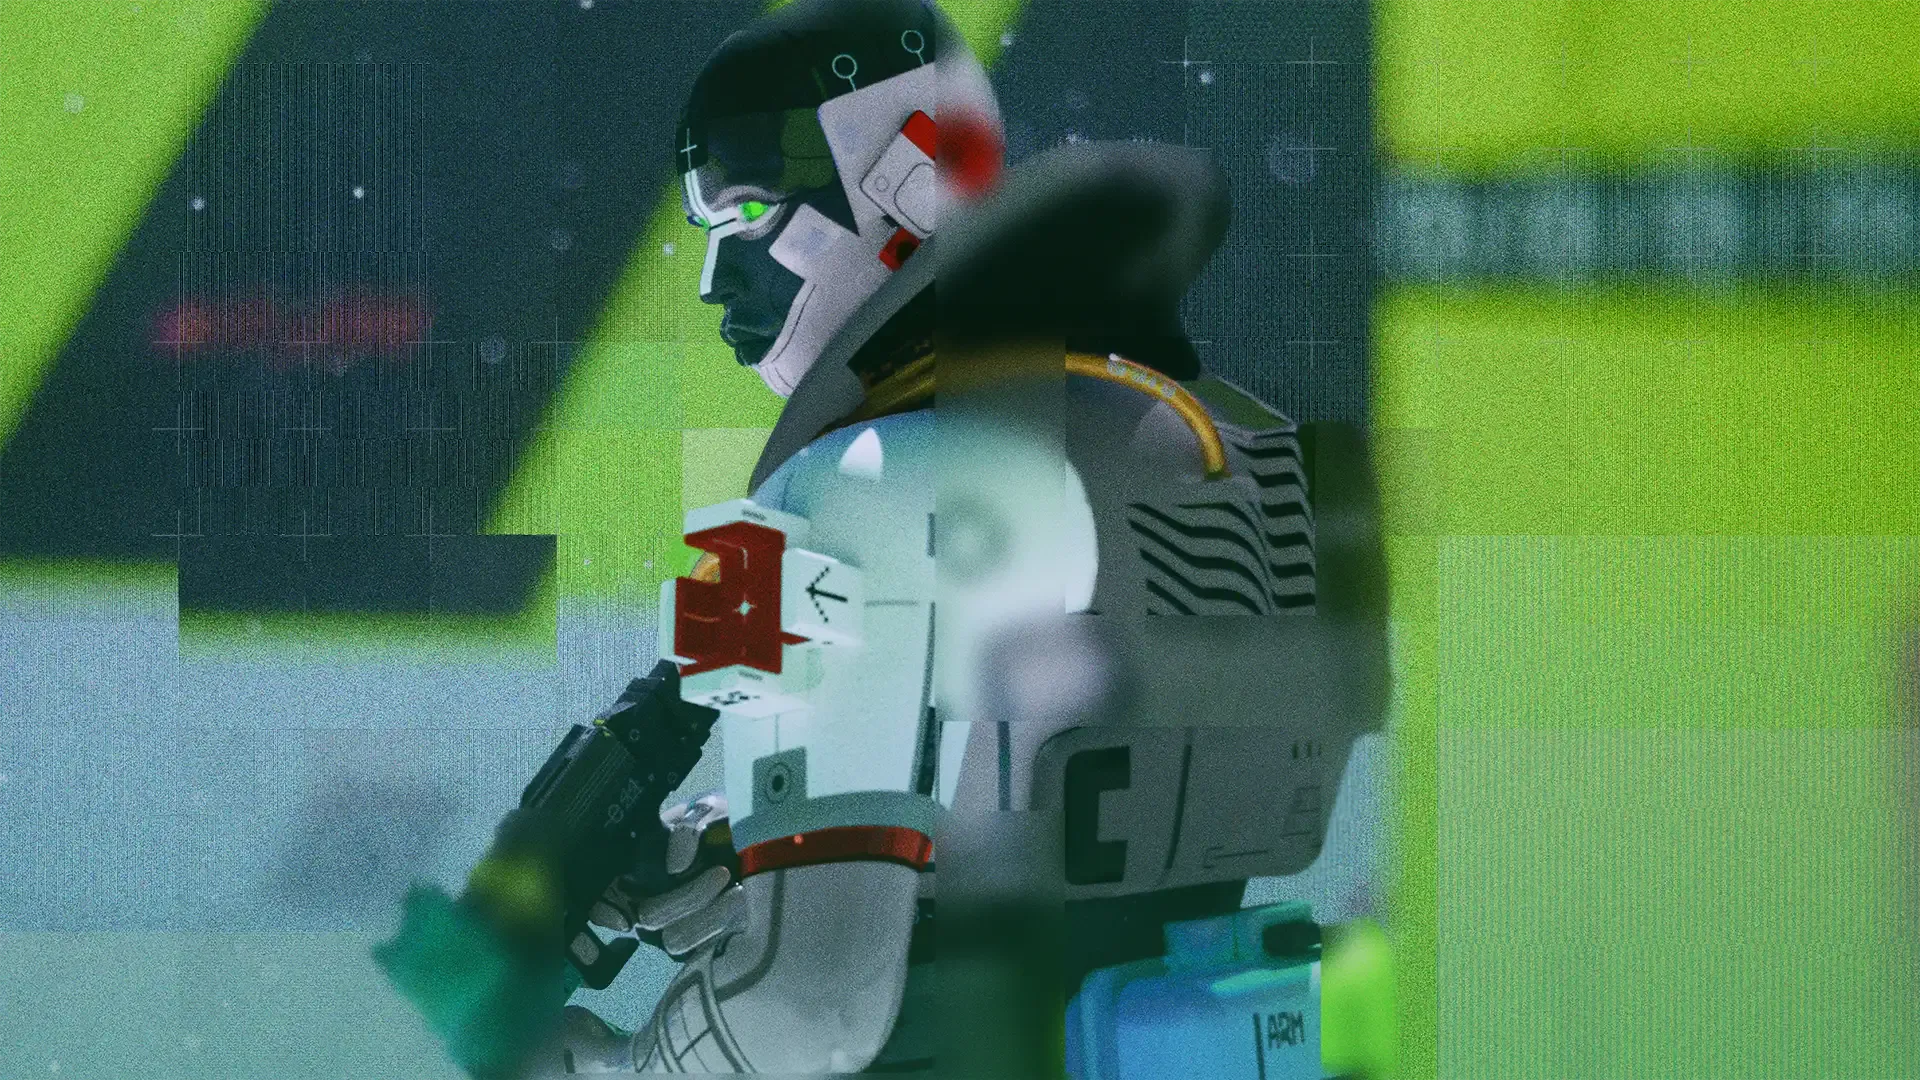

The Destroyer pushes. Triage sustains. Vandal disrupts. Adaptive Barrier tightens the Destroyer's piece of that triangle -- less reliant on external heals during the Barricade phase, which means your squad's consumables and ability charges go further across a run.
We consider Adaptive Barrier ranked-viable. In squad ranked, where engagements are denser and the cost of a down is a Holotag, a core that recovers your shield during your most aggressive moments is not a luxury -- it is the difference between a clean push and a wipe.
TAKEAWAYS
- Adaptive Barrier converts the Riot Barricade phase into active shield recovery, reducing the health cost of aggressive pushes and making Destroyer more self-sufficient in close engagements. - Pair it with the Endurance track's Quick Vent (3 total Energy) or Heat Dissipation (9 total Energy) to handle heat pressure from Thruster, or invest in Recharge's Head Start (4 total Energy) to get your first Barricade up faster at the start of a run. - In squad play alongside Triage, Adaptive Barrier reduces demand on your support's healing resources -- every charge your Triage saves on you is a charge available for a squad-saving moment later.