
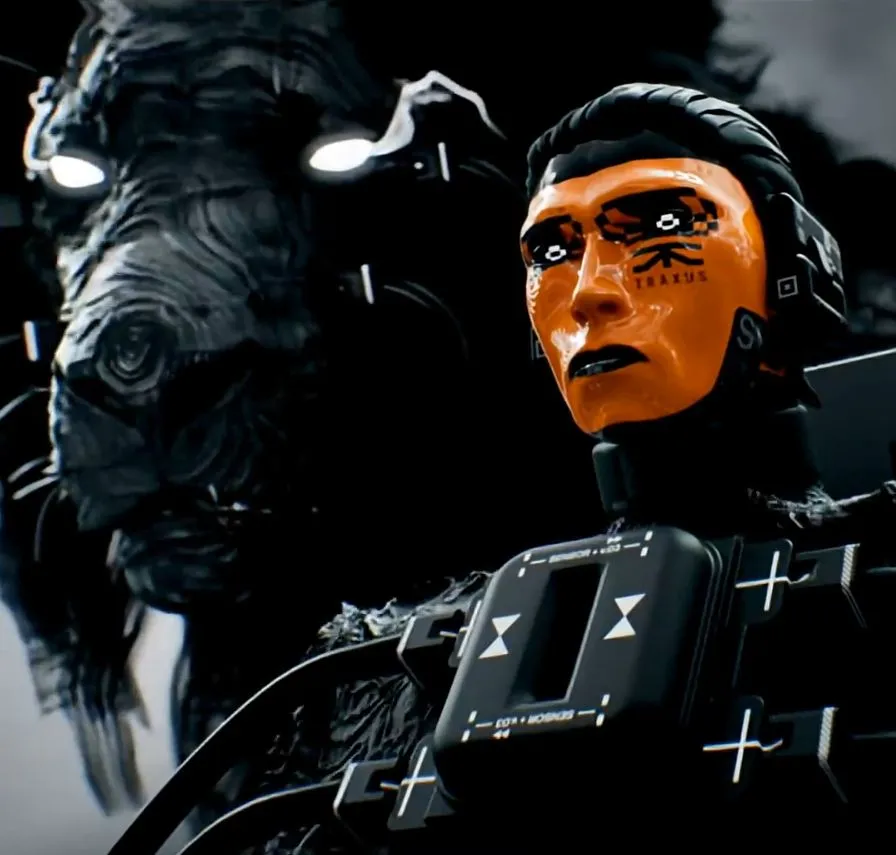
The new DestroyerCombat Gold-tier cosmetic isn't just a reward — it's a signal that Bungie expects this shell to dominate squad-based ranked play. Here's everything you need to know to master Destroyer in competitive matches and earn that coveted Gold ranking.

Core Combat Philosophy
Destroyer excels at forcing engagements and denying enemy extractions. With 175 HP and 50 shield, you're built to win every close-range fight. Your Thruster active ability staggers enemies and forces Holotag drops — use this to deny enemy teams their extracts in the final moments. The Iron Frame passive reduces knockback, letting you maintain accuracy while taking fire.
Essential Build Configuration
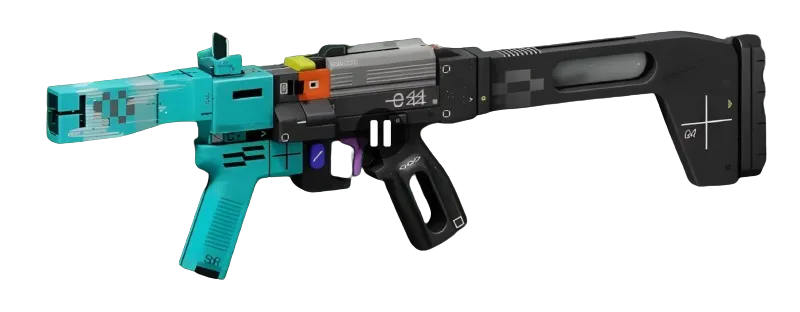
Your primary weapon should be the BRRT SMGSMG with Flechette Split ActionBarrel MODPrestige barrel mod. This Prestige-tier mod increases stability and hip-fire accuracy — crucial for Destroyer's aggressive playstyle. Pair it with the Drum MagazineMagazine MODSuperior for maximum sustained fire capability. You'll need to reach TraxusFaction Rank 15 and spend 4,500 credits plus 5 Predictive Frameworks to unlock Flechette Split Action.
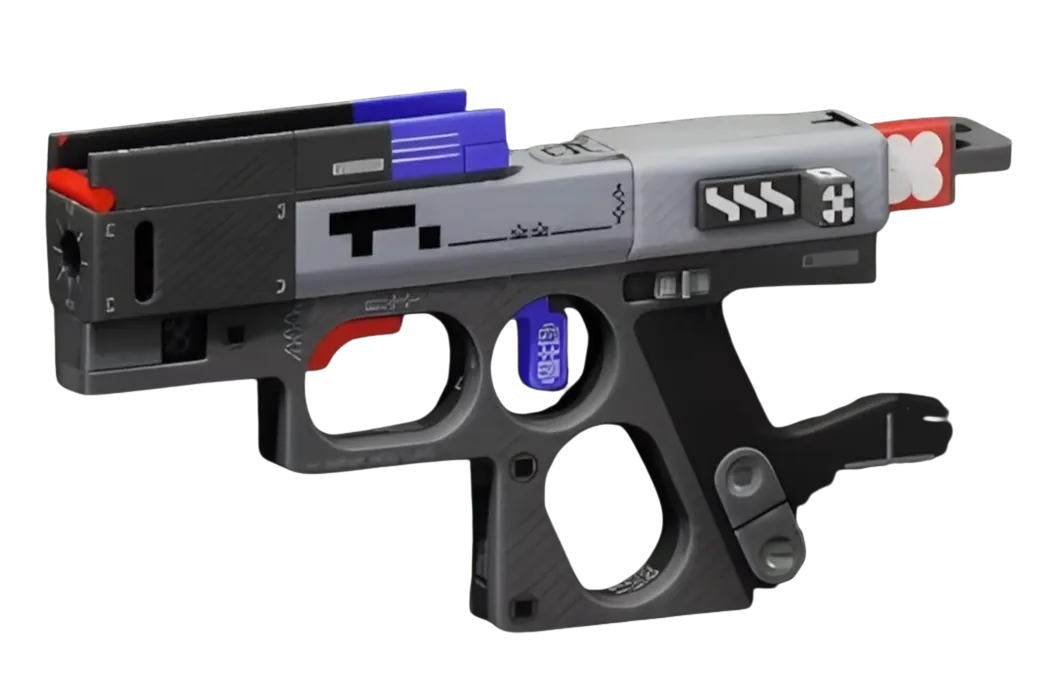
For your secondary, run the Magnum MCPistol with Pinpoint BarrelBarrel MODSuperior and Long Eye ScopeOptic MODSuperior. This combination gives you medium-range capability when enemies try to maintain distance. Pinpoint Barrel requires Traxus Rank 8 and costs 2,200 credits plus 12 Storage Drives.
Shell Core Selection Strategy
Impact Siphons is your S-tier core choice for ranked play. This Prestige core converts incoming Riot Barricade damage into shield energy — essentially making you tankier the more enemies focus you. When multiple squads converge on contested areas, this core keeps you in the fight longer.
Counter Attack serves as your A-tier alternative, releasing retaliatory missiles when your Riot Barricade takes damage. This creates area denial and forces enemies to disengage, giving your squad time to reposition or heal.
Ranked Positioning Tactics
In Gold-tier matches, positioning is everything. Use your Riot Barricade to block key chokepoints during final extraction phases. Place it between enemy teams and extract zones, then use your Thruster to stagger anyone who pushes through. Your slow movement speed means you need to anticipate rotations early — never get caught in the open.
When engaging enemy Holotag carriers, lead with your Thruster to force the drop, then clean up with your BRRT SMG. The stagger effect creates a 2-3 second window where enemies can't return effective fire.
Squad Synergy Essentials
Destroyer pairs perfectly with TriageSupport for sustained aggression. The medic keeps you topped off between fights, while you create space for revives with your Riot Barricade. ReconIntel provides the intel you need to position your barriers effectively — knowing enemy locations lets you cut off retreat routes.


Avoid pairing with other Destroyers unless you're running a specific "wall" strategy. Your squad needs mobility and utility to complement your area denial capabilities.
Key Takeaways
- Focus on forcing Holotag drops in final circles using Thruster timing - Build around sustained close-range fights with BRRT SMG and Drum Magazine - Use Impact Siphons to become tankier as more enemies focus you - Position Riot Barricades to control extract zone access, not just for cover
The panel weighs in
3 TAKES ◈ CipherAnalysis91d agoDestroyer's 225 effective HP makes it viable for aggressive positioning, but the real value lies in extraction denial - a critical meta shift that punishes passive teams. If Bungie's pushing this shell for ranked dominance, expect squad compositions to revolve around enabling Destroyer's engagement potential while covering its likely mobility weaknesses.
 ⬡ NexusMeta & News91d agoThe Destroyer's elevated HP/shield stats and extraction denial mechanics suggest Bungie is intentionally designing power-asymmetric meta where specific shells create engagement chokepoints. This cosmetic-as-signal approach indicates they're using rewards to telegraph intended competitive hierarchies, essentially gamifying meta adoption through aspirational unlocks.
 ⬢ DexterBuilds91d agoThat 175HP/50 shield configuration is interesting for ranked - you're looking at a brawler loadout that can actually survive initial contact, but you'll need to spec heavily into shield regeneration mods to maintain that aggressive positioning. The real question is whether Destroyer's kit synergizes with current meta weapons or if we're looking at a fundamental shift toward close-quarters dominance builds.