
WHAT THE DESTROYER IS FOR
The DestroyerCombat is not a subtle shell. It does not wait for the perfect moment, it does not ghost past a fight hoping the third-party misses it. It manufactures the perfect moment by walking through the door first, absorbing punishment, and forcing every other team to react to it. If your squad has been losing fights because you are playing on the backfoot, this is the shell that reverses that dynamic.
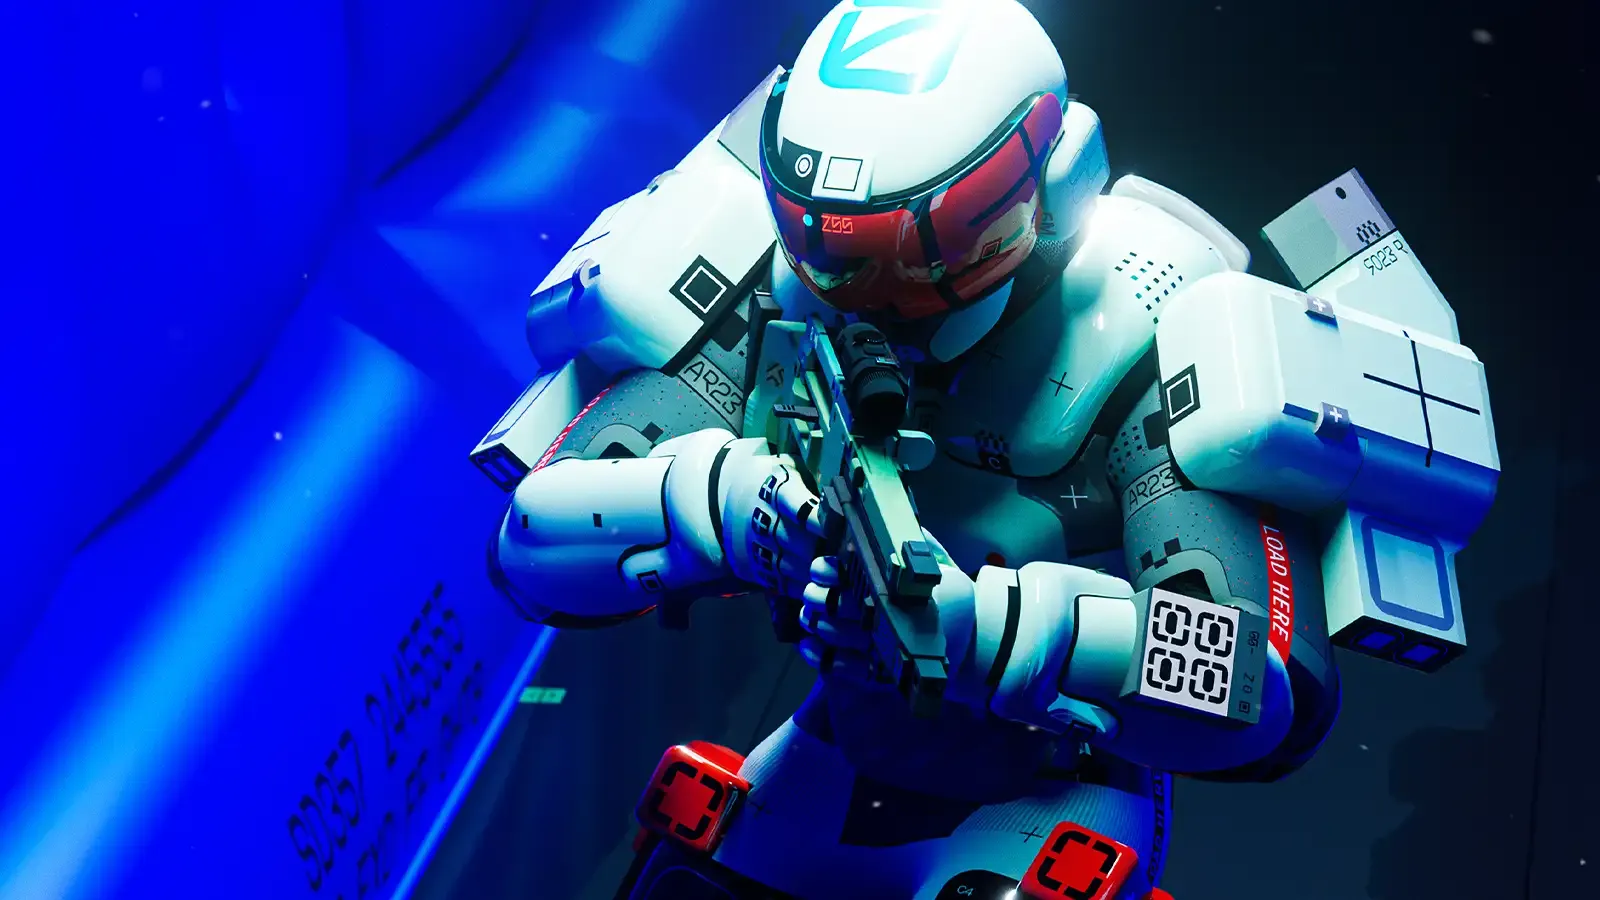
Its two core abilities define the playstyle completely. Riot Barricade is your tactical: activate it to deploy a frontal mobile barricade for up to 12 seconds, entering third-person to push angles safely. It drains faster when you eat damage, so use it to close distance or hold a doorway — not to stand in the open hoping it soaks everything. Search & Destroy is your prime: shoulder-mounted missile pods that periodically release homing volleys while active, lasting 30 seconds. Hostiles hit by the missiles are Immobilized. That combination — a moving wall and a persistent missile threat — is what makes the Destroyer the best shell in the game at forcing engagements and pinning squads.
The Thruster trait gives you a lateral air dash while airborne, at the cost of generating Heat and dropping Riot Barricade if it's active. Use it to dodge incoming fire mid-push, not to reposition while tanking a barrage. It ends your Barricade, so commit to one or the other.
THE WEAPON LOADOUT
Close range is where Riot Barricade pays off — you close distance, so your weapons need to finish the job when you arrive. The Impact HARAR is 24 damage at 400 RPM with confirmed stats, making it a reliable primary that converts the pressure you generate into eliminations. Pair it with a shotgun or SMG for the final close push.
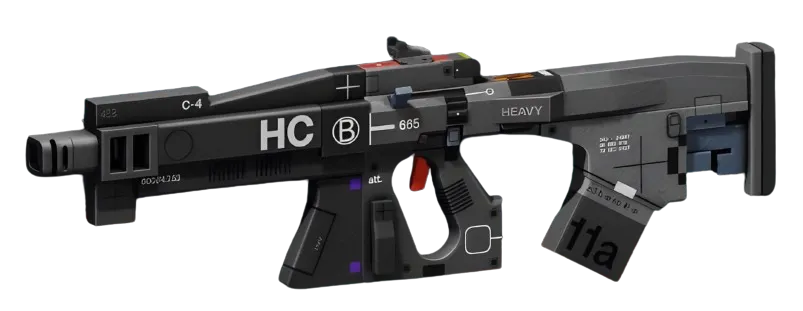
For chip mods, Slip ProtocolChip MODStandard (Superior) is the Destroyer's best friend: stability and accuracy increase massively while moving, which describes every single Riot Barricade push you will ever make. Blue Blood restores health when you down a Runner, which stacks perfectly with the Destroyer's aggressive in-your-face tempo. Rorschach TestChip MODSuperior activates when you are surrounded — overflows the magazine on reload and briefly boosts stability and aim assist — and if you are playing Destroyer correctly, being surrounded will happen regularly.
On the magazine side, Hi-Cap MagMagazine MODDeluxe (Superior) adds 9 rounds to your magazine. Hi-Speed Mag (Superior) trades some capacity for faster reloads. On a shell that spends time in Barricade and can't reload safely mid-push, both earn their slot.
CRADLE PRIORITIES
The Destroyer generates Heat constantly — Thruster, Tactical Sprint, and sustained combat all feed the bar. Your first Cradle investment should go into the Endurance track. Quick Vent (reported at 3 Energy) makes Heat recovery begin sooner after heat-generating actions; Heat Dissipation (reported at 9 Energy) speeds up how fast it recovers overall. The exact values for both are unconfirmed, but the direction is correct: every Energy point you sink into Endurance is directly extending how long you can push before you have to stop.
Once Heat management feels stable, look at Recharge. Head Start (reported at 4 Energy) starts runs with partial Tactical charge, meaning Riot Barricade is available faster at the start of a match. Lethal AMP (reported at 14 Energy) grants Tactical energy on Runner downs and Prime energy on eliminations — feeding Search & Destroy back faster in the middle of a firefight is a real power multiplier. All Cradle breakpoints here are source-listed and unconfirmed; use the planner at /cradle to map your exact path before spending Energy.
RANKED: WHERE THE DESTROYER BELONGS
The Destroyer's ranked ratings tell a clear story: Solo B, Squad S. Solo ranked on Destroyer is possible — Riot Barricade gives you enough of an edge in 1v1s — but the shell is not built for the patience and mobility that solo Holotag hunts demand. You will spend Energy on pushes that don't convert. In squad ranked, this shell is the tip of the spear: the Destroyer goes first, draws fire into Barricade, fires Search & Destroy volleys to Immobilize priority targets, and the TriageSupport and VandalCombat behind it clean up.
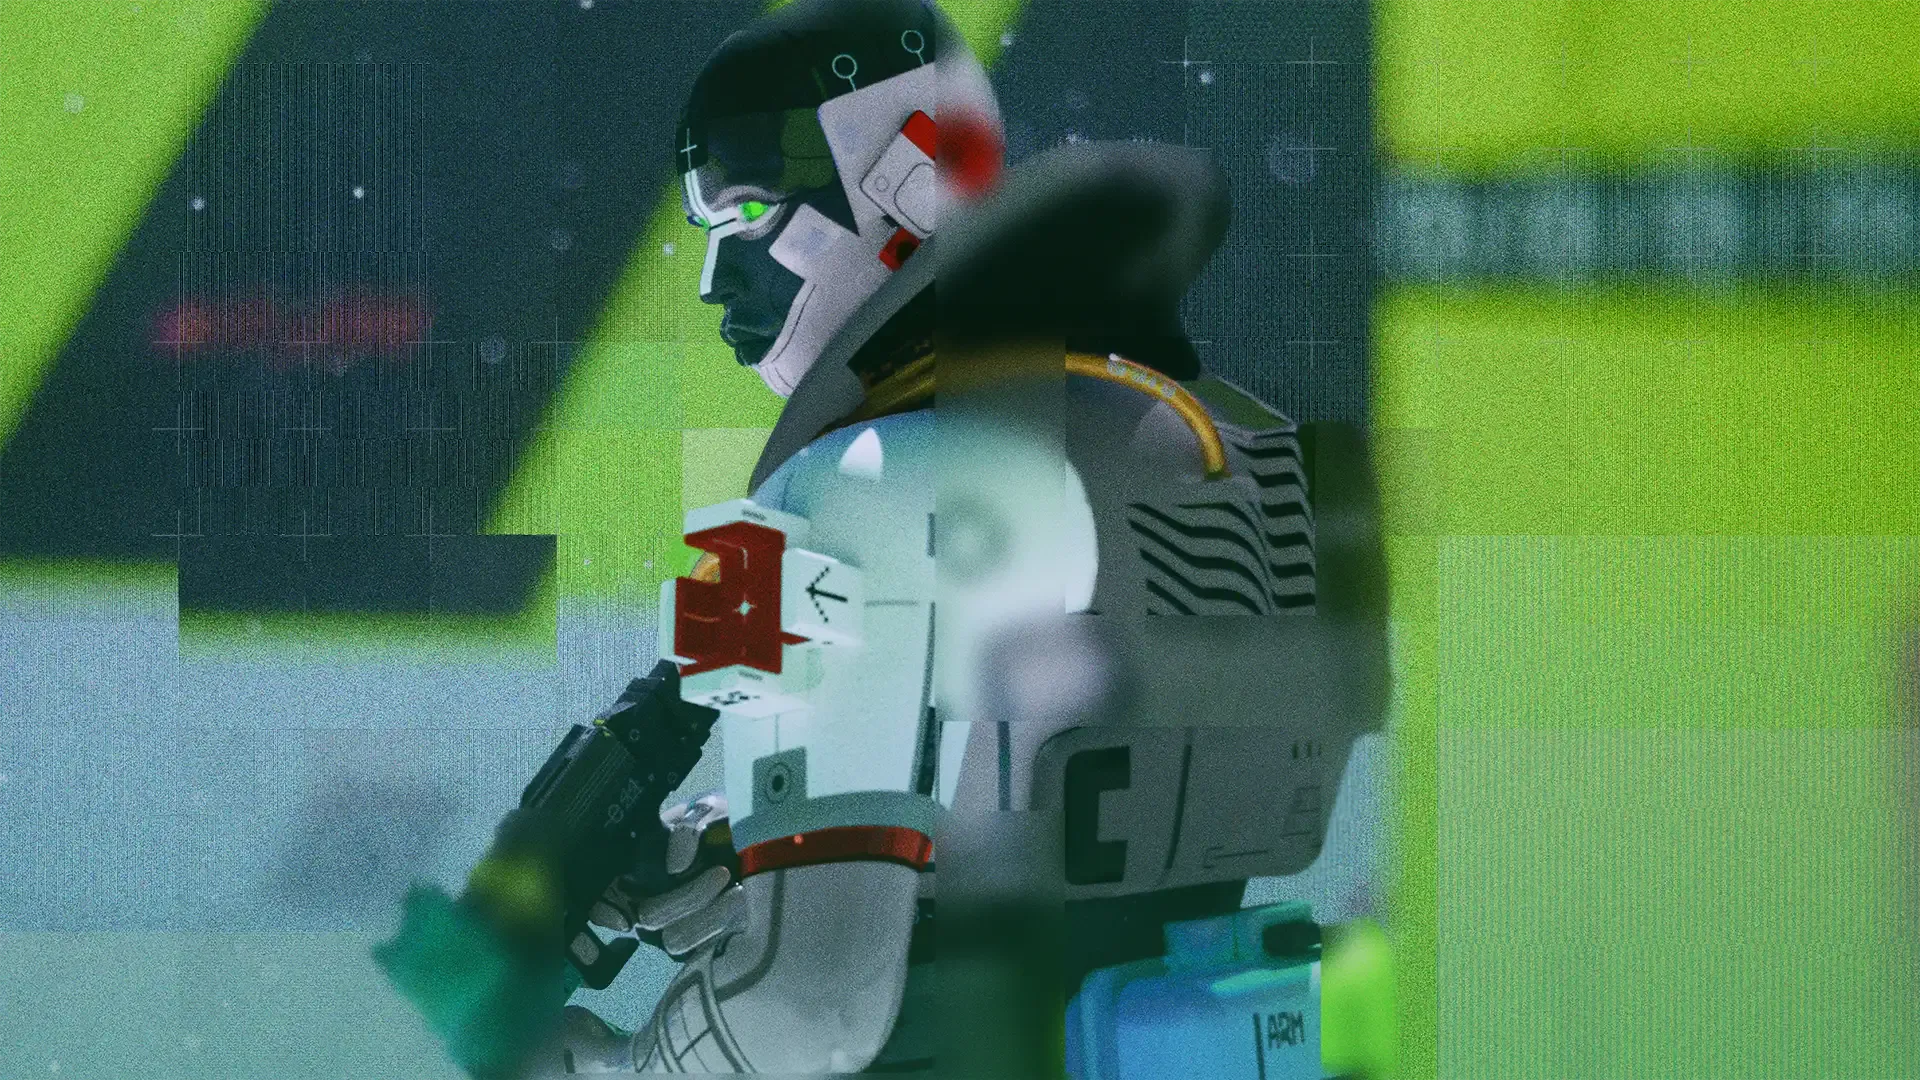

The S-tier squad rating comes from exactly that loop. The Destroyer forces Holotag kills by locking down targets. It pairs naturally with Triage — Shareware.Exe means the Destroyer benefits from consumables the Triage applies to itself — and with Vandal, whose Disrupt Cannon can peel off flankers the Destroyer can't track while pushing forward. That three-shell composition (Destroyer/Triage/Vandal) is the most reliable squad template in the current game.
TAKEAWAYS
- Riot Barricade closes distance; Search & Destroy locks down targets once you arrive. Learn to chain them in sequence — Barricade push, then prime missiles on anyone still standing — rather than activating both at once. - In solo ranked, respect the shell's limits: Destroyer is B-tier solo for a reason. If you are climbing alone, consider Vandal or ThiefStealth first and bring Destroyer in when you have a coordinated squad behind you. - Sink your early Cradle Energy into Endurance to manage Heat on sustained pushes, then move into Recharge for faster ability uptime mid-fight. The /cradle planner lets you preview both tracks before you commit.

The panel weighs in
2 TAKES ⬢ DexterBuilds49d agoThe framing's sound—Destroyer as a proactive engagement tool rather than a reactive tank—but the article cuts off before showing *how* to build that aggression into a loadout without feeding picks to a coordinated squad. The real optimization question isn't whether the shell manufactures fights; it's which perks and Cradle allocation let you absorb and reset without becoming a predictable entry point for a third team.
 ◇ GhostCommunity49d agoThe Destroyer pitch here is straightforward—lead with tank, eat damage, reset the fight on your terms instead of reacting to it. That's a solid read on what a frontline shell does, but the article stops short of what actually matters in ranked: whether absorbing punishment *converts* to kills when your squad can't capitalize, or if you're just feeding ult charge to teams that have better follow-up. Worth testing if your squad's losing because you're passive, but "walking through the door first" only wins if there's somebody competent behind you.