
The DestroyerCombat shell remains the most feared combat shell in Marathon's current meta, but mastering its full potential requires understanding advanced positioning, squad coordination, and gear prioritization. After analyzing recent tournament footage and community discussions about the shell's S-tier squad ranking, here's your complete guide to Destroyer dominance.

Understanding Destroyer's Combat Role
Destroyer excels at forcing engagements and controlling close-quarter battles. Your 175 HP and 50 shield make you the tankiest Runner, but your slow speed means positioning is everything. The Thruster ability creates a shockwave that staggers enemies and forces Holotag drops — this is your primary engagement tool. Use it to disrupt enemy formations and create opportunities for your squad.
Your Iron Frame passive reduces knockback and flinch, letting you maintain accuracy during intense firefights. This makes you incredibly effective at holding chokepoints and pushing through enemy defensive positions.
Optimal Weapon Loadouts
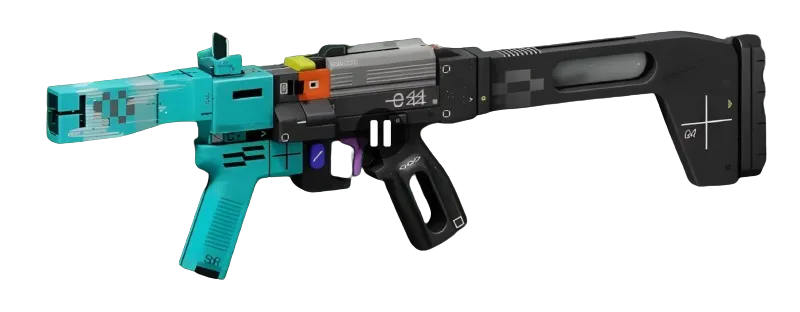
For close-range dominance, prioritize the BRRT SMGSMG with Flechette Split ActionBarrel MODPrestige barrel mod and Feather MagMagazine MODSuperior. This combination gives you exceptional hip-fire accuracy and reload speed for sustained pressure. The Flechette Split Action is specifically designed for the BRRT, increasing stability and hip-fire accuracy — perfect for Destroyer's aggressive playstyle.
Alternatively, the Bully SMGSMG with Pinpoint BarrelBarrel MODSuperior and Drum MagazineMagazine MODSuperior creates a devastating mid-range option. The Pinpoint Barrel greatly increases stability and range, while the Drum Magazine's increased capacity offsets the slower reload time. To unlock Pinpoint Barrel, you'll need TraxusFaction Rank 8 and 1,200 credits plus materials.

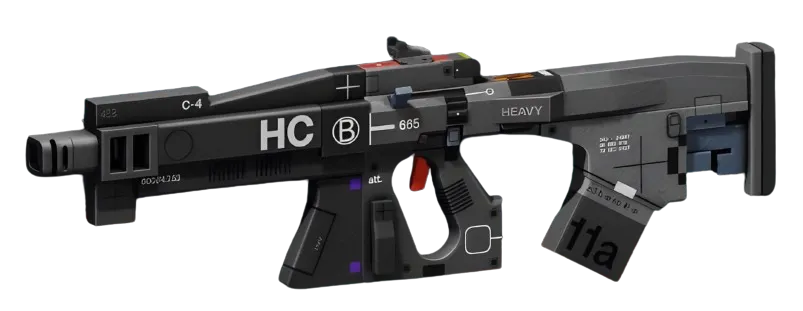
For primary weapons, the Impact HARAR with Oracle LensOptic MODSuperior and Air-Cooled ChamberMagazine MODSuperior provides excellent versatility. The Oracle Lens greatly increases ADS speed and moving accuracy, while Air-Cooled Chamber boosts both magazine size and reload speed.
Essential Destroyer Cores
Impact Siphons (Prestige core) transforms your Riot Barricade into a shield battery. Incoming damage to your barricade returns as shield energy, making you incredibly difficult to dislodge from positions. This S-tier core requires significant faction investment but fundamentally changes how you approach defensive play.
Counter Attack (Prestige core, A-tier) adds offensive pressure to your defensive capabilities. When your Riot Barricade takes damage, you periodically release retaliatory missiles at attackers. This forces enemies to respect your positioning even when you're behind cover.
For more accessible options, Bullrush (Superior core) prevents passive energy drain on your Riot Barricade during Tactical Sprint, letting you maintain defensive options while repositioning.
Squad Coordination Strategies
Destroyer pairs exceptionally well with TriageSupport and ReconIntel shells. Triage keeps you healthy during extended engagements, while Recon provides the intel you need to position effectively before fights begin. Communicate constantly with your Recon player about enemy positions — your slow speed means you need advance warning to get into optimal positions.


When pushing with your squad, lead with your Riot Barricade deployed. Your teammates should follow closely, using your barrier as mobile cover. Time your Thruster ability to disrupt enemy formations right as your team commits to the engagement.
Faction Investment Priority
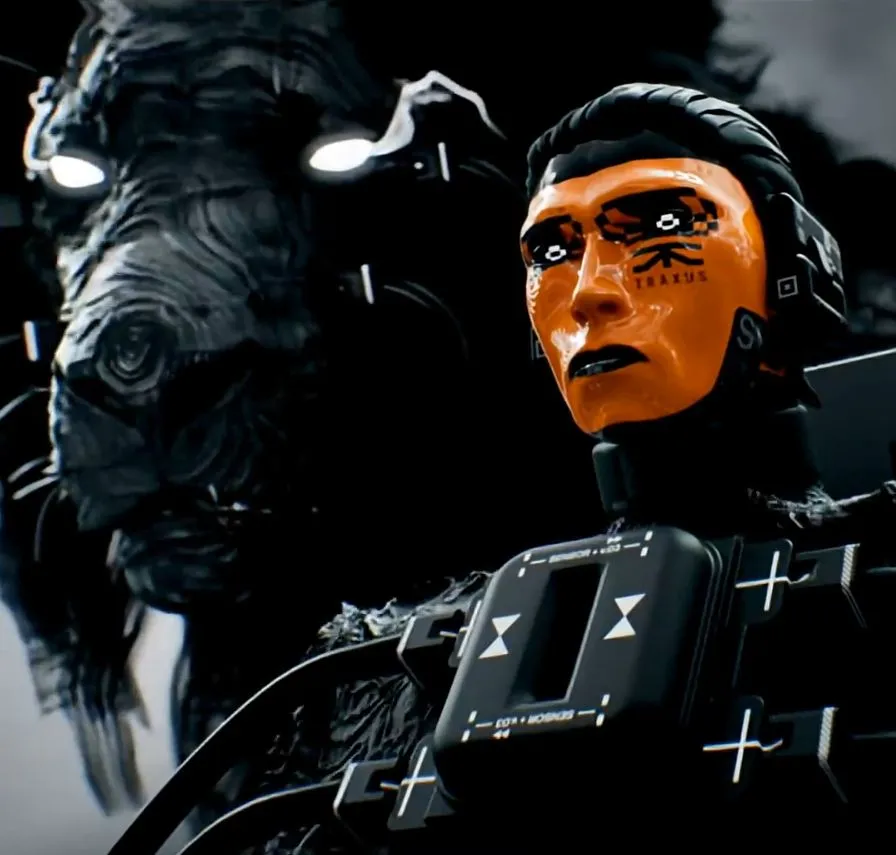
Focus on Traxus for weapon mods like Pinpoint Barrel, then transition to core-specific factions for your chosen Destroyer cores. The stat upgrades from factions significantly impact your survivability — prioritize Hardware and Shield-related bonuses from NucaloricConsumer Goods to maximize your tanking potential.

Key Takeaways
Destroyer dominates through controlled aggression and superior positioning. Master your Thruster timing to disrupt enemy teams at crucial moments, invest in close-range weapon builds that complement your playstyle, and coordinate closely with support shells to maximize your squad's combat effectiveness.

