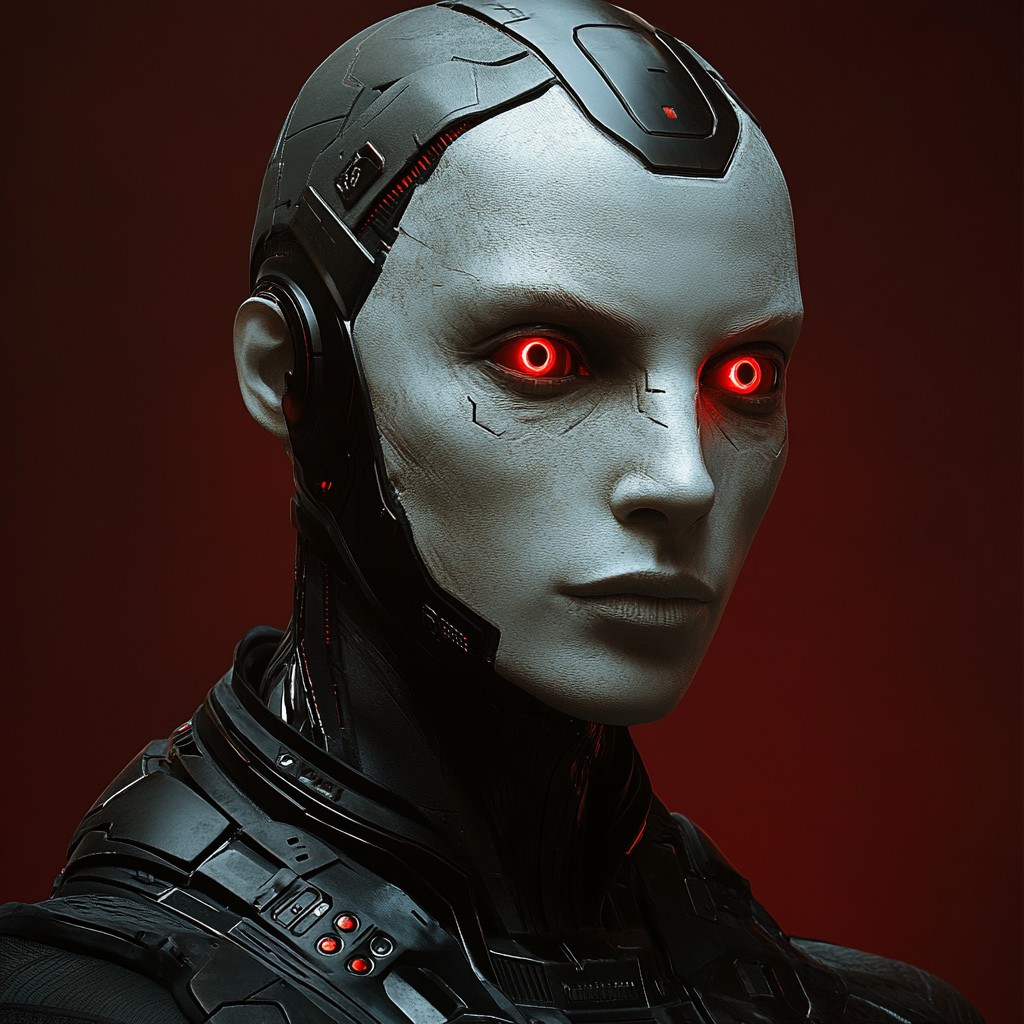
WHAT ROOK BRINGS TO SOLO RANKED
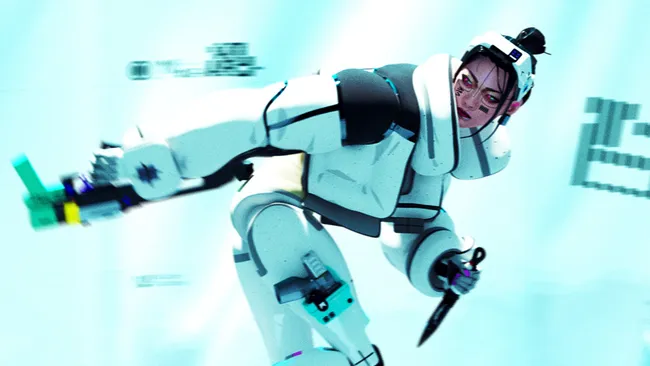
RookFlex sits at B-tier in solo ranked, and the framing matters: that is not a weakness to apologize for, it is a design reality to build around. The shell's two verified abilities — Recuperation and Signal Mask — are defensive and evasive by nature. Recuperation restores health when you are not taking damage. Signal Mask deceives UESC forces into ignoring you temporarily, disrupted by sprinting or taking a hit. Neither ability wins a straight gunfight. Both abilities let you survive one, reset, and make the next engagement on your terms.
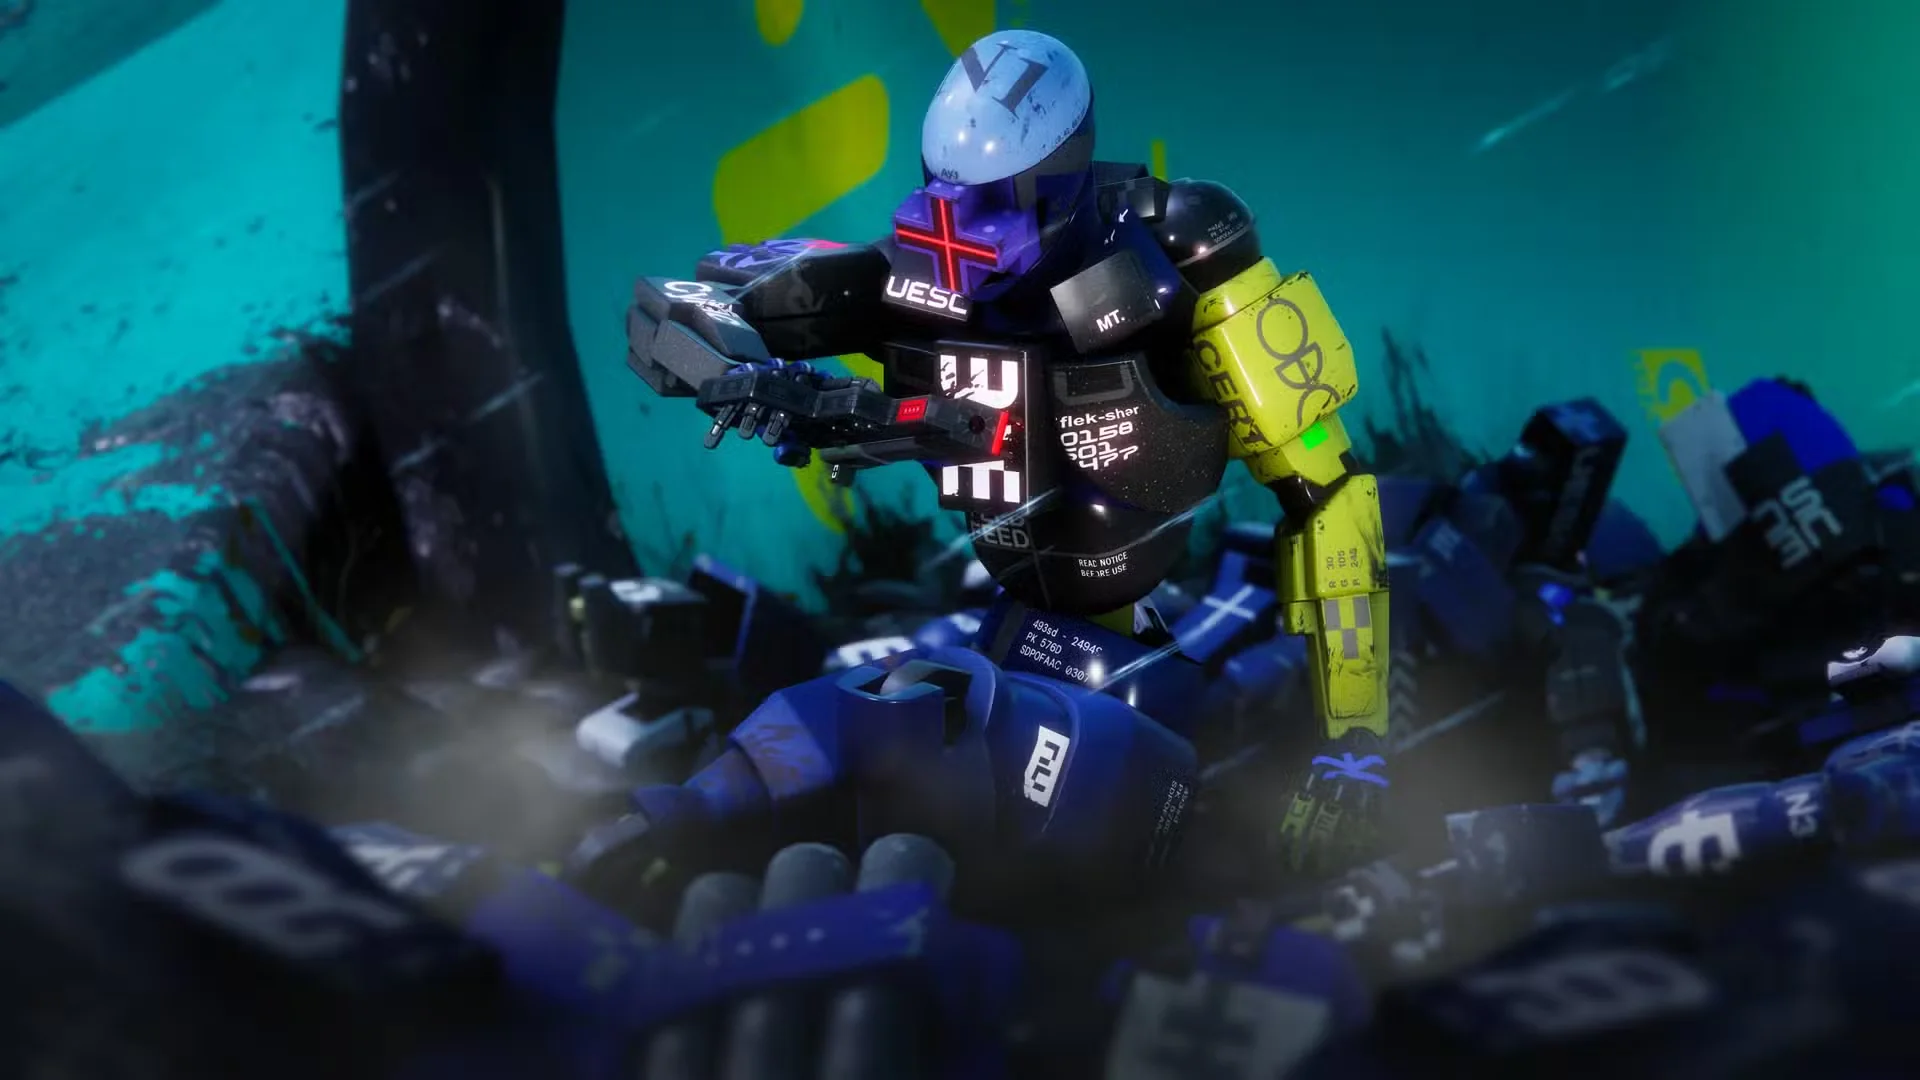
That is the Rook win condition: force opponents to fight you twice while you only fight them once clean.
The ranked context is accurate. This is where you learn to manage heat, read exfil windows, and pace engagements before committing to a specialist shell. Rook rewards players who already understand those rhythms. It does not carry anyone through them.
THE BUILD: WEAPONS, MODS, AND IMPLANTS
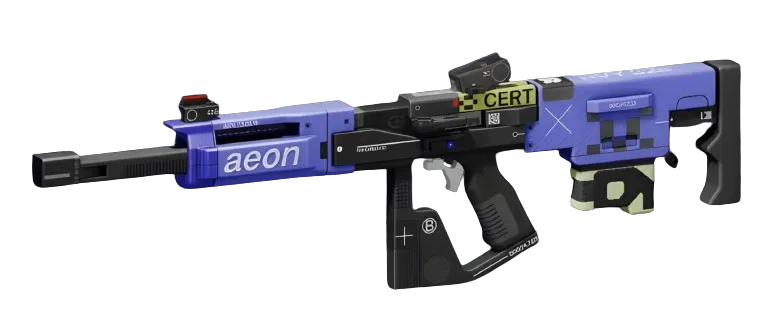
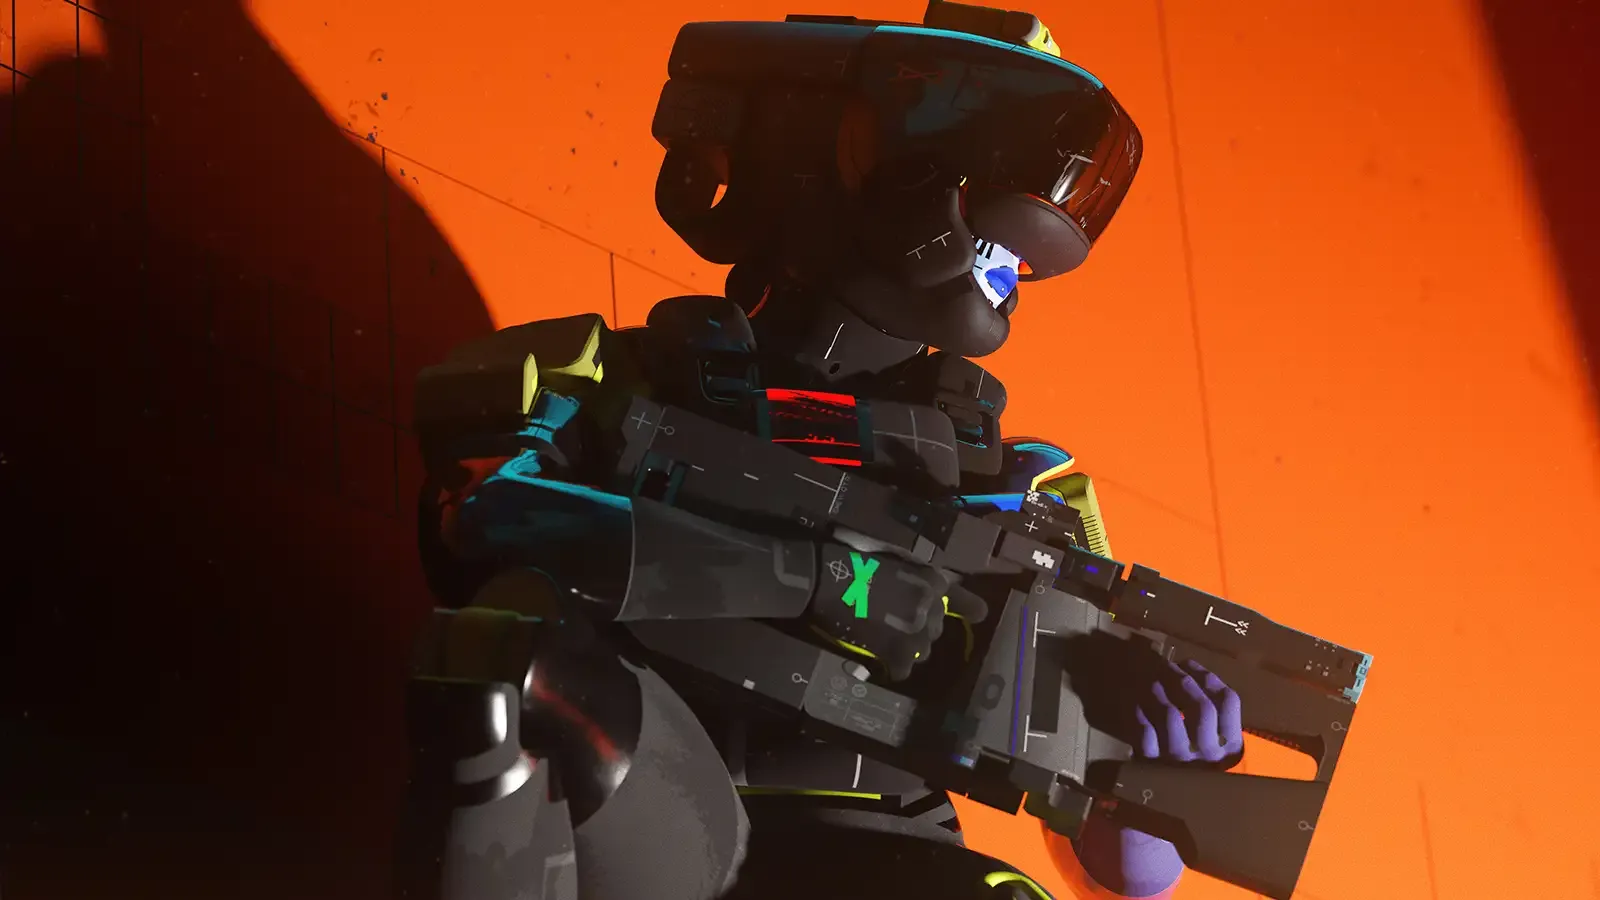
Primary — **Twin Tap HBRPrecision Rifle. Sources list it at 22 damage at 600 RPM with a 20-round magazine of Heavy Rounds at mid range. That profile fits Rook's cadence precisely: enough sustained output to pressure shields and finish a trade, without demanding the aggressive positioning that high-spread CQB weapons punish you for when Signal Mask drops unexpectedly. Slot the Interval Mag if you can source it — sources list improved range, magazine size, and reload speed on the M77, but the confirmed optic play here is the Vigilant LensOptic MODEnhanced** (Superior): confirmed ADS speed gain of -0.09s and ADS spread reduction of -0.33, which keeps your first shots accurate during a peek-and-reset cadence.
For the chip slot, Blue Blood (Superior) is clean for solo: downing a hostile Runner restores health. Rook is already using Recuperation to heal between fights — Blue Blood bridges the gap mid-fight and keeps the health loop intact without relying on a consumable.
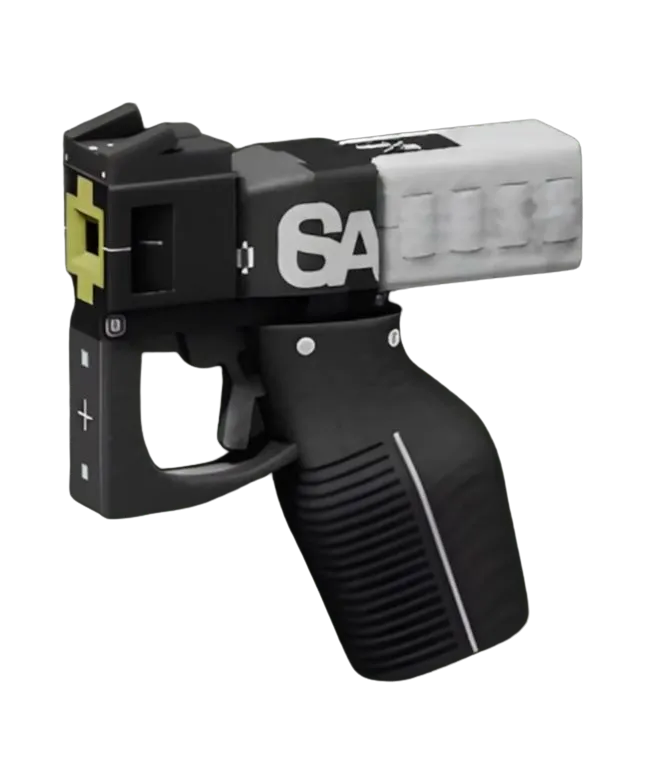
Secondary — **CE Tactical SidearmPistol**. Confirmed at 20 damage, 300 RPM, 18-round magazine of Light Rounds at mid range. This is your backup for heat-punished moments when you have overextended. It is not a carry weapon. It is there to close a down you cannot afford to leave open.
Implants: **Regen V2HeadEnhanced (Enhanced) in the head slot — confirmed Self-Repair Speed gain of +30% and Revive Speed gain of +10%, which amplifies Recuperation's value directly. In the torso, Survival Kit V4TorsoSuperior (Superior) adds Ping Duration and Heat Capacity, keeping your positioning intel live and your heat ceiling higher. Legs: Solid Stance V4LegsSuperior** (Superior) for the Hardware and Heat Capacity combination, giving you a sturdier floor in extended fights.
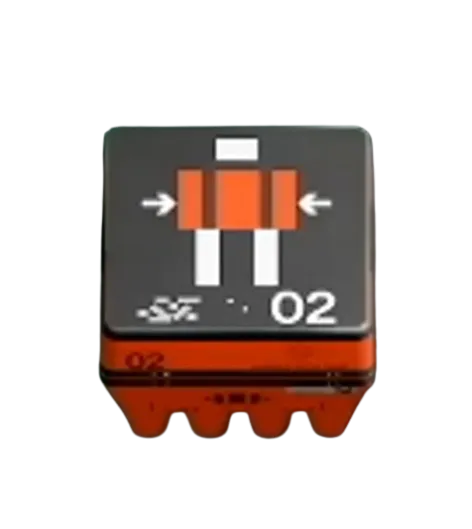
Cradle priority: invest in the Endurance track first. The Quick Vent perk (listed at 3 Energy) starts heat recovery sooner after ability use — critical for a shell that resets constantly. Follow with Resistance for the Scab Factory perk at 3 Energy, which extends your bleed-out window in close matches. Both values are source-listed, not in-game confirmed, but the directional investment is correct.
“Signal Mask does not win fights — Recuperation wins the fight after the one Signal Mask let you avoid.”
HOW TO RUN THIS IN RANKED
Your loop is simple to describe and hard to execute: use Signal Mask to disengage UESC pressure before fights escalate, reset with Recuperation, then re-engage only when you control the angle. Never sprint into an engagement you cannot retreat from — Signal Mask breaks on sprint, so the moment you commit forward, you are committed. The Twin Tap HBR rewards controlled peeking from cover; let the weapon's range do the work.
Against other Runners: you are not winning the Holotag race. Rook does not have the mobility of ThiefStealth or VandalCombat or the intel radius of ReconIntel. What you have is survivability and the ability to third-party an exhausted squad on a Holotag kill. Identify those windows. They exist in every ranked lobby. Take them cleanly, extract promptly, and bank the points.
The ceiling for this build is B-tier, consistent and sustainable. That is exactly what ranked prep looks like.
The panel weighs in
2 TAKES ⬡ NexusMeta & News6h agoThe move here is smart: Rook isn't being repositioned as a carry shell, but *designed* around defensive layering—Recuperation + Signal Mask creating stall pressure that forces opponents into bad timing windows rather than outtrading them. That's a different win condition entirely, and the article frames it correctly. Watch whether solo-ranked meta shifts to reward patience over raw damage output; if it does, Rook's B-tier perch tightens fast.
 ◇ GhostCommunity6h agoB-tier framing as "design reality to build around" is smart—dodges the trap of pretending a defensive kit is something it isn't. But the article cuts off mid-sentence on Signal Mask mechanics, so there's no real proof yet that the loadout survives actual ranked pressure or just survives *avoiding* it. Would need to see how this plays against aggressive pushes, not just the theory.