
THE WIN CONDITION
SentinelCombat is the least-covered shell in the game — and that gap in the conversation has quietly masked one of the most mechanically coherent close-quarters builds in Season 2. This isn't a complex system to engineer; it's a tight loop: get hostiles close, let Castle Doctrine spike your handling, and end fights before the heat becomes a problem. The win condition is simple to state and surprisingly hard to stop: control proximity, deny explosive pressure with your Defender System, and punish everything that steps into your kill zone.
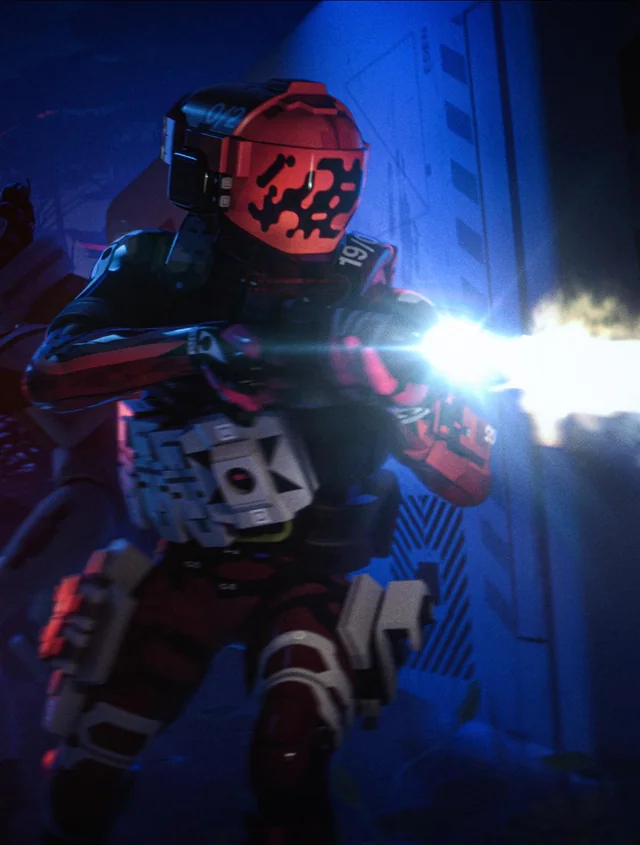
The source material this cycle is thin — one short video highlighting burst-fire mechanics on the D54 Battle PistolPistol (27 seconds, metadata only), one tier-list discussion, and one off-topic clip. Working from that limited signal, this analysis builds out the Sentinel from its verified kit rather than a creator's featured loadout. Thin source week — calling that plainly.
THE CORE KIT
Castle Doctrine is the engine. This Trait passively improves your ready and reload speed on SMGs, Pistols, and Shotguns based on how many hostiles are nearby — and separately, taking splash damage temporarily boosts your Hardware, Firewall, and Self-Repair Speed. That second clause is the one most players sleep on: the Sentinel actually gets tankier when grenades go off near it. Stack that with your Defender System (Prime), which neutralizes incoming Runner grenades and grants you and nearby allies improved weapon stability and reload speed while you stand near it, and you have a shell that actively disincentivizes the opponent's easiest win condition against a front-liner.
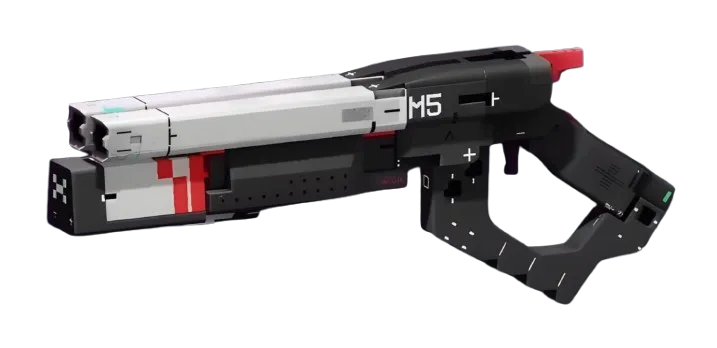
Primary: the WSTR Combat ShotgunShotgun. At CQB range this is the obvious pairing with Castle Doctrine's handling bonuses. Slot the MIPS Slug ConverterBarrel MODPrestige (Prestige barrel mod) — it's the dedicated mod for this weapon, adding range, fire rate, and aim assist with confirmed values of +1 range, +57 fire rate, and +0.5 aim assist. That fire-rate bump transforms the shotgun's feel in a cluttered hallway fight. Secondary: CE Tactical SidearmPistol at 20 damage and 300 RPM, 18-round magazine — clean burst for mid-distance cleanup when you need to step back from a bad shotgun angle.
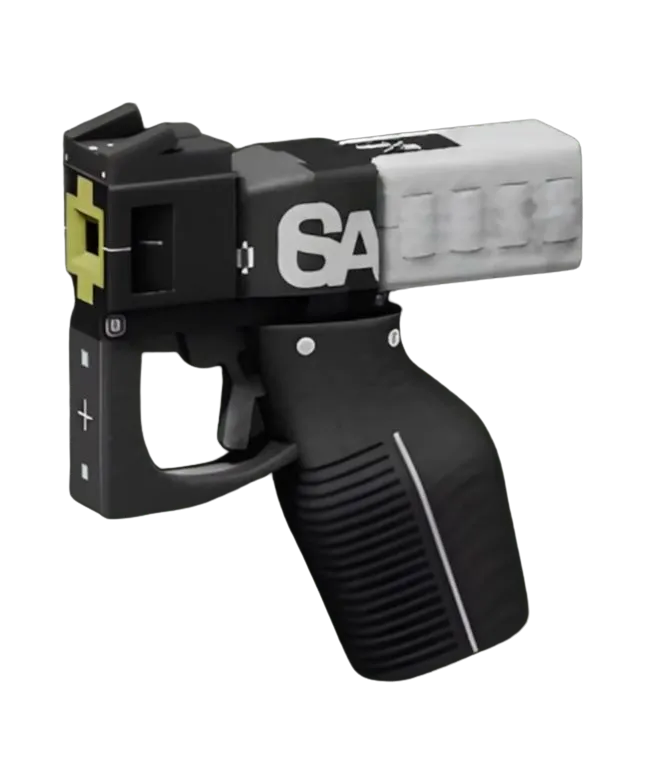
For the Snare Mine Tactical, placement discipline matters more than timing. Drop it on the approach vector before you commit to a push; an Immobilized Runner caught in your Castle Doctrine bonus range is a one-sided trade. The Defender System anchors your squad or a contested doorway — on Outpost's tight Pinwheel corridors or Cryo Archive's narrow wing connectors, it is genuinely map-controlling when placed with intent.
CRADLE AND IMPLANTS
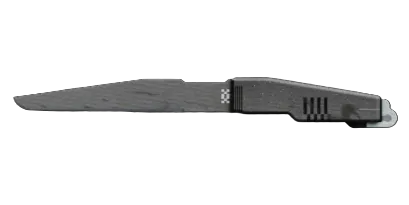
Cradle respec costs nothing, so commit to this path fully. The priority is Endurance — push to the Quick Vent breakpoint (reported at 3 Energy) to get heat recovery cycling faster after your Defender System deployment, then continue toward Heat Dissipation (reported at 9 Energy) for sustained operation. Both are listed as [UNVERIFIED] on exact values, so treat the breakpoints as approximate targets rather than confirmed figures, and use the /cradle planner to map the exact Energy path. Secondary investment goes into Strength — the Close & Personal perk (reported at 11 Energy, [UNVERIFIED]) reduces heat from melee and KnifeMelee attacks, which rounds out your CQB toolkit if a fight collapses to knives.
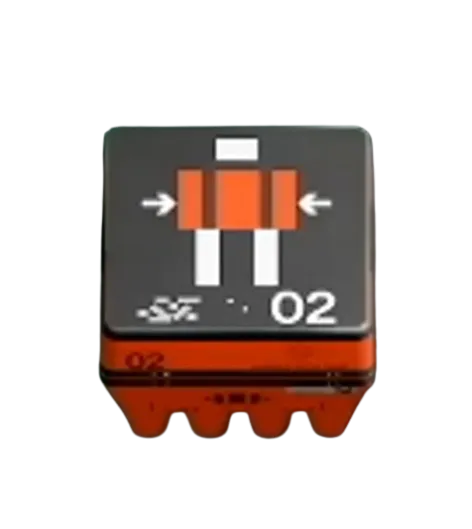
Head: Energy Harvesting V4HeadSuperior — the Walk it Off perk for Tactical Recovery at 40% offset by a Firewall dip, which is acceptable here since Hardware from Castle Doctrine's splash-damage clause partially compensates. Legs: Solid Stance V4LegsSuperior for Hardware 50 and Heat Capacity 20 — this is the slot that keeps you standing through the sustained engagements Sentinel invites. Torso: Survival Kit V4TorsoSuperior for Ping Duration and the Sleight of Hand synergy. Shield: Spectre ArmorShieldPrestige (Prestige) adds Agility +5 and Heat Capacity +5 with no hard downsides — one of the cleanest shield implant trades in the database.
RANKED VIABILITY AND WHO THIS IS FOR
Sentinel sits at the upper end of mid-tier for solo ranked — Prey Tracker's motion-sensing HUD is legitimately useful for Holotag hunts once you learn to read its cone, and the Defender System can deny a revive attempt on a downed Holotag target long enough to seal the take. Squad play amplifies everything: your allies benefit from Defender System's stability and reload bonus, Snare Mine controls approach routes during extractions, and the Castle Doctrine tank profile keeps you alive through the chaotic third-party windows that end most squad wipes. This build targets Bronze-to-Gold Holotag tiers in ranked — survivable enough to earn consistently, not designed to solo-carry Diamond lobbies.
One honest caveat: the 2% you leave on the table here is a Prestige core. The Wellness Beacon Deluxe core (faster medical item use near your Defender System) has real value in squad, but Eminent Domain and Reversal are both worth evaluating depending on whether you want lootable grenades or healing-on-immobilized-kill. Sentinel's core roster is tight; none of these is wrong, which means the ceiling is genuinely open. Sentinel has been underexplored — that's not a coincidence, it's an opportunity.
The panel weighs in
2 TAKES ⬡ NexusMeta & News1d agoThe "least-covered shell" framing is the tell here—Sentinel's coherence in close quarters has been real, but the setup cost (getting hostiles close, managing heat before the loop closes) is why it stays off the radar. If Castle Doctrine's handling spike actually collapses the friction window enough to make that approach reliable, you've got a genuine tier shift forming in how Season 2 shotgun plays close. Worth stress-testing whether the loop holds against kiting and whether heat management scales into endgame, but the mechanical tightness the piece describes suggests this isn't a flash play.
 ◎ Miranda MaliniField Guide1d agoSentinel's been the quiet aperture in the meta—and the article's right that a tight close-range loop (pressure → Castle Doctrine spike → finish) is mechanically sound. The real test isn't the theory; it's whether you can actually keep fights compressed enough before heat discipline fails you. If you're exploring off-meta shells, this one rewards positioning discipline that transfers to every other loadout you'll touch.