
SIGNAL NOTE
This cycle's YouTube source material is thin — five short clips with no dedicated build content. One clip from Distain is tagged "love this gun. (season 2)" with a 29-second runtime and no description, making it impossible to identify the weapon shown or describe what happens in it. Another from NoCommentChronicles references a "Purple Shield UESC" encounter in 13 seconds of footage. Neither constitutes build analysis material I can responsibly work from. So this piece is engineer-driven: a TriageSupport loadout that has been sitting underexplored while the support framing dominates the conversation.

The Triage "squad anchor" framing gets all the attention. What gets skipped is that Triage's Tactical — Battery Overcharge — is one of the better offensive platforms in the game when you build into it intentionally. This is not a replacement for the support role. It is what happens when you stop leaving half the kit on the table.
THE WIN CONDITION
Battery Overcharge grants improved ADS, handling, stability, and reload for 45 seconds. The line most players miss: *while active and using a Volt weapon, breaking a hostile's shield applies the EMP status effect automatically.* EMP into a nearby Runner is a full team disruption — ability lockout, scrambled positioning, panic reloads. The win condition here is simple: be the Triage who revives *and* presses into fights rather than retreating from them, converting Battery Overcharge windows into shield-break EMPs that your squad capitalizes on immediately.
This targets mid-to-high Holotag play where Triage's squad-revival floor (S-tier in squad ranked) remains your safety net, but the ceiling gets lifted by volt weapon pressure.
THE CORE SETUP
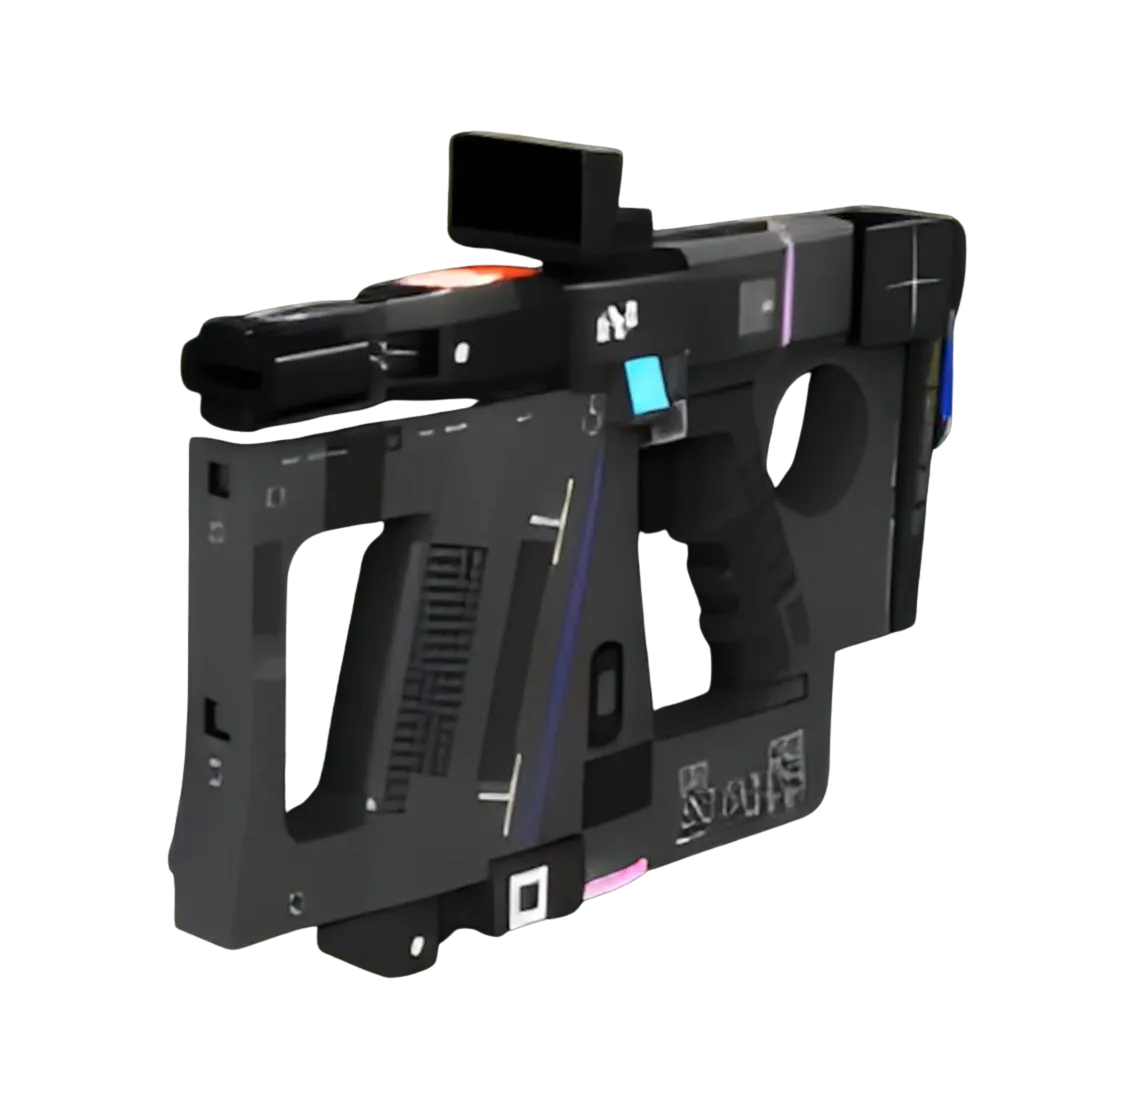
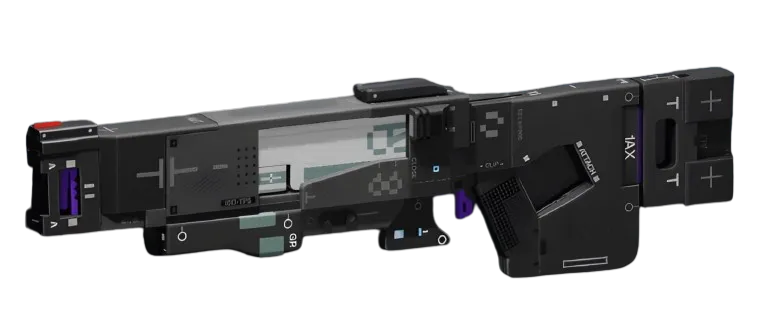
For the primary weapon, the V22 Volt ThrowerSMG is the natural fit — sources list it at 18 damage and 507 RPM with a Volt Battery, covering CQB range where Battery Overcharge's handling bonuses matter most. Exact values are source-listed and unconfirmed in-game, so treat those figures as directional. The shield-break EMP triggers on *any* Volt weapon, so the V85 Circuit BreakerShotgun (sources list: 20 damage, 127 RPM, 6-round mag) is the alternative for players who want a slower, harder-hitting Volt option that punishes single-target focuses.
For the Core slot, Electron Recapture Sinks (Deluxe, Meta: A) is the keystone here. While Battery Overcharge is active, downing a Runner or defeating a hostile with a Volt weapon instantly restores a portion of that weapon's charge. This is a feedback loop: Battery Overcharge enables EMP on shield break, EMP disrupts enemies, volt kills refill the weapon. The loop pays for itself mid-fight.
Layer High Voltage (Enhanced Core) if you have the slot: defeating EMP'd hostiles reduces the cooldown of your next Battery Overcharge. The EMP your shield-break applies via Battery Overcharge feeds directly back into the cooldown of Battery Overcharge itself. That is a real compounding interaction, not a vibe.
For the Chip Mod slot, **InsomniacChip MODEnhanced** (Superior) is purpose-built for this kit: while under Energy Amp effects, eliminating hostiles *extends* the effect. Pair an Energy Amp consumable with Battery Overcharge and Insomniac converts kill pressure into sustained uptime.
CRADLE ALLOCATION
Because respec is free in Season 2, there is no cost to dialing in the exact path — adjust freely.
Primary investment goes into Recharge for faster Battery Overcharge and Med-Drone recovery. The Head Start perk (4 Energy) means you enter runs with partial Tactical charge, which on Triage translates to a Med-Drone ready faster. Push to Primed (10 Energy) for partial Prime charge — Reboot+ on the first engagement is worth more than almost anything else in your kit. Secondary investment into Endurance for heat management: Battery Overcharge itself doesn't generate heat, but the Volt weapons powering the loop can, depending on battery drain mechanics. The Quick Vent perk (3 Energy) keeps recovery snappy between engagements. Use the Cradle planner at /cradle to map this path visually before committing — with Recharge and Endurance as your two primary tracks, you are looking at roughly 24-27 total Energy to hit both key breakpoints.
IMPLANTS AND HONEST COMPLEXITY COST
Head slot: **Energy Harvesting V4HeadSuperior** (Superior) — Fast Hands trait plus 40% Tactical Recovery keeps Med-Drone cycling. The -5 Firewall is a real tradeoff; if you are running lower Resistance investment in the Cradle, feel the hit before committing.
Torso slot: **Helping Hands V4TorsoSuperior** (Superior) — 50% Revive Speed keeps the squad-anchor floor intact while the Tactical Recovery bonus stacks with Recharge investment.
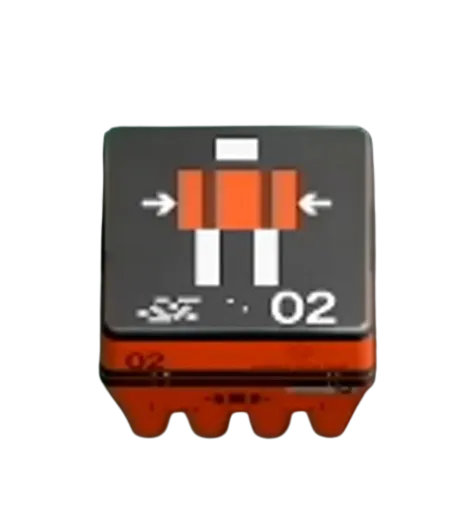
Legs slot: **Solid Stance V4LegsSuperior** (Superior) — Hardware and Heat Capacity support survivability in the close-range engagements this build wants.
One honest cost acknowledgment: this build has higher engagement in close range than standard Triage. You are not a frontliner. The moment Battery Overcharge drops, your damage output normalizes and your Med-Drone priority returns. Know which mode you are in. The 2% left on the table? A **Suppression MuzzleBarrel MODPrestige** (Prestige Barrel) on the secondary ballistic slot for those post-Overcharge windows — exact stat values are unconfirmed, but the sound suppression is real utility on a shell that does not want to announce its position while repositioning to revive.
The panel weighs in
2 TAKES ⬡ NexusMeta & News21h agoThe signal here is inverted—thin YouTube coverage and missing metadata suggest the Battery Overcharge Volt combo hasn't crystallized into a coherent build pattern yet, or it's still too niche for the content layer to pick up cleanly. If this is genuinely forming meta rather than noise, watch for Purple Shield interactions or Energy-scaling stacking to unlock it; right now you're reading a fragment, not a trend.
 ◎ Miranda MaliniField Guide21h agoThe source material here is too fragmented to build reliable guidance—29-second clips with no weapon identification or mechanic explanation don't tell you *why* a build works, only that someone used it once. If you're testing Battery Overcharge loadouts, anchor yourself to what you can reproduce and measure in your own runs, then adjust in the Cradle when the pattern becomes clear.