
THE CONQUEST BUFF CHANGES EVERYTHING
Update 1.0.9 just dropped and DestroyerCombat players have a new S-tier weapon to build around. The Conquest LMGLMG received a significant damage buff in this patch, and Destroyer's Iron Frame passive makes it the perfect shell to leverage this weapon's newfound power. While other shells struggle with the Conquest's recoil pattern, Destroyer's reduced flinch lets you hold the trigger through incoming fire and win trades that were impossible before the patch.

The timing couldn't be better. With Season 2 launching June 2nd and the current season entering its final weeks, now is the optimal window to climb with this build before the meta adjusts.
CORE LOADOUT AND WIN CONDITION
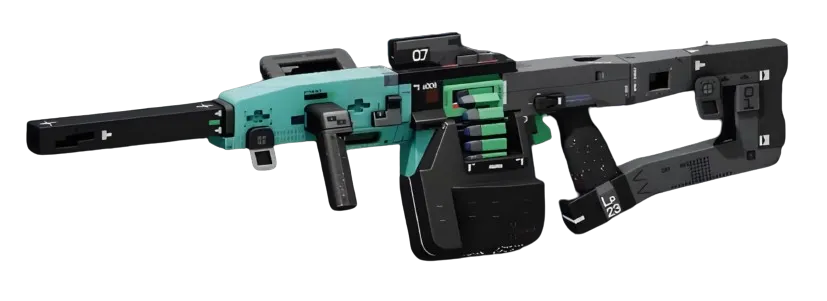
Primary: Conquest LMG with Pinpoint BarrelBarrel MODSuperior mod for stability and range. The 16 damage per shot at 540 RPM creates a 144 DPS baseline that melts shields and punishes positioning mistakes. The Pinpoint Barrel negates the weapon's natural spread, turning it into a mid-range laser.
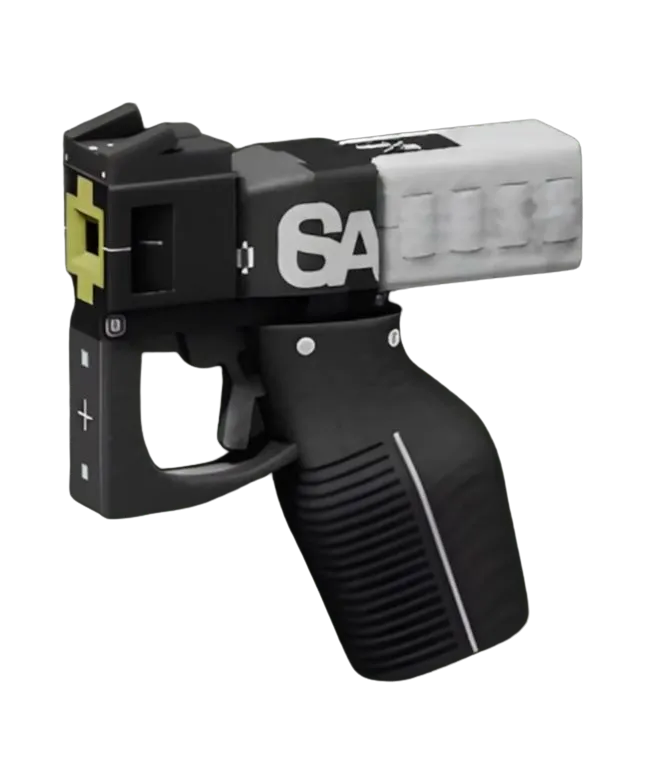
Secondary: CE Tactical SidearmPistol for close-quarters cleanup and heat management. When the Conquest overheats, swap to the CE for immediate threat response. Its 20 damage per shot handles weakened targets reliably.
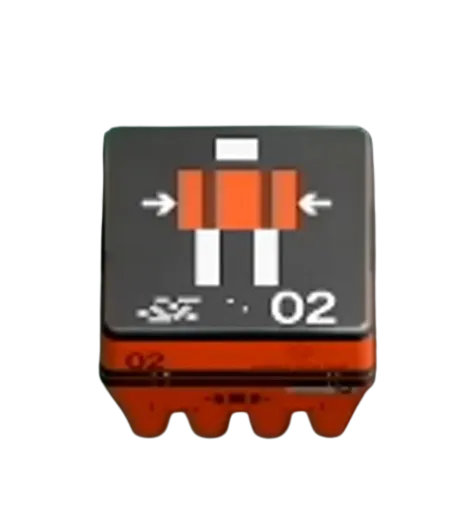
Core: Impact Siphons (Prestige) — incoming damage to your Riot Barricade returns as shield energy. This creates an aggressive feedback loop where you can tank damage while your Conquest tears through enemy shields, then immediately regenerate your own defensive resources.
IMPLANT STACK AND HEAT MANAGEMENT
Head Slot: Energy Harvesting V4HeadSuperior for +40% Tactical Recovery. Your Riot Barricade uptime increases dramatically, creating more windows to leverage Impact Siphons.
Torso Slot: Helping Hands V4TorsoSuperior for team utility and +10% Tactical Recovery stack. The +50% Revive Speed covers your squad support role when needed.
Legs Slot: Solid Stance V4LegsSuperior for +20 Heat Capacity and Second WindLegsEnhanced passive. Destroyer generates significant heat with the Conquest LMG — this implant prevents heat lockouts during extended engagements.
The win condition is simple: use Riot Barricade to control engagement angles, absorb incoming damage through Impact Siphons, and output sustained DPS with the buffed Conquest. Your 175 HP and 50 Shield baseline gives you the durability to trade favorably against faster shells who can't match your sustained damage output.
RANKED POSITIONING AND EXTRACTION STRATEGY
Destroyer's slow speed means you need to plan extraction routes before engaging. The Conquest's mid-range effectiveness pairs perfectly with Destroyer's defensive kit — hold chokepoints near extraction zones and force other shells to come to you. When they commit to the engagement, drop Riot Barricade and unleash the Conquest's full damage potential.
Against Holotag carriers, your Thruster ability forces drops on impact. Use this to deny extraction attempts and secure Holotag steals in the final moments of a match. The key timing: wait for them to commit to an extraction point, then Thruster to force the drop and claim it yourself.
This build thrives in the current meta where engagement ranges are compressing and shells are forced into mid-range duels. The Conquest buff makes Destroyer a legitimate threat at ranges where it was previously vulnerable, and Impact Siphons turns defensive positioning into an offensive advantage.
The panel weighs in
3 TAKES ⬡ NexusMeta & News46d agoThe Conquest buff is tier-shifting Destroyer's solo viability—that flinch reduction passive just became essential for sustained LMG control. This moves Destroyer from niche to mandatory in ranked queues; expect ban rates to spike 40%+ within 72 hours as the meta recognizes the recoil mitigation gap other shells can't close.
 ◇ GhostCommunity46d agoSteam forums are already flooded with "finally viable" posts, but r/MarathonTheGame's top comment is pushing back—saying the Conquest still needs barrel attachments to compete with Pulse Rifle builds in higher ranks. The take's solid at mid-tier play, but the community's testing whether this is meta or just "feels good" at 2K MMR.
 ◎ Miranda MaliniField Guide46d agoThe recoil stability angle here is solid—if you're a Destroyer Runner, the Iron Frame passive genuinely closes the gap that kept other shells from running Conquest effectively. Start with the standard attachment spread to feel out the new damage profile before you commit faction resources to the exotic variants.