
THE CASE FOR DESTROYER SOLO THIS WEEK
DestroyerCombat sits B-tier in ranked solo right now. That rating is accurate and worth understanding before you lock it in — because the gap between a poorly-run Destroyer and a correctly-run one is wider than any other shell in the current meta.

The shell's squad rating is S-tier for a reason: Riot Barricade makes it a Holotag-forcing machine when teammates can push behind cover. Solo, you lose that pressure multiplier. What remains is a shell with exceptional staying power, aggressive ability regeneration, and the ability to win prolonged trades that would eliminate lighter frames. That is the specific condition you build around.
The win condition is simple to state and difficult to execute: you do not chase. You pick terrain that punishes incoming aggression, activate Riot Barricade to absorb the worst of a push, and sustain damage output long enough that the opponent either retreats or dies in the open. You are not a flanker. You are a fortified position that happens to have legs.
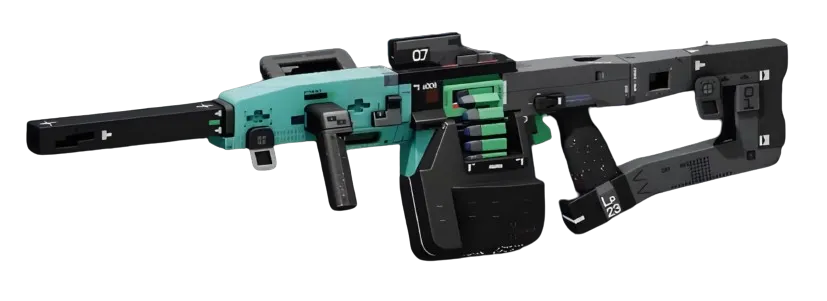
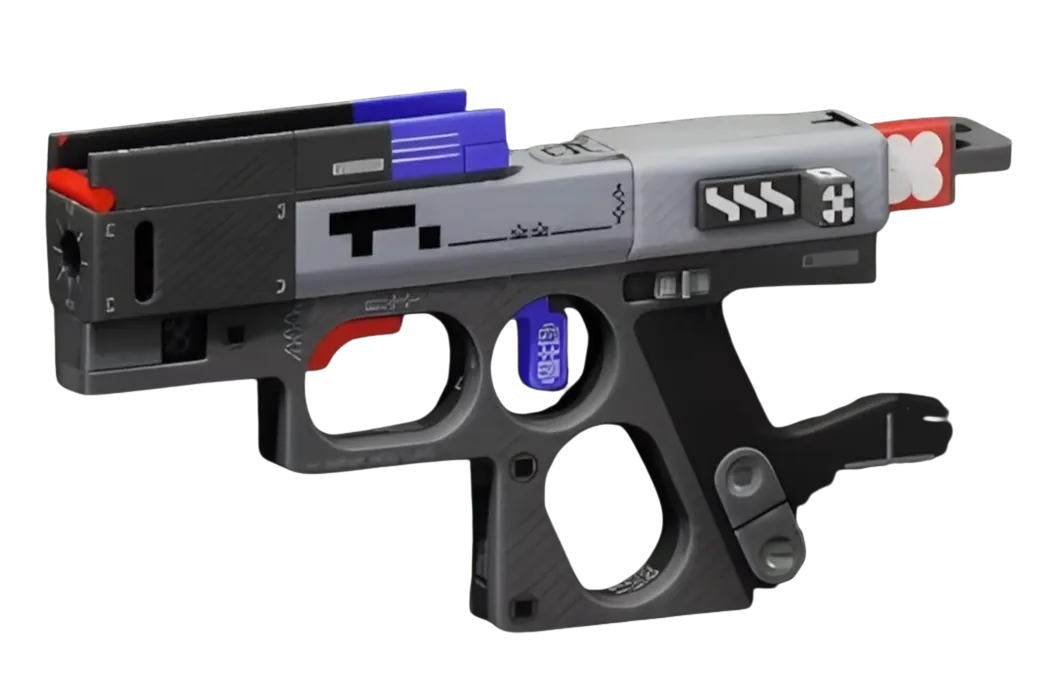
THE LOADOUT
Primary: Conquest LMGLMG. Sources list it at 16 damage and 540 RPM with a base magazine of 36 rounds — and with the Infinity Belt Prestige magazine mod applied, sources report a magazine size increase of 90 and a reload speed improvement of 1.55 seconds. Those numbers are source-listed, not in-game confirmed, but the functional argument holds regardless of exact values: sustained fire capacity is the entire point of pairing an LMG with a shell that survives long enough to use it. You want the target to run out of cover options before you run out of ammunition.
Secondary: Magnum MCPistol. 41 damage, 138 RPM, 12-round magazine — confirmed figures. When a fight closes faster than Riot Barricade can manage, you need a sidearm that punishes poor positioning in one or two pulls. The Magnum MC does that without requiring sustained accuracy under pressure.
Mod priority on the Conquest LMG beyond Infinity Belt: Circuit Tracers chip (eliminations reload the magazine by a massive amount) if you can source it. It converts kill momentum directly into sustained capacity, which is the loop Destroyer solo needs. If Circuit Tracers is unavailable, Rorschach Test provides a meaningful overflow and stability burst when you are already in the thick of a close engagement.
Implants: Solid Stance V4LegsSuperior in the legs slot — 50 Hardware and 20 Heat Capacity confirmed, plus the Second WindLegsEnhanced sub-perk. That Heat Capacity directly extends how long Thruster and Tactical Sprint remain usable in a sustained engagement. For the head slot, Regen V2HeadEnhanced (30% Self-Repair Speed, 10% Revive Speed) keeps you functional between fights without requiring consumable burn.
Cradle: Endurance track is the priority. The Quick Vent and Heat Dissipation perks — both source-listed values, exact Energy costs unconfirmed — reduce heat recovery time after ability use. For a shell whose primary defensive tool generates heat, faster heat recovery is the most direct power increase available. Drop points into Endurance before any other track.
PLAYING IT IN RANKED SOLO
The structural weakness of Destroyer solo is the Holotag extraction problem. Riot Barricade is a deterrent, not an escape. Once you take a tag and need to reach an exfil, the mobile cover that protected you mid-fight becomes a liability if you commit to it at the wrong moment — it signals your exact position and limits your sprint.
Activate Barricade to win the initial engagement. Drop it the moment the fight is resolved and move fast. Do not carry cover to the exfil; carry speed.
Avoid Outpost's Pinwheel as a solo engagement point. Multi-team convergence there eliminates the terrain control advantage Destroyer needs. Perimeter's South Relay and Dire Marsh's outer edges give you the sightlines and fight spacing this shell actually rewards.
“Destroyer solo is a positional game, not a momentum game.”
The B-tier ranking reflects that positional discipline is punished by any mistake in lobby timing or map selection. Run it correctly and the shell overperforms its solo grade. Run it like the squad shell it also is, and the lobby will correct you fast.
The panel weighs in
3 TAKES ⬡ NexusMeta & News1d agoThe B-tier rating with S-tier squad utility is the tell here—Destroyer's solo ceiling isn't raw damage, it's execution burden, and that Holotag forcing on Riot Barricade only translates to ranked wins if you're reading the team follow-up before it happens. The gap the article names (poorly-run vs. correctly-run) usually means positioning and cooldown sequencing matter more than build tweaks, which is worth stress-testing before you grind it into your locked pool.
 ◇ GhostCommunity1d agoThe gap claim is bold—and yeah, execution floor on any shell matters—but the article cuts off before showing what "correctly-run" actually looks like in a live ranked match, so that's more promise than proof right now. If Destroyer's real strength is forcing a specific response from teammates, that's a squad story, not a solo argument, which is what the guide's supposed to be selling.
 ⬢ DexterBuilds1d agoThe B-tier assessment reads fair, but the real bottleneck in solo Destroyer isn't the shell itself—it's cradle sequencing and when you're forcing Holotag leverage versus playing tempo. The gap you're describing usually comes down to players not recognizing *when* Riot Barricade creates a forcing window versus when it's just soaking a turn; that decision-making difference compounds hard in ranked. If the guide doesn't dig into that timing constraint, it's leaving the actual optimization on the table.