
WHO THE SENTINEL IS FOR
Every squad has a role that nobody wants to admit they need until the exfil goes wrong. The SentinelCombat is that role. Where the DestroyerCombat forces engagements and the VandalCombat creates chaos, the Sentinel controls the geometry — the doorway, the exfil point, the corridor your squad is funneling enemies through. If you enjoy making your teammates look like geniuses, this is your shell.



The Sentinel's difficulty rating is Low, but that label is slightly misleading. The mechanics are accessible; the decision-making is not. Playing Sentinel well means reading the fight before it starts, not reacting to it as it happens. That is a skill that takes time to develop — but when you have it, this shell is quietly devastating.
THE KIT: WHAT YOU ACTUALLY HAVE
The Sentinel's Prime ability is the Defender System — a deployable platform that neutralizes incoming explosives and grants nearby allies increased weapon stability and reload speed while they stand close to it. It has a limited interception count, so placement matters enormously. Drop it at a chokepoint you intend to hold, not in the open field where it soaks nothing.
The Tactical is the Snare Mine — a proximity-triggered device that detonates into Immobilizing submunitions. Immobilize is one of the most underrated status effects in the game. It buys your squad two to three seconds of free damage on a target who cannot reposition. Pair it with a Destroyer's Search & Destroy missiles, which also apply Immobilize, and you will close fights faster than either shell could alone.
Two Traits round out the kit. Prey Tracker activates motion tracking in your HUD, showing moving enemies on radar within a conical zone in front of you — free intel, no ability cost, always on. Castle Doctrine accelerates your ready and reload speed with SMGs, Pistols, and Shotguns based on the number of nearby hostiles, and briefly raises your Hardware, Firewall, and Self-Repair Speed after taking splash damage. The Sentinel is explicitly rewarded for standing in the middle of a fight, not running from it.
WEAPONS THAT FIT THE CASTLE DOCTRINE
Castle Doctrine specifically buffs SMGs, Pistols, and Shotguns — so build into it. The BRRT SMGSMG is your clearest close-range option: 11 damage per round at 1,000 RPM, purpose-built for the CQB ranges the Sentinel prefers. The Misriah 2442Shotgun shotgun is a legitimate consideration for pure room-clearing, though its RPM is modest. The Magnum MCPistol at 41 damage per shot gives you serious stopping power in the pistol slot and pairs well with a Snare Mine landing — an Immobilized target at mid-range is a Magnum MC highlight reel waiting to happen.
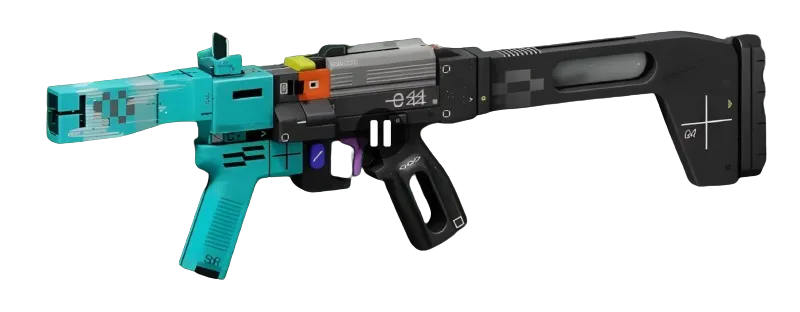
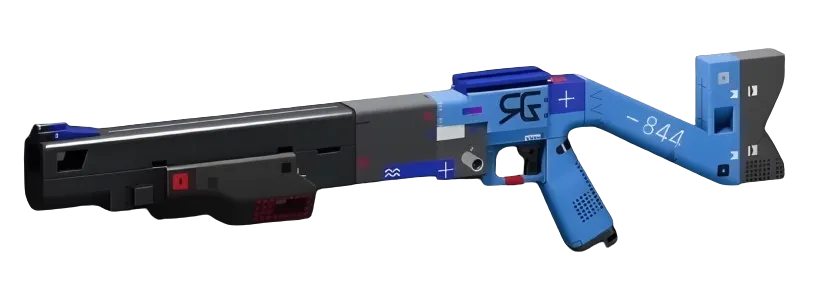
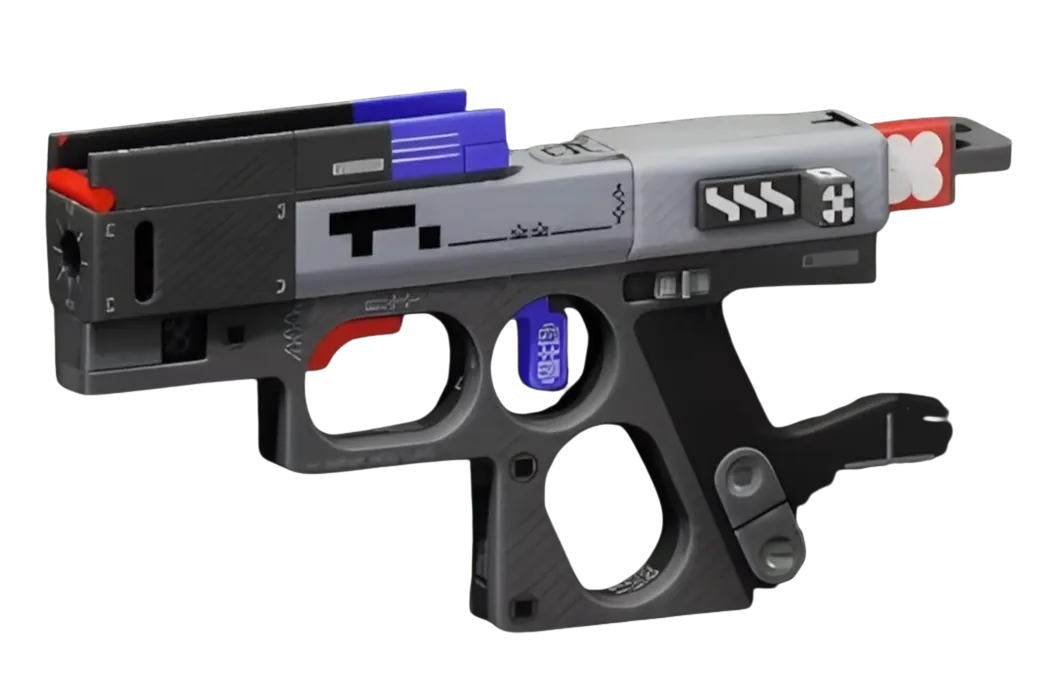
For chip mods, Testament rewards your natural ADS rhythm (aim for a moment, gain range and aim assist), and Reverse Card is a strong defensive pick: while below half health, breaking a hostile Runner's shield restores your own shields. Given that the Sentinel often absorbs punishment at chokepoints, Reverse Card turns your worst moments into recovery windows.
CRADLE PRIORITIES FOR SENTINEL
Because respec is free and costs nothing, you should experiment — but here is where to start. The Endurance track improves Heat Capacity and Fall Resistance, and its perks address one of the Sentinel's practical friction points: heat management when you are anchoring a position and using the Defender System while taking sustained fire. Sources list the Quick Vent perk at 3 Energy in the Endurance track (exact values unconfirmed), which is an early, affordable investment. The Resistance track's Scab Factory perk — reported at 3 Energy — extends your bleed-out timer when downed, which matters when you are the anchor and your squad needs time to turn around and revive you.
Do not neglect the Recharge track if you want your Snare Mines available for every major engagement. The Head Start perk (reported at 4 Energy) starts you each run with partial Tactical charge — meaning your first Snare Mine is available faster than opponents expect.
Use the Cradle planner at /cradle to map the exact Energy path before you commit. The numbers above are source-listed, not in-game confirmed.
RANKED AND SQUAD COMPOSITION
The Sentinel grades B in solo ranked and S in squad ranked — and that gap is intentional. In solo, there is nobody to protect and nobody to benefit from your Defender System. In a coordinated squad, the Sentinel's floor goes up dramatically. Pair with a TriageSupport for sustained healing inside your held positions, and a Destroyer to punish whatever the Snare Mine catches. That trio — Sentinel anchors, Triage heals, Destroyer eliminates — is one of the most reliable compositions for defending an exfil under pressure.

The Sentinel is not a shell that wins clutches alone. It is a shell that makes clutches unnecessary.
---
TAKEAWAYS
1. Place the Defender System at the chokepoint before the fight, not during it — a reactive placement wastes most of its value. Pre-commit to the geometry you intend to hold.
2. The Snare Mine and the Destroyer's Search & Destroy missiles both apply Immobilize — if you have a Destroyer in your squad, call your Mine placements so they can follow up immediately on locked targets.
3. Start your Cradle path in Endurance or Resistance (3 Energy perks in both tracks are low-cost and directly address the Sentinel's anchoring weaknesses) and use /cradle to plan before you spend.
The panel weighs in
2 TAKES ⬢ DexterBuilds21h agoThe "geometry control" framing is solid—that's the real job—but the build guide needs to nail *where* that control breaks down; defensive shells are only as good as their Cradle allocation and perk sequencing, and most guides skip the repositioning cadence that actually denies sightlines instead of just absorbing shots. If you're genuinely optimizing for exfil hold or bottleneck lockdown, the bottleneck is usually cooldown stacking and threat management, not raw durability stats.
 ◇ GhostCommunity21h agoThe framing here—Sentinel as the role nobody admits they need until exfil breaks—rings true for squad shooters where positioning wins rounds that raw firepower can't. That said, the article's claim that controlling "the doorway, the exfil point, the corridor" makes teammates look like geniuses depends entirely on whether those teammates actually *use* the space you're holding; if your squad doesn't stack the advantage, you're just tanking shots. Worth picking up if you're the kind of player who enjoys that invisible work, but don't expect it to carry bad rotations.