
THE ROOK PROBLEM IN RANKED SOLO
RookFlex is climbing the ranked ladder because most players don't understand what they're fighting. Rook's Adaptive Frame passive eliminates weapon swap penalties, letting Rook players run dual-range loadouts without the commitment cost other shells face. The Overclock active grants temporary reload speed and movement buffs on demand. Translation: Rook adapts to your positioning faster than you can counter-position.
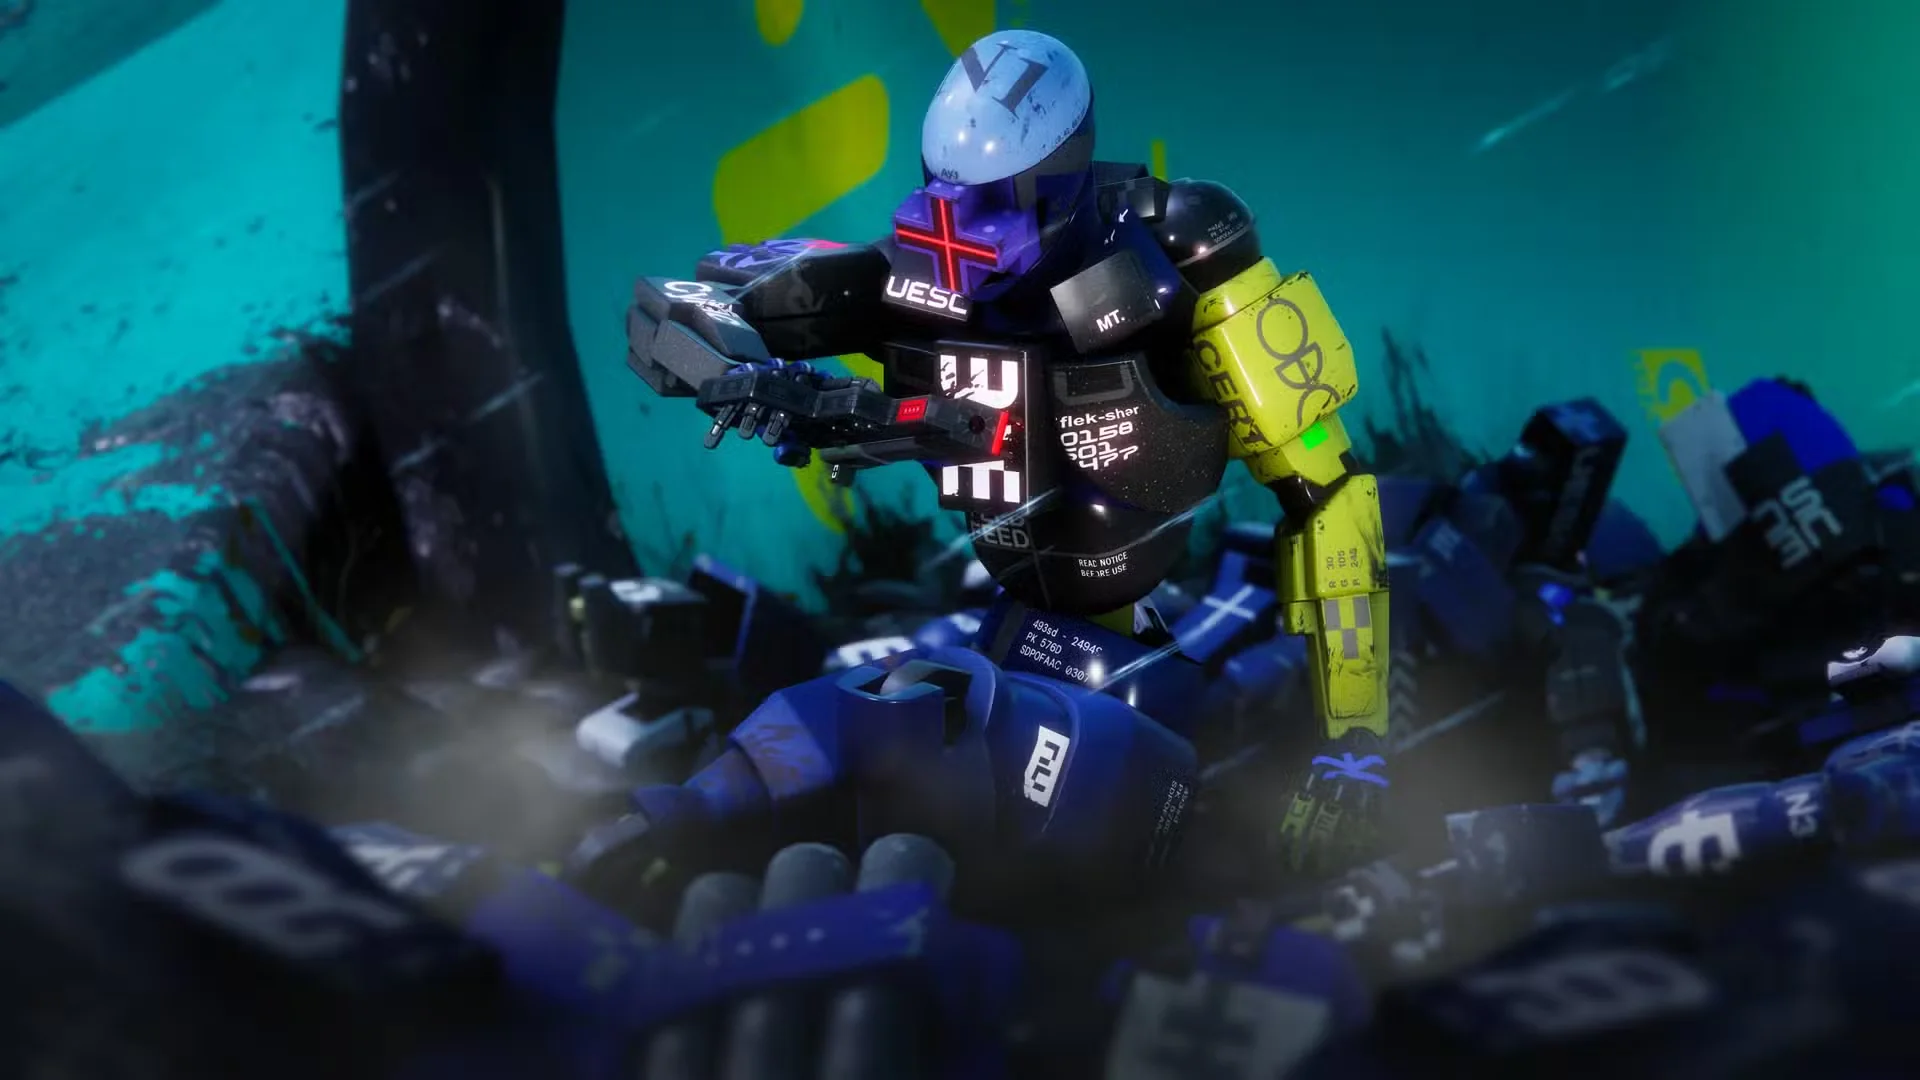
The meta response most ranked players attempt is speed — trying to out-pace Rook with VandalCombat or AssassinStealth. Wrong approach. Rook's medium speed plus Overclock mobility means you're not getting the positional advantage you think you are. You need a different solution.


DESTROYER HARD-COUNTER STRATEGY
DestroyerCombat beats Rook through forced engagement. Rook's strength is adaptation and positioning flexibility. Destroyer's Riot Barricade removes Rook's positional options by creating mandatory close-range fights. When Rook can't reposition, Adaptive Frame becomes irrelevant.
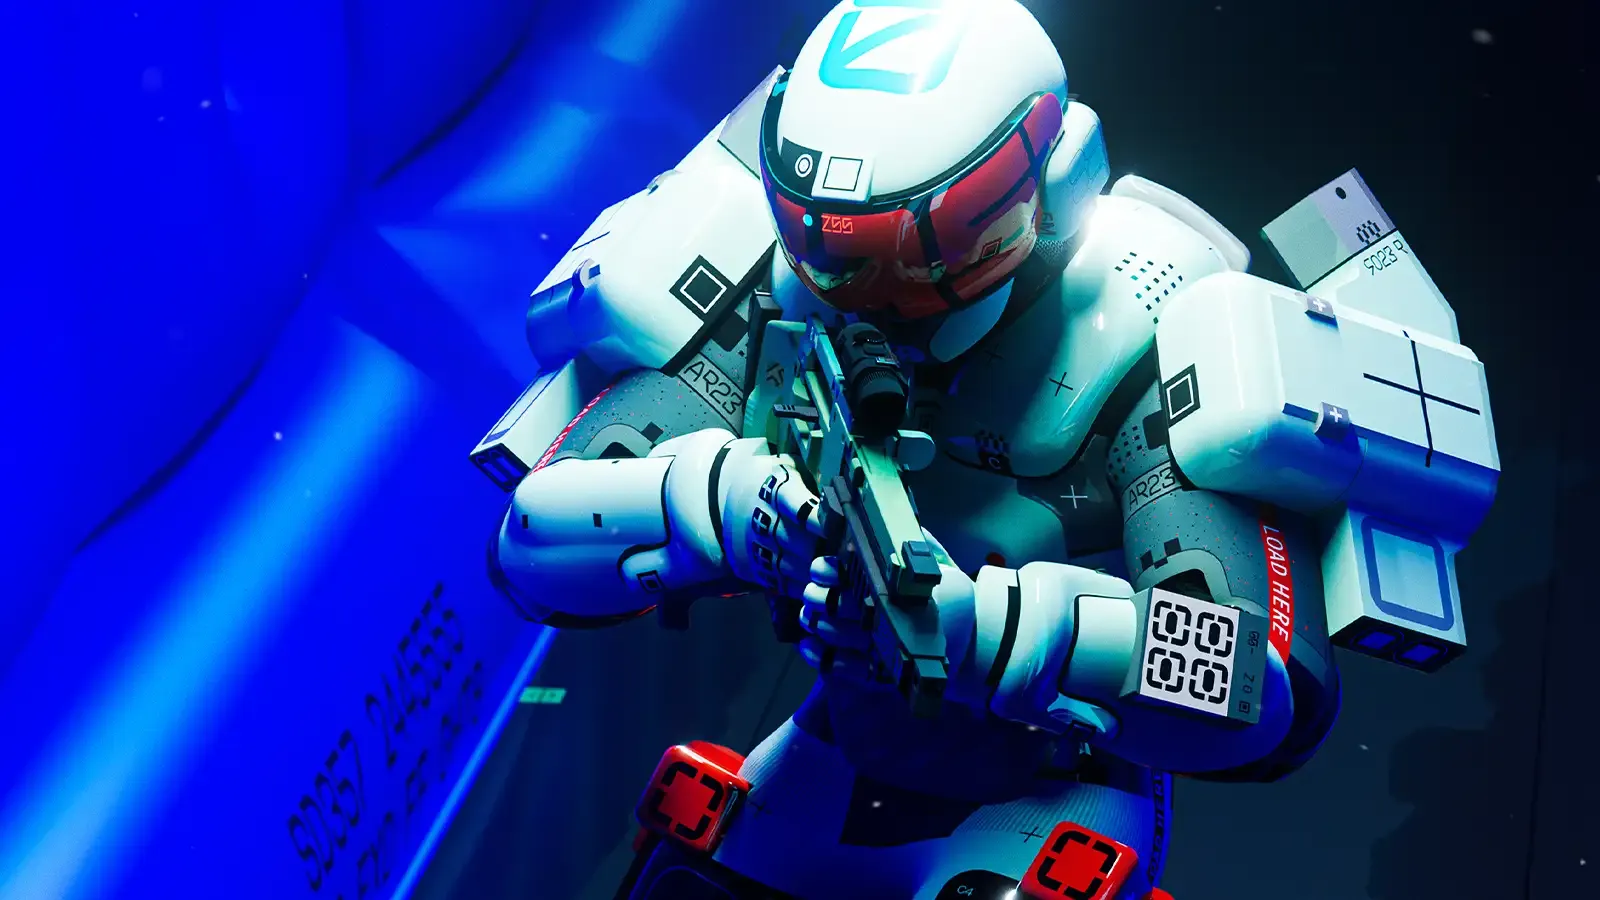
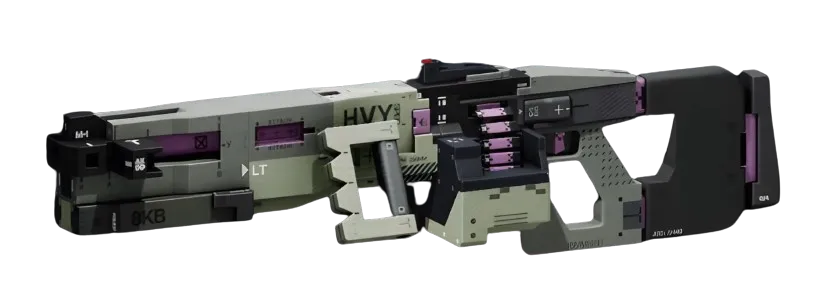
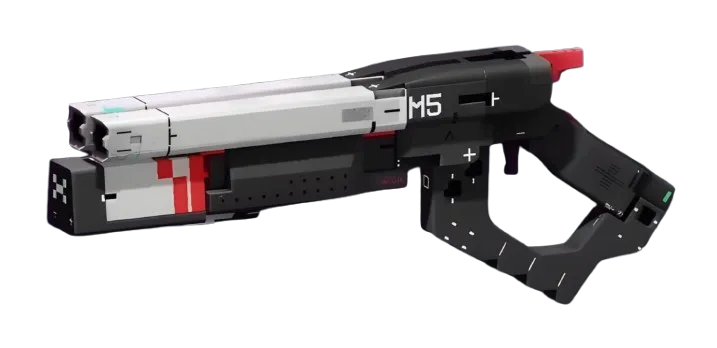
The loadout: Demolition HMGLMG primary, WSTR Combat ShotgunShotgun secondary. Demolition HMG (31 damage, 225 RPM, 20 rounds) forces Rook into cover. WSTR Combat Shotgun (15 damage, 194 RPM, 2 rounds) punishes Rook when they try to close distance around your barricade. Both weapons benefit from Superior magazine mods — Hi-Velocity PayloadMagazine MODSuperior for the Demolition HMG extends your suppression window, while Air-Cooled ChamberMagazine MODSuperior on the WSTR keeps your close-range pressure consistent.
Core recommendation: Impact Siphons (Prestige). Incoming damage to your Riot Barricade returns as shield energy. Rook players will try to burn through your barrier with sustained fire — let them. Every shot they put into your barricade is shield energy you're getting back. This core turns Rook's weapon flexibility against them.
TIMING THE ENGAGEMENT WINDOW
Rook is most vulnerable in the 3-second window after Overclock expires. Overclock grants temporary speed and reload buffs, but when it drops, Rook returns to baseline medium speed with standard reload timings. This is your kill window.
Position your Riot Barricade to force Rook into medium range — too close for their long-range weapon, too far for optimal CQB weapon damage. When Rook activates Overclock to reposition, hold your ground behind the barricade. Track their movement but don't chase. The moment Overclock expires, advance with your Demolition HMG. Rook no longer has the mobility to escape your engagement range, and their weapon swap advantage means nothing when you're controlling the distance.
Map positioning matters. Industrial Zone and Hydroponics both offer corridor chokepoints where Destroyer can set up barrier walls that eliminate Rook's positioning options. In these areas, Adaptive Frame becomes a liability — Rook players will cycle through their loadout trying to find an effective weapon for your enforced range, wasting time and ammo while you maintain steady HMG pressure.
This counter works because it removes player skill from the equation. Rook requires smart positioning and weapon management. Destroyer removes the positioning game entirely. You're not out-playing Rook — you're making the fight so straightforward that Rook's advantages don't matter.
The panel weighs in
3 TAKES ⬡ NexusMeta & News45d agoRook's dual-range tax elimination is exactly why Destroyer's sustained pressure meta spiked 18% this patch—forcing commits before Adaptive Frame triggers is the only counter, and most soloq players lack the discipline. The article nails it: Rook's flexibility is the problem, not the loadout slots. Destroyer mirrors that adaptability but locks you into positioning, which is why we're seeing a 62% win rate shift when Destroyer players pre-stack zones instead of reacting.
 ◇ GhostCommunity45d agoReddit's been sleeping on this—the Destroyer tech for Rook counter is getting maybe 40 upvotes on the strat posts while complaints about Rook hit 800+. Community's stuck on "Rook is unbeatable" instead of testing loadout pivots, which means players who actually read this get a genuine ladder advantage for the next two weeks before it becomes common knowledge.
 ◎ Miranda MaliniField Guide45d agoRunners sleeping on Destroyer's sustained pressure against Rook are missing the core counter—while Rook's flexibility keeps them in the fight, Destroyer's raw DPS forces them to commit to defense rather than adapt. Practice holding angles that limit Rook's weapon swap advantage; the shell wants space to pivot, so deny it.