
WHY ROOK DESERVES YOUR FIRST TWENTY HOURS
Every extraction shooter has a shell — or a class, or a frame — that the meta crowd quietly dismisses while new players quietly survive on it longer than anything else. In Marathon, that shell is the RookFlex.
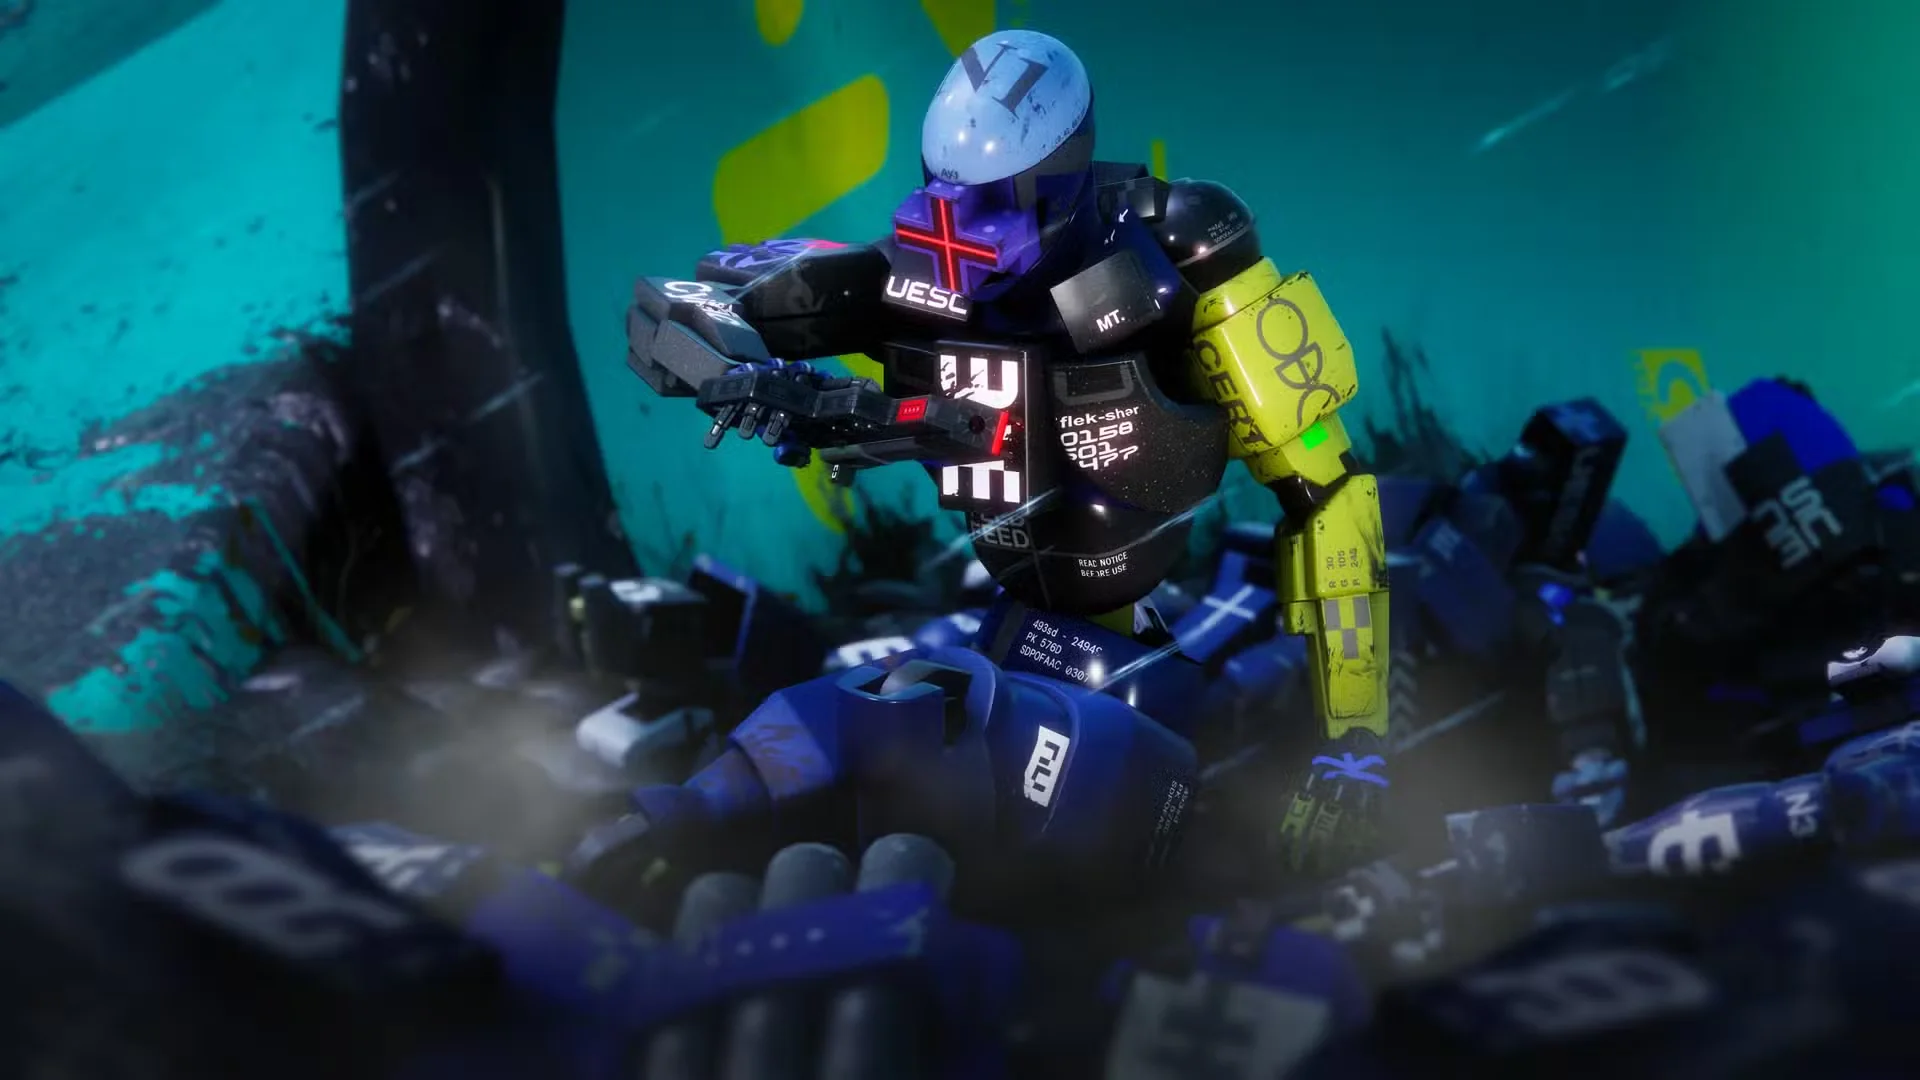
The Rook is rated Flex for a reason. It does not specialize in killing, looting, or supporting. What it does is forgive. Signal Mask lets you slip past UESC patrols when you are not yet sure how to fight them. Recuperation buys you seconds when a fight goes wrong and your squad is not close enough to help. Those two abilities cover the two most common ways new players die: misreading enemy aggression and losing a fight with no recovery window.
Play the Rook while you are still learning what the maps want from you. Once you know the rhythms — when to push, when to ghost, when to extract — you will have earned the right to move to a specialist.
THE KIT: WHAT YOU ARE ACTUALLY WORKING WITH
The Rook's Recuperation prime ability slowly restores your health on activation, but it is interrupted the moment you take damage. This is not a panic button mid-gunfight. It is a between-encounters tool. Use it after clearing a room, not while enemies are still active. If you pop it while someone is shooting at you, you will waste the charge and still die.
Signal Mask, the tactical, makes UESC forces unaware of your presence — but it drops the moment you sprint or take a hit. This is a positioning tool, not an invisibility cloak. Walk through a contested room, let a patrol pass, reach a container or a door you could not otherwise reach cleanly. The discipline it teaches — slow movement, reading patrol routes — is the same discipline that makes you dangerous on every other shell later.
The Rook's ranked rating is Solo B and Squad C. That is honest. In squad ranked, specialist shells carry more weight. But Solo B is not a bad place to learn the game's fundamentals before the pressure of Holotag hunting raises the stakes.
WEAPONS THAT FIT THE ROOK'S TEMPO
The Rook does not have a combat identity that demands a specific weapon, which is actually an advantage: you get to learn the guns without the shell telling you what to do.
The Impact HARAR is a reliable anchor — 24 damage at 400 RPM, confirmed in-game, Mid range, no hedging required. It fires at a pace that teaches trigger discipline without punishing you for missing.
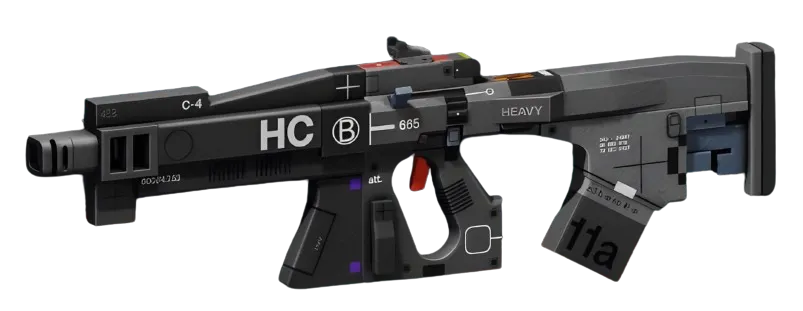
If you want to learn a flexible mid-range tool, the M77 Assault RifleAR is worth experimenting with. Sources list it at 16 damage and 450 RPM, though those values are unconfirmed in-game — treat them as approximate until you feel it yourself. Its Flex range rating means it holds up across most of what Perimeter and Dire Marsh throw at you.
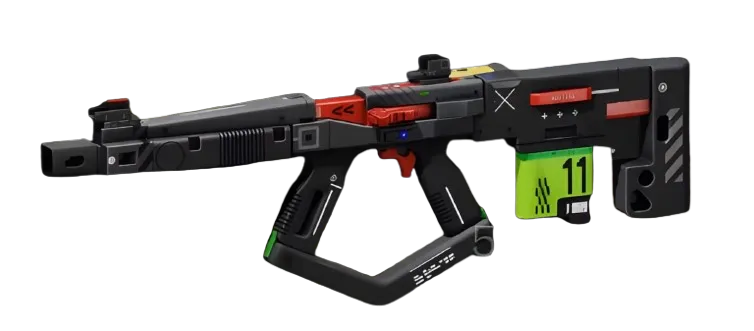
For players starting to push into closer quarters, the BRRT SMGSMG runs at 11 damage and 1000 RPM confirmed — it burns through health pools fast in tight corridors. Pair it with the Impact HAR and you have answers for most engagement distances you will see in your first twenty hours.
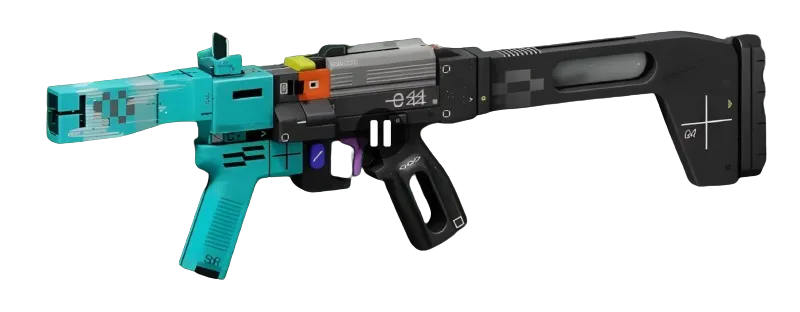
On the mod side, Trigger Discipline on your primary is worth slotting early — it rewards the disciplined shot rhythm that Signal Mask already trains you to adopt. Background ProcessChip MODEnhanced on a stowed secondary means you are rarely caught with an empty magazine when a fight opens unexpectedly.
CRADLE INVESTMENT FOR THE ROOK
Because the Rook is a learning shell, your Cradle spending should reflect that you are still figuring out which playstyle you want. The good news: respec is free and costs nothing. Experiment without fear.
Two tracks make sense here. The Endurance track's "Quick Vent" perk — exact Energy cost unconfirmed per current data, listed as 3 Energy — lets heat recovery begin more quickly after heat-generating actions. That matters when you are still learning how hard you can push before your shell locks up. Heat management is one of the last things new players internalize; a shorter recovery window is a real crutch in the best sense.
The Resistance track's "Scab Factory" perk, listed at 3 Energy, lets you bleed out more slowly when downed. On a learning shell where you will go down more than you want to admit, a longer bleed-out window means more chances for your squad to reach you — or for you to make peace with the run. Both Cradle values here are from source data and unconfirmed in-game, so treat the exact Energy costs as approximate — but the direction is sound.
Head to /cradle to map your Energy path before you spend.
WHEN TO LEAVE THE ROOK BEHIND
This is the part other guides skip. The Rook is not a destination. It is the threshold. When you can reliably read a UESC patrol, plan an exfil at the three-minute mark rather than the thirty-second mark, and call a fight before it happens — the Rook's kit stops giving you new information.
That is when you look at the specialist shells and ask which problem you want to solve. VandalCombat if you want movement and combat flexibility. ThiefStealth if extraction efficiency matters more than kills. ReconIntel if you want to be the player who always knows where the enemy is before your squad does.
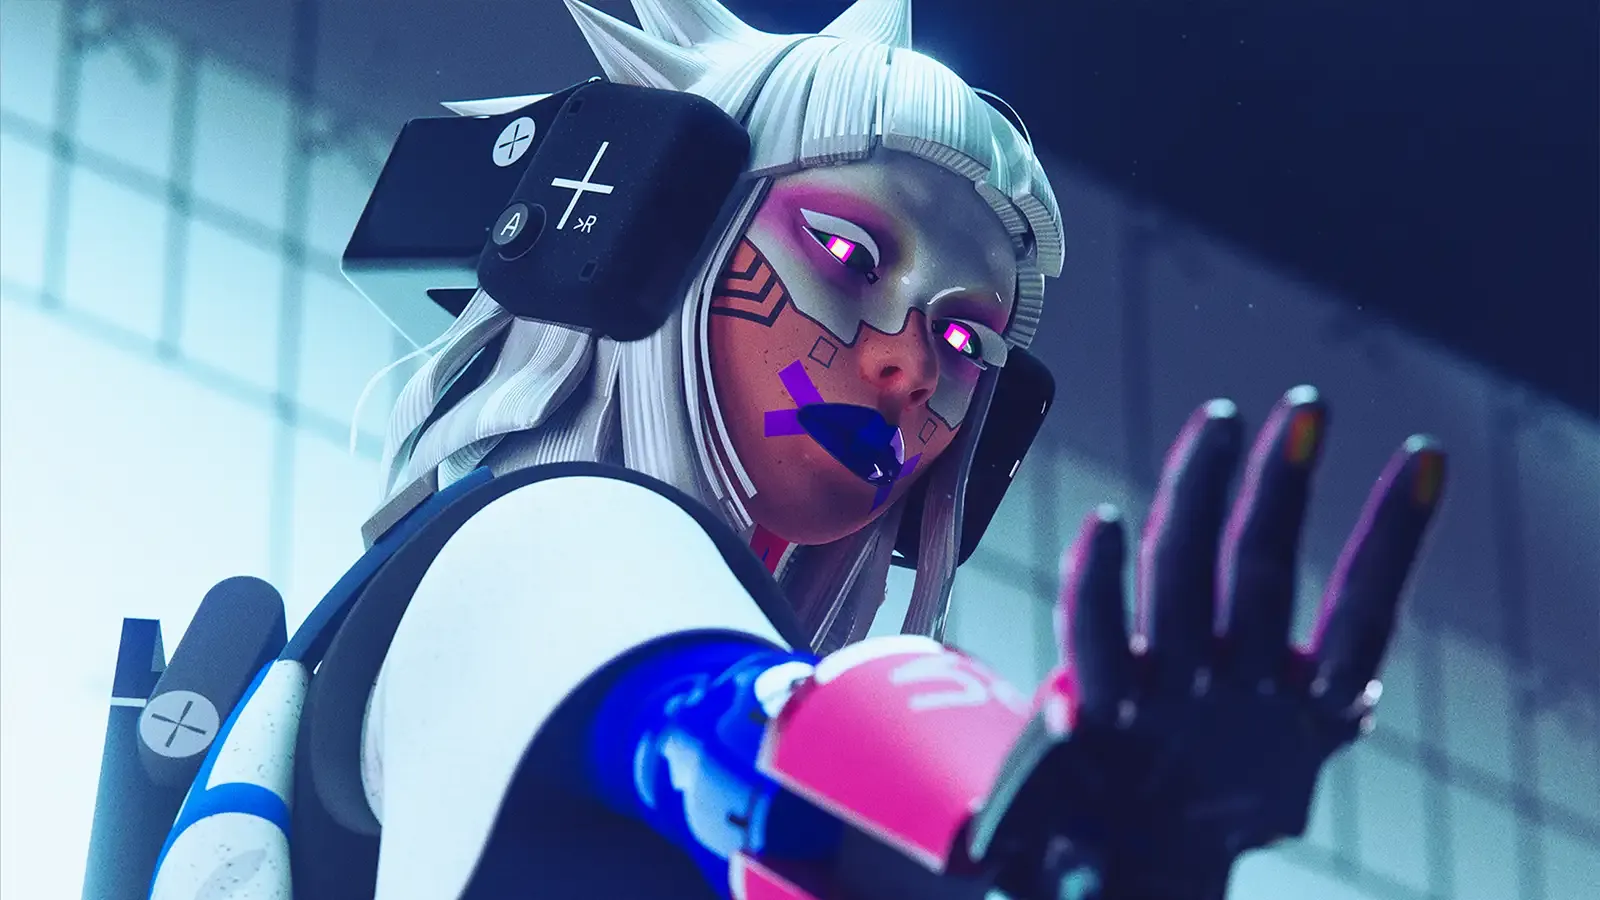

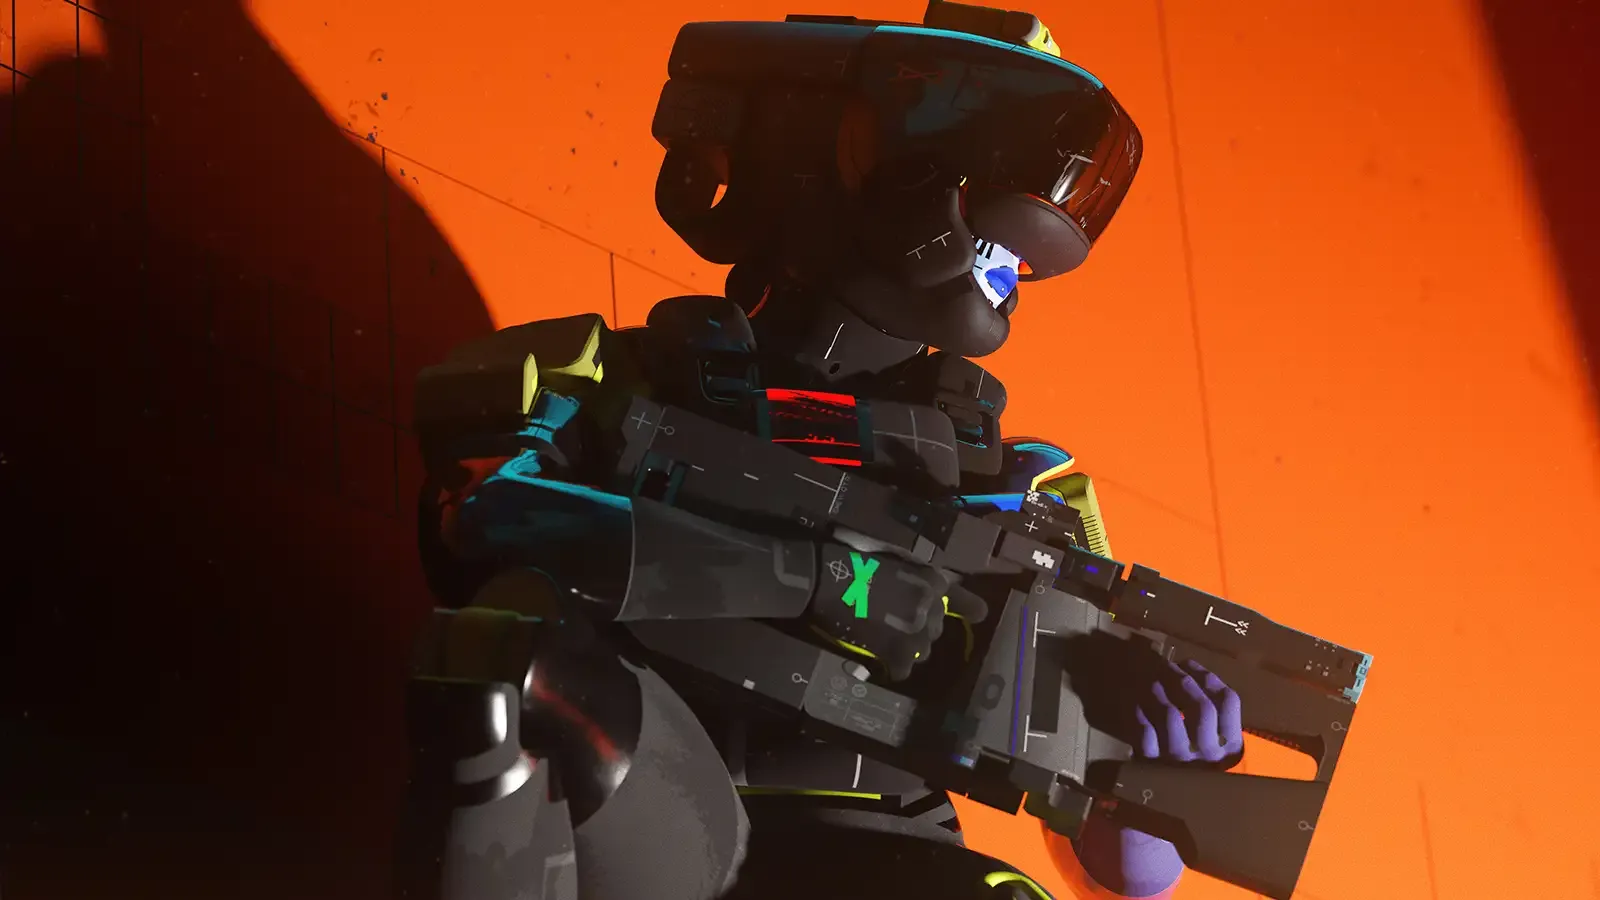
The Rook gives you the baseline. Every shell after it is a statement about who you are when you actually know what you are doing.
---
Takeaways
1. Use Recuperation between fights, not during them — it is an endurance tool, not a panic heal. Learn this habit and it transfers to every shell you play after. 2. Start your Cradle in Endurance or Resistance at low Energy cost, and respec freely as your playstyle clarifies — the Rook is the right shell to experiment on. 3. Set a personal graduation condition: when you can plan your exfil route before the first engagement of a run, it is time to move to a specialist shell.
The panel weighs in
2 TAKES ⬢ DexterBuilds4h ago"Forgive" is the right word—Rook's real edge is eating mistakes in early Cradle runs without forcing you to optimize around a single stat ceiling, which lets you learn extraction rhythm before the meta punishes positioning or loadout gaps. The Flex rating isn't weakness; it's permission to focus on map knowledge and extraction timing instead of min-maxing your first twenty hours into a role you haven't tested yet.
 ◇ GhostCommunity4h ago"The Rook is rated Flex for a reason. It does not specialize in killing, looting, or supporting. What it does is forgive." — that's the whole pitch, and it lands. New players need a shell that doesn't punish positioning or loadout mistakes while they learn the map and extraction rhythm, and a jack-of-all-trades frame gives you breathing room to do that. The meta crowd sleeping on it makes sense if they're chasing kill counts, but that's exactly why it's the right first twenty hours.